Vibrant & Healthy Homemade Beet Hummus: Your Guide to a Stunning Dip
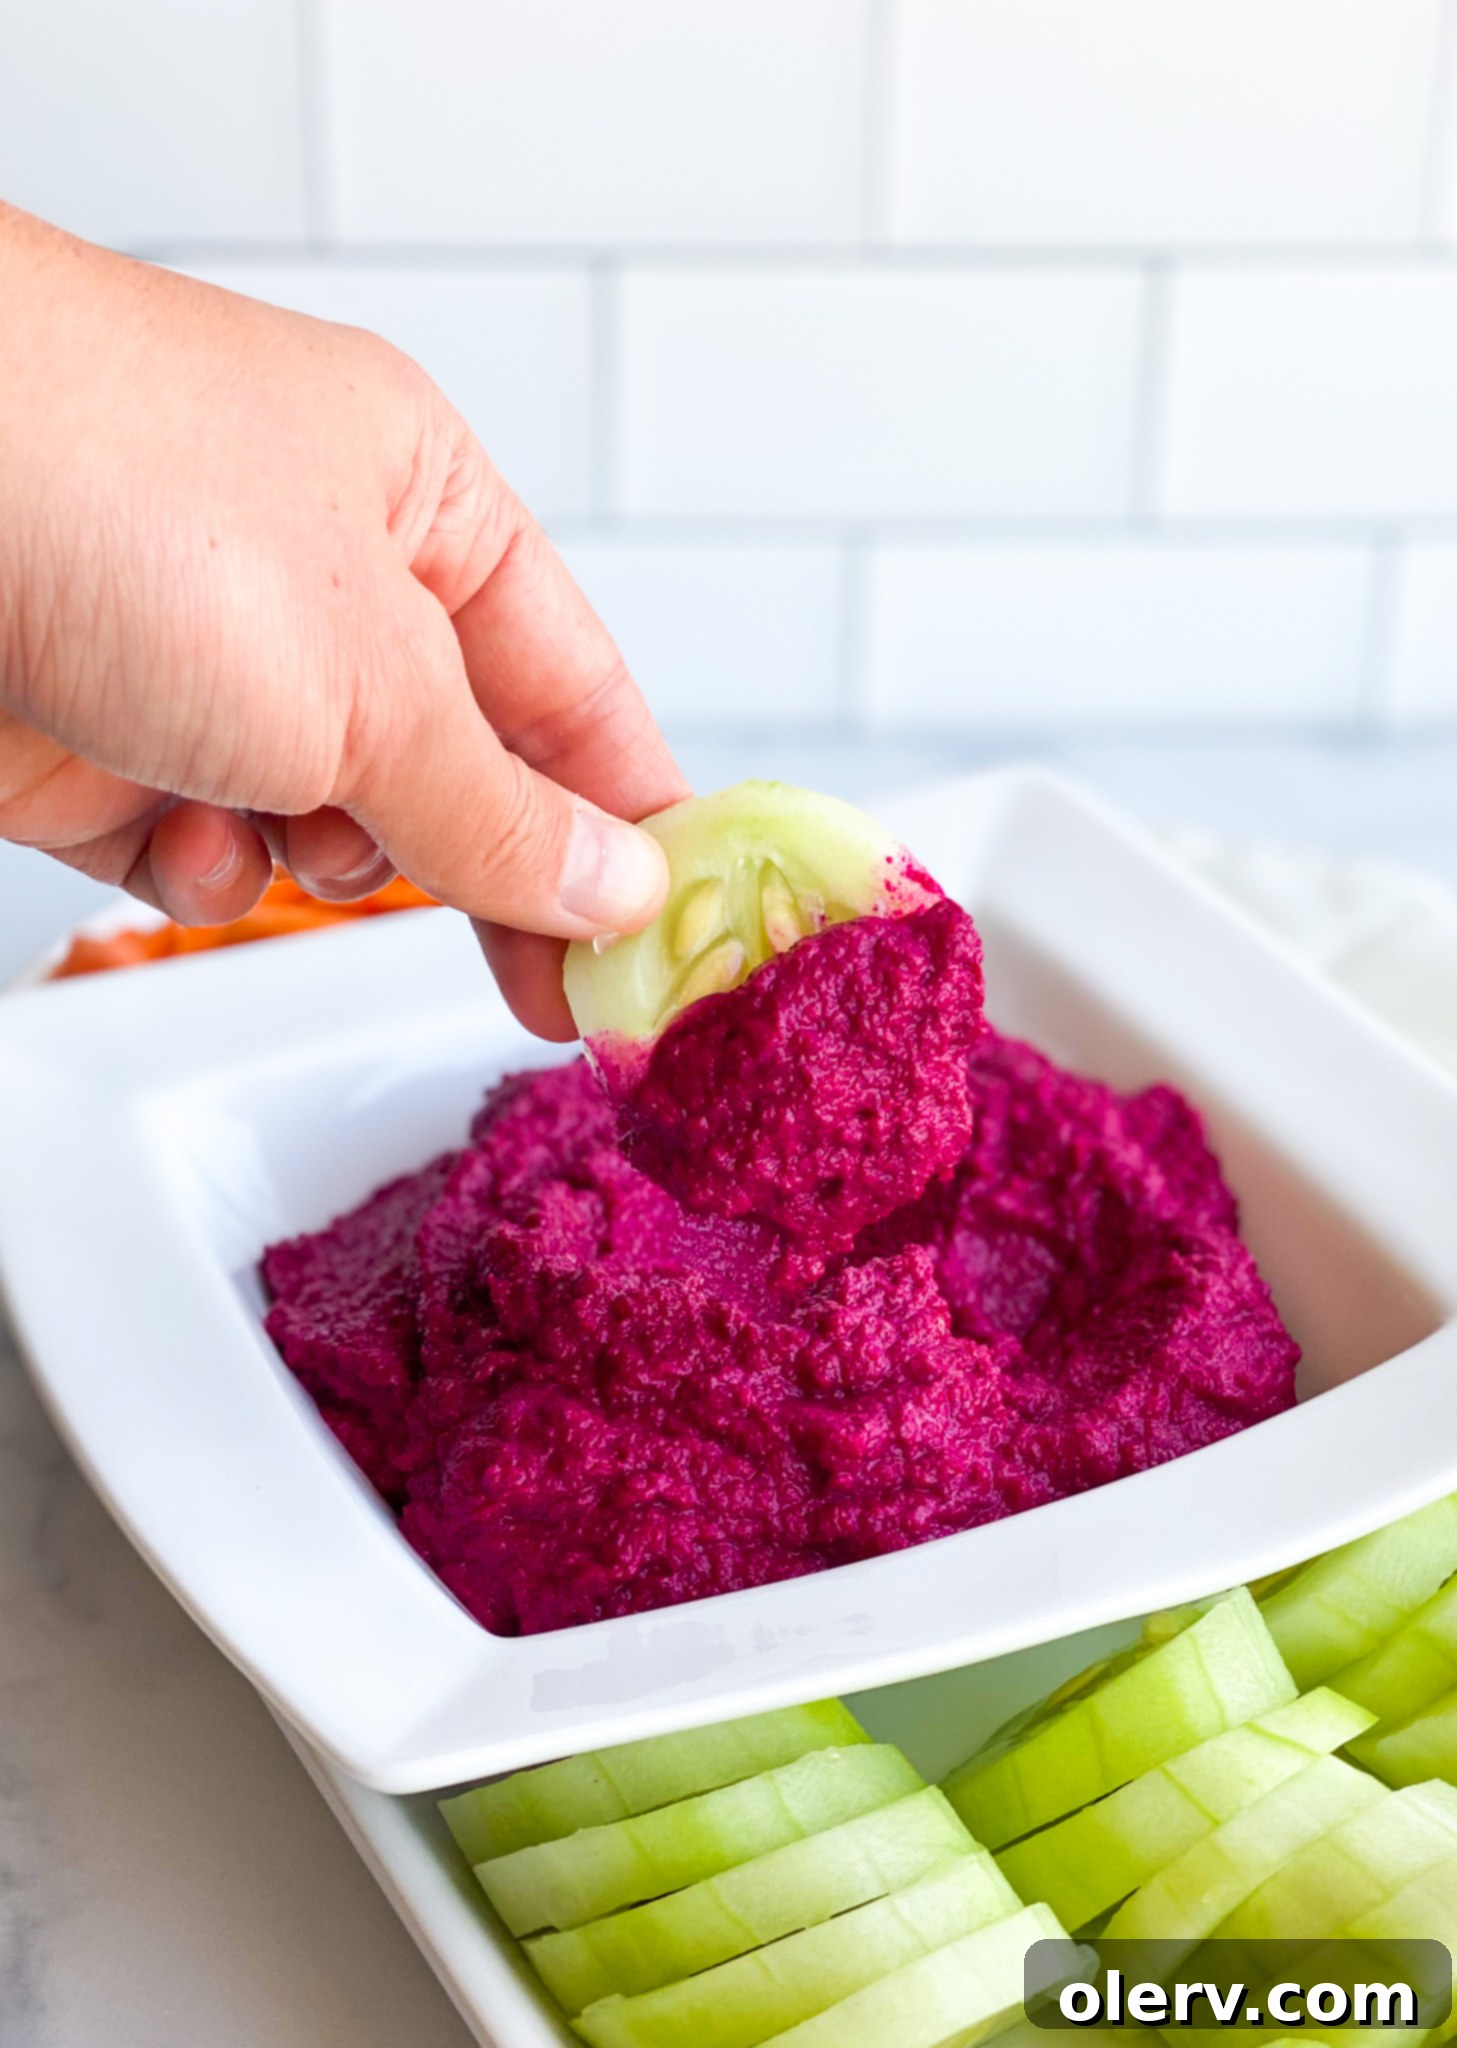
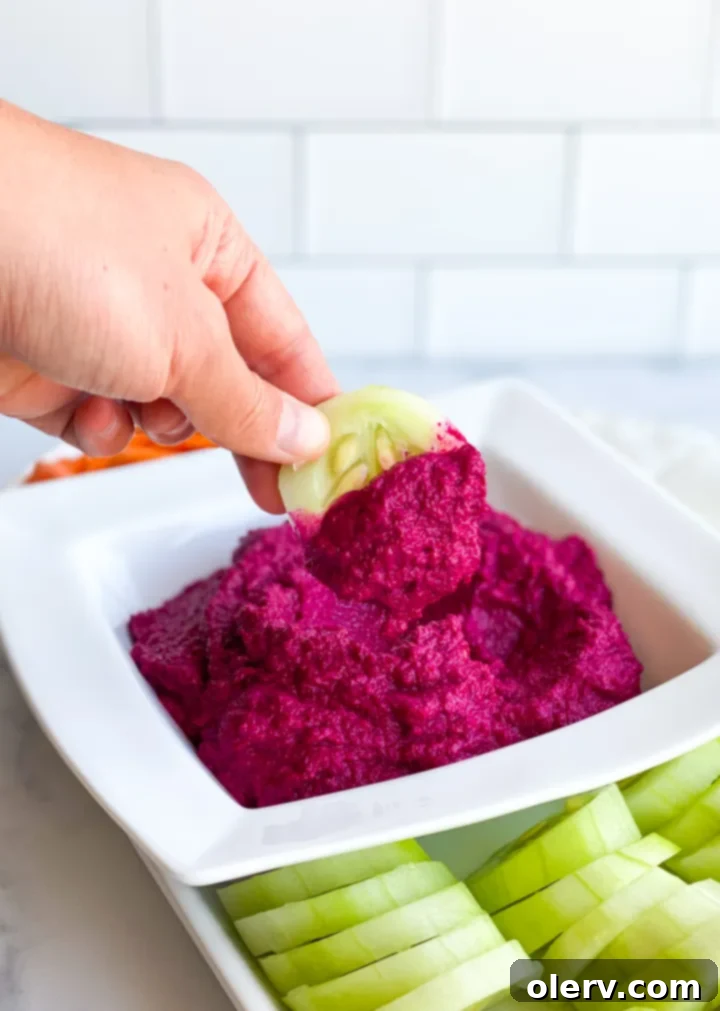
Prepare to elevate your snacking and entertaining with this incredible homemade Beet Hummus recipe! Forget bland, store-bought dips; this vibrant creation is bursting with the earthy sweetness of fresh beets, the rich creaminess of tahini, and the zesty kick of garlic and lemon. It’s not just a dip; it’s a showstopper. Imagine a gorgeous deep purple centerpiece for your next charcuterie board, or a healthy, colorful spread to brighten your everyday meals.
This Beet Hummus is unbelievably versatile. Serve it with your favorite crunchy crackers, a colorful array of fresh veggies, or spread it generously on sandwiches and wraps for an instant flavor upgrade. Beyond its stunning appearance, it’s packed with nutrients, making it a guilt-free pleasure for any occasion. Ready to dive into the world of homemade hummus and discover just how easy and rewarding it can be? Let’s get cooking!
The Magic Behind Beet Hummus: Key Ingredients You’ll Need
Creating this delicious and visually striking beet hummus requires just a few simple, wholesome ingredients. The quality of your ingredients directly impacts the final flavor and texture, so aim for freshness where possible!
- 4 cooked beets: The star of the show! Freshly cooked beets provide the best flavor and that incredible deep purple hue. We’ll cover how to cook them perfectly below.
- 2 Tablespoons Tahini: This sesame paste is essential for classic hummus creaminess and a slightly nutty depth. Choose a good quality, smooth tahini for the best results.
- 2 cloves or teaspoons garlic: Fresh garlic offers a pungent, aromatic kick. If you’re a garlic lover, feel free to add a bit more!
- 1 teaspoon cumin: Cumin brings warmth and earthiness, complementing the sweetness of the beets beautifully.
- 1/2 teaspoon salt: Essential for balancing and enhancing all the flavors. You can always add more to taste.
- 1/2 teaspoon pepper: A touch of black pepper adds a subtle spice and rounds out the flavor profile.
- 1 lemon, zested and juiced: Fresh lemon juice brightens the hummus, adding a crucial tangy note, while the zest provides a fragrant citrus aroma.
Why You Should Make Homemade Hummus
While store-bought hummus is convenient, making it at home offers a multitude of benefits that are simply unmatched. Firstly, you have complete control over the ingredients, ensuring no unwanted preservatives or excessive sodium. You can select the freshest produce and organic options if you wish, leading to a healthier end product.
Secondly, the flavor profile of homemade hummus is far superior. The vibrant taste of fresh garlic, zesty lemon, and perfectly cooked beets shines through without being masked by artificial flavors. The texture can also be customized to your preference – whether you like it extra smooth and creamy or with a slight rustic bite. Plus, the satisfaction of creating something so delicious from scratch is incredibly rewarding!
The Health Benefits of Beet Hummus
This isn’t just a pretty dip; it’s a powerhouse of nutrition! Beets are renowned for their health benefits. They are rich in essential vitamins and minerals, including folate, manganese, potassium, iron, and vitamin C. Beets are also packed with powerful antioxidants and anti-inflammatory properties, which can help protect your cells from damage. Their high fiber content aids digestion and promotes gut health.
Hummus, traditionally made with chickpeas, tahini, and olive oil, also contributes significantly to a healthy diet. Chickpeas are an excellent source of plant-based protein and dietary fiber, helping you feel full and satisfied. Tahini provides healthy fats and essential minerals like calcium and magnesium. Combined, this beet hummus offers a fantastic blend of fiber, protein, healthy fats, vitamins, and minerals, making it a truly wholesome snack or accompaniment to any meal.
Step-by-Step: How to Cook Beets in the Instant Pot
Using an Instant Pot to cook your beets is a game-changer! It’s fast, efficient, and results in perfectly tender beets that are incredibly easy to peel. This method locks in moisture and flavor, which is crucial for a delicious beet hummus.
- Prepare the Beets: Start by thoroughly washing your fresh beets to remove any dirt. Then, carefully trim off both ends – the leafy stem and the taproot. There’s no need to peel them at this stage.
- Pressure Cook: Place the cleaned beets directly into your Instant Pot. Add 1/2 cup of water to the pot. Secure the lid, making sure the sealing ring is properly in place, and set the steam release valve to the “Sealing” position.
- Set the Timer: Select the “Manual” or “Pressure Cook” setting and set the cooking time for 12 minutes. The exact time might vary slightly depending on the size of your beets; for very large beets, you might add a minute or two.
- Natural Release: Once the cooking cycle is complete, allow the Instant Pot to naturally release pressure for 5-10 minutes before carefully turning the steam release valve to “Venting” to release any remaining pressure. This helps prevent the beets from getting too waterlogged.
- Peel and Cool: Carefully remove the cooked beets from the Instant Pot. Once they are cool enough to handle, the peels should slip off effortlessly. You can use a paper towel or your fingers to rub them away. A crucial tip: wear gloves! Beets have a powerful pigment that can easily stain your hands and anything else it comes into contact with. Once peeled, your perfectly cooked beets are ready to be transformed into hummus!
Alternative Methods for Cooking Beets
While the Instant Pot is fantastic, you have other options for cooking your beets if you don’t own one or prefer a different method:
- Roasting: This method caramelizes the beets, enhancing their sweetness and depth of flavor. Wash and trim the beets, then toss them lightly with olive oil. Wrap them individually in foil or place them in a foil-covered baking dish. Roast at 400°F (200°C) for 45-60 minutes, or until tender when pierced with a fork. Peel after roasting.
- Boiling: A straightforward method. Wash and trim beets, then place them in a pot of boiling water. Boil for 30-60 minutes, or until tender. Drain, cool, and peel. Be aware that boiling can leach some nutrients and color into the water.
Crafting Your Perfect Beet Hummus: Blending and Finishing Tips
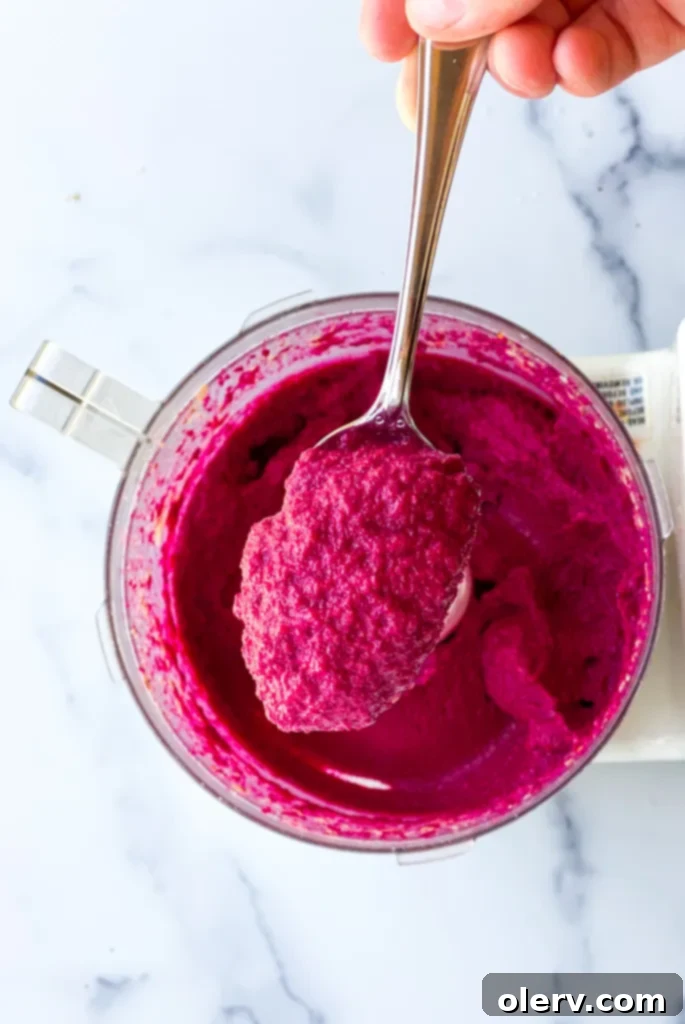
Now that your beets are perfectly cooked, it’s time to bring all those delicious flavors together. A few key tips will ensure your beet hummus is smooth, creamy, and packed with flavor.
- Use Fresh, Cooked Beets: This cannot be stressed enough. The success of this recipe hinges on the quality of your beets. While canned beets might seem convenient, they often lack the vibrant flavor and firm texture of freshly cooked beets, resulting in a less flavorful and potentially watery hummus. Whether you use the Instant Pot, roast them, or boil them, prioritize fresh beets for the best taste and color.
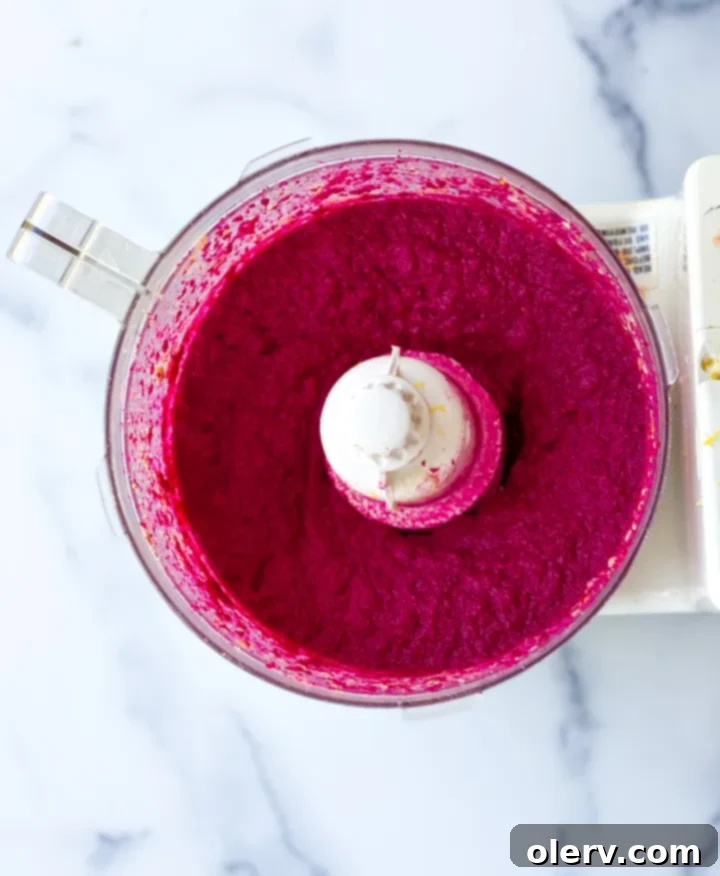
- Blend, and then Blend Some More! The secret to truly smooth and creamy hummus lies in adequate blending. Don’t be shy with your food processor! After adding all ingredients, process on high for a good couple of minutes. Stop occasionally to scrape down the sides, ensuring everything gets incorporated. You want a consistency that’s entirely free of lumps and beautifully airy. If it seems too thick, you can add a tablespoon of cold water or a tiny bit of olive oil at a time until you reach your desired consistency.
- Taste and Adjust Seasoning: This is perhaps the most crucial tip for any recipe. Once your hummus reaches its ideal texture, taste a small spoonful. Depending on your personal preference and the natural sweetness of your beets, you may want to add a bit more salt to enhance the flavors, extra cumin for more warmth, or an additional squeeze of lemon juice to brighten it further. Don’t be afraid to customize it to your palate!
Serving Suggestions for Your Beet Hummus
The beautiful color and delicious flavor of this beet hummus make it incredibly versatile for serving. Here are some ideas to inspire you:
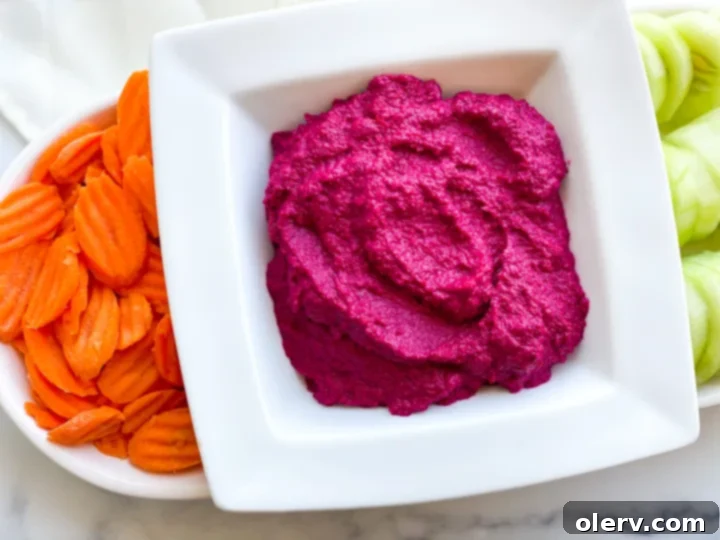
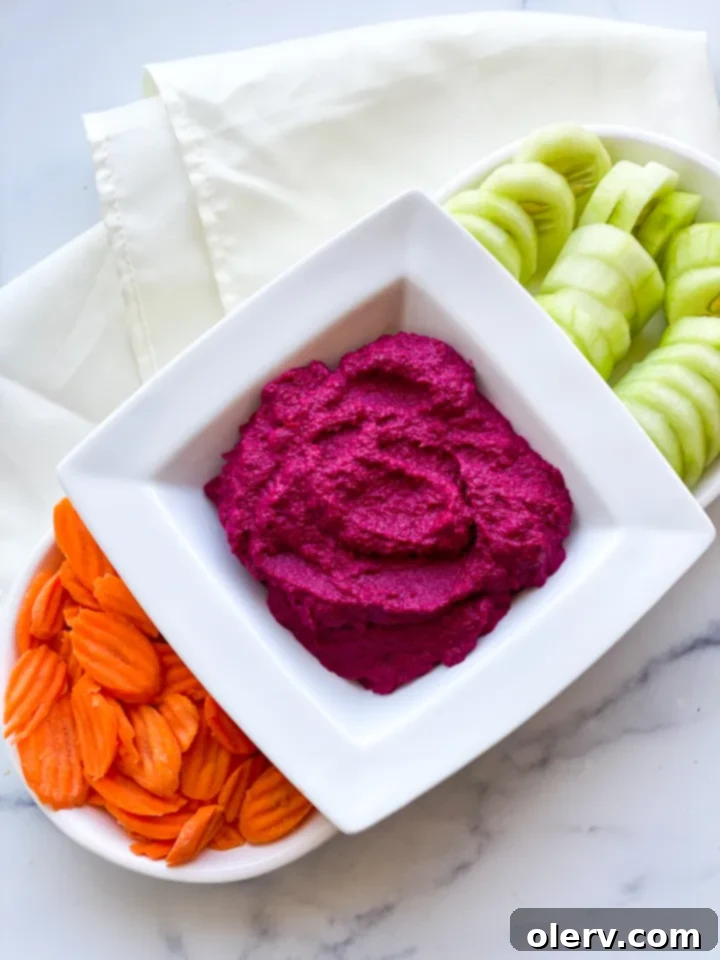
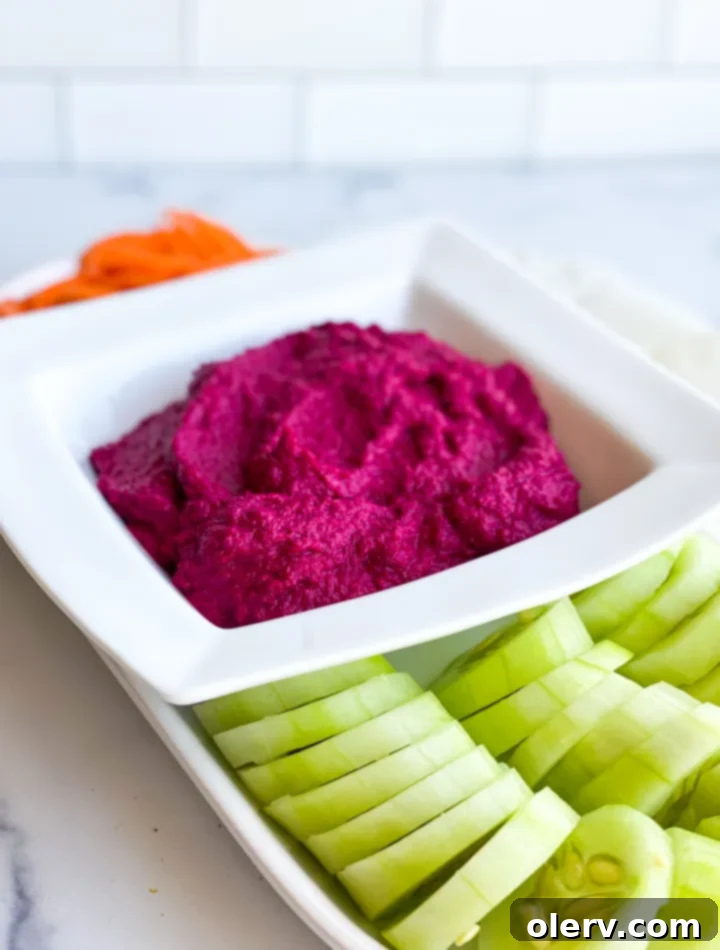
- Classic Dip: Serve with an assortment of dippers like pita bread, pita chips, crackers, or a vibrant selection of raw vegetables such as cucumber sticks, carrot sticks, bell pepper strips, celery, and cherry tomatoes.
- Charcuterie Board Centerpiece: Its striking deep purple hue makes it an absolute showstopper on any charcuterie or mezze board. Arrange it artfully in a small bowl, perhaps drizzled with a little olive oil and sprinkled with fresh herbs or sesame seeds, surrounded by cheeses, olives, cured meats, and other dips.
- Sandwiches and Wraps: Ditch the mayonnaise! This beet hummus makes a fantastic, healthy spread for sandwiches, wraps, and even burgers. It adds moisture, flavor, and a pop of color.
- Salad Topping: Dollop a spoonful onto your favorite green salad for an extra layer of flavor and creaminess.
- Breakfast Toast: Spread it on toast or a bagel, perhaps topped with some avocado or a sprinkle of everything bagel seasoning for a unique breakfast.
- Grain Bowls: Integrate it into a vibrant grain bowl with roasted vegetables, quinoa or farro, and a protein source like falafel or grilled chicken.
Storage and Make-Ahead Tips
This beet hummus is perfect for meal prepping! Store it in an airtight container in the refrigerator for up to two weeks. The flavors tend to meld and deepen over time, making it even more delicious on day two or three. If you’re planning to serve it for a special occasion, you can easily make it a day or two in advance. Just give it a good stir before serving, and perhaps a fresh drizzle of olive oil for presentation.
Variations and Customizations
Feel free to get creative with your beet hummus! Here are a few ideas to customize your batch:
- Spicier Kick: Add a pinch of cayenne pepper or a tiny amount of a chopped fresh chili for some heat.
- Herbal Freshness: Blend in fresh parsley or cilantro for an extra layer of flavor.
- Nutty Crunch: Top with toasted pine nuts, sesame seeds, or a sprinkle of chopped walnuts before serving.
- Creamier Texture: For an even creamier consistency, consider adding a tablespoon of ice-cold water while blending, or a little more tahini.
- Roasted Garlic: Instead of raw garlic, use roasted garlic for a milder, sweeter, and more complex flavor profile.
Frequently Asked Questions (FAQ)
Can I use canned beets for this recipe?
While technically possible, it is not recommended for the best flavor and texture. Canned beets often have a muted flavor and a softer, sometimes mushy texture that won’t yield the same vibrant, earthy taste and smooth consistency as fresh, cooked beets. Using fresh beets, whether Instant Pot cooked or roasted, makes a significant difference.
How long does homemade beet hummus last?
When stored in an airtight container in the refrigerator, homemade beet hummus will stay fresh and delicious for up to two weeks.
Can I freeze beet hummus?
Yes, you can freeze beet hummus! Place it in an airtight, freezer-safe container, leaving a little headspace as it may expand slightly. It can be frozen for up to 2-3 months. Thaw it in the refrigerator overnight and give it a good stir before serving. You might need to add a touch more lemon juice or olive oil to restore its original creaminess and flavor after thawing.
Is this beet hummus recipe vegan and gluten-free?
Absolutely! All the ingredients used in this recipe – beets, tahini, garlic, cumin, salt, pepper, and lemon – are naturally vegan and gluten-free, making it a wonderful option for various dietary needs.
What if my hummus is too thick or too thin?
If your hummus is too thick, gradually add a tablespoon of cold water or a drizzle of olive oil while blending until you reach your desired consistency. If it’s too thin, you can try adding a small amount of cooked chickpeas (if you have some on hand) or a bit more tahini, then blend again.
We hope you enjoy making this vibrant and delicious beet hummus! If you give this recipe a try, we’d love to hear from you. Please leave a comment below, rate the recipe, or even better, snap a photo and tag it with @TheAlexDaynes on Instagram! Your culinary creations always make our day!
LIKE THIS RECIPE AND WANT TO SAVE IT FOR LATER? PIN IT TO PINTEREST HERE!
Beet Hummus
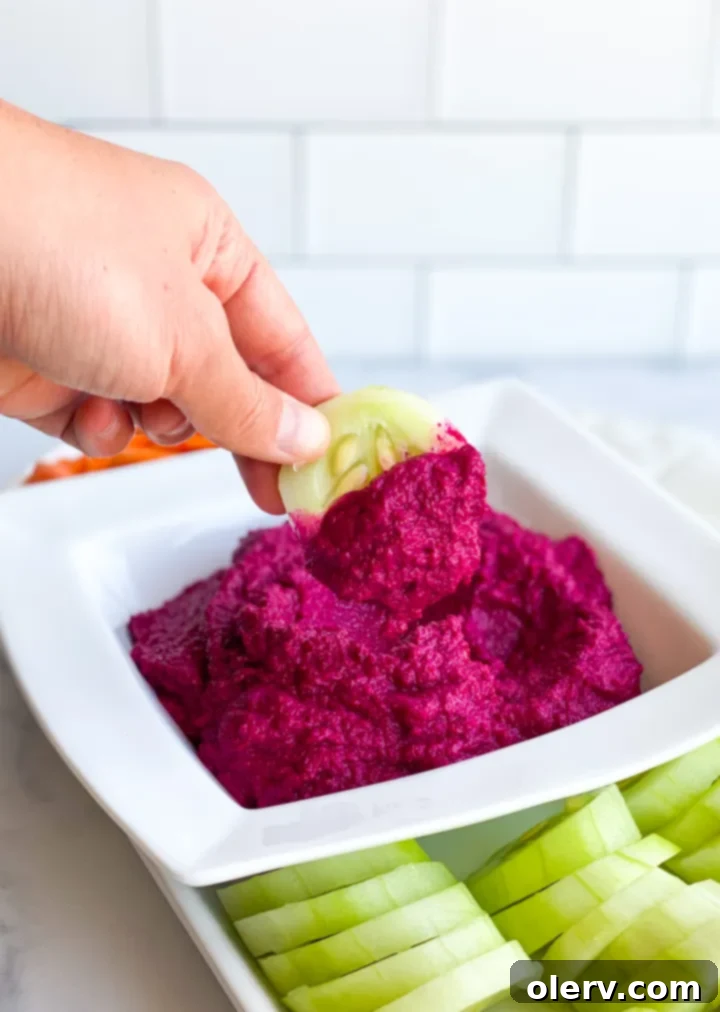
This vibrant homemade Beet Hummus is loaded with the natural sweetness of beets, the rich creaminess of tahini, and the zesty kick of garlic and lemon. It’s the perfect, healthy dip to serve with crackers, fresh veggies, or as a delightful spread on sandwiches and wraps. Its deep purple color makes a stunning display, especially as a centerpiece dip for a Charcuterie Board.
5 minutes
12 minutes
3 minutes
20 minutes
Ingredients
- 4 fresh cooked beets
- 2 Tablespoons Tahini
- 2 cloves or 2 teaspoons minced garlic
- 1 teaspoon cumin
- 1/2 teaspoon salt
- 1/2 teaspoon black pepper
- 1 lemon, zested and juiced
Instructions
- Cook the beets: Remove the stems and roots of 4 fresh beets. Wash them thoroughly. Place the beets in an Instant Pot with 1/2 cup of water. Set the valve to seal and manually set the timer for 12 minutes on high pressure. When finished cooking, allow for a 5-minute natural pressure release, then quick release any remaining pressure. Carefully remove the beets and peel them once cool enough to handle (wearing gloves is recommended to avoid stains).
- Blend the hummus: Add the cooked and peeled beets, tahini, minced garlic, cumin, salt, pepper, lemon zest, and fresh lemon juice to a food processor. Blend on high until the mixture is completely smooth and creamy, scraping down the sides as needed. This may take a few minutes.
- Serve: Spoon the vibrant beet hummus into a serving bowl. For best results, chill until ready to serve. It pairs wonderfully with crackers, fresh vegetable sticks, pita bread, or as a colorful spread on charcuterie boards, sandwiches, and wraps.
- Store: Store any leftover beet hummus in an airtight container in the refrigerator for up to 2 weeks.
Nutrition Information:
Yield:
8
Serving Size:
1
Amount Per Serving:
Calories: 37Total Fat: 2gSaturated Fat: 0gTrans Fat: 0gUnsaturated Fat: 2gCholesterol: 0mgSodium: 155mgCarbohydrates: 4gFiber: 1gSugar: 2gProtein: 1g
