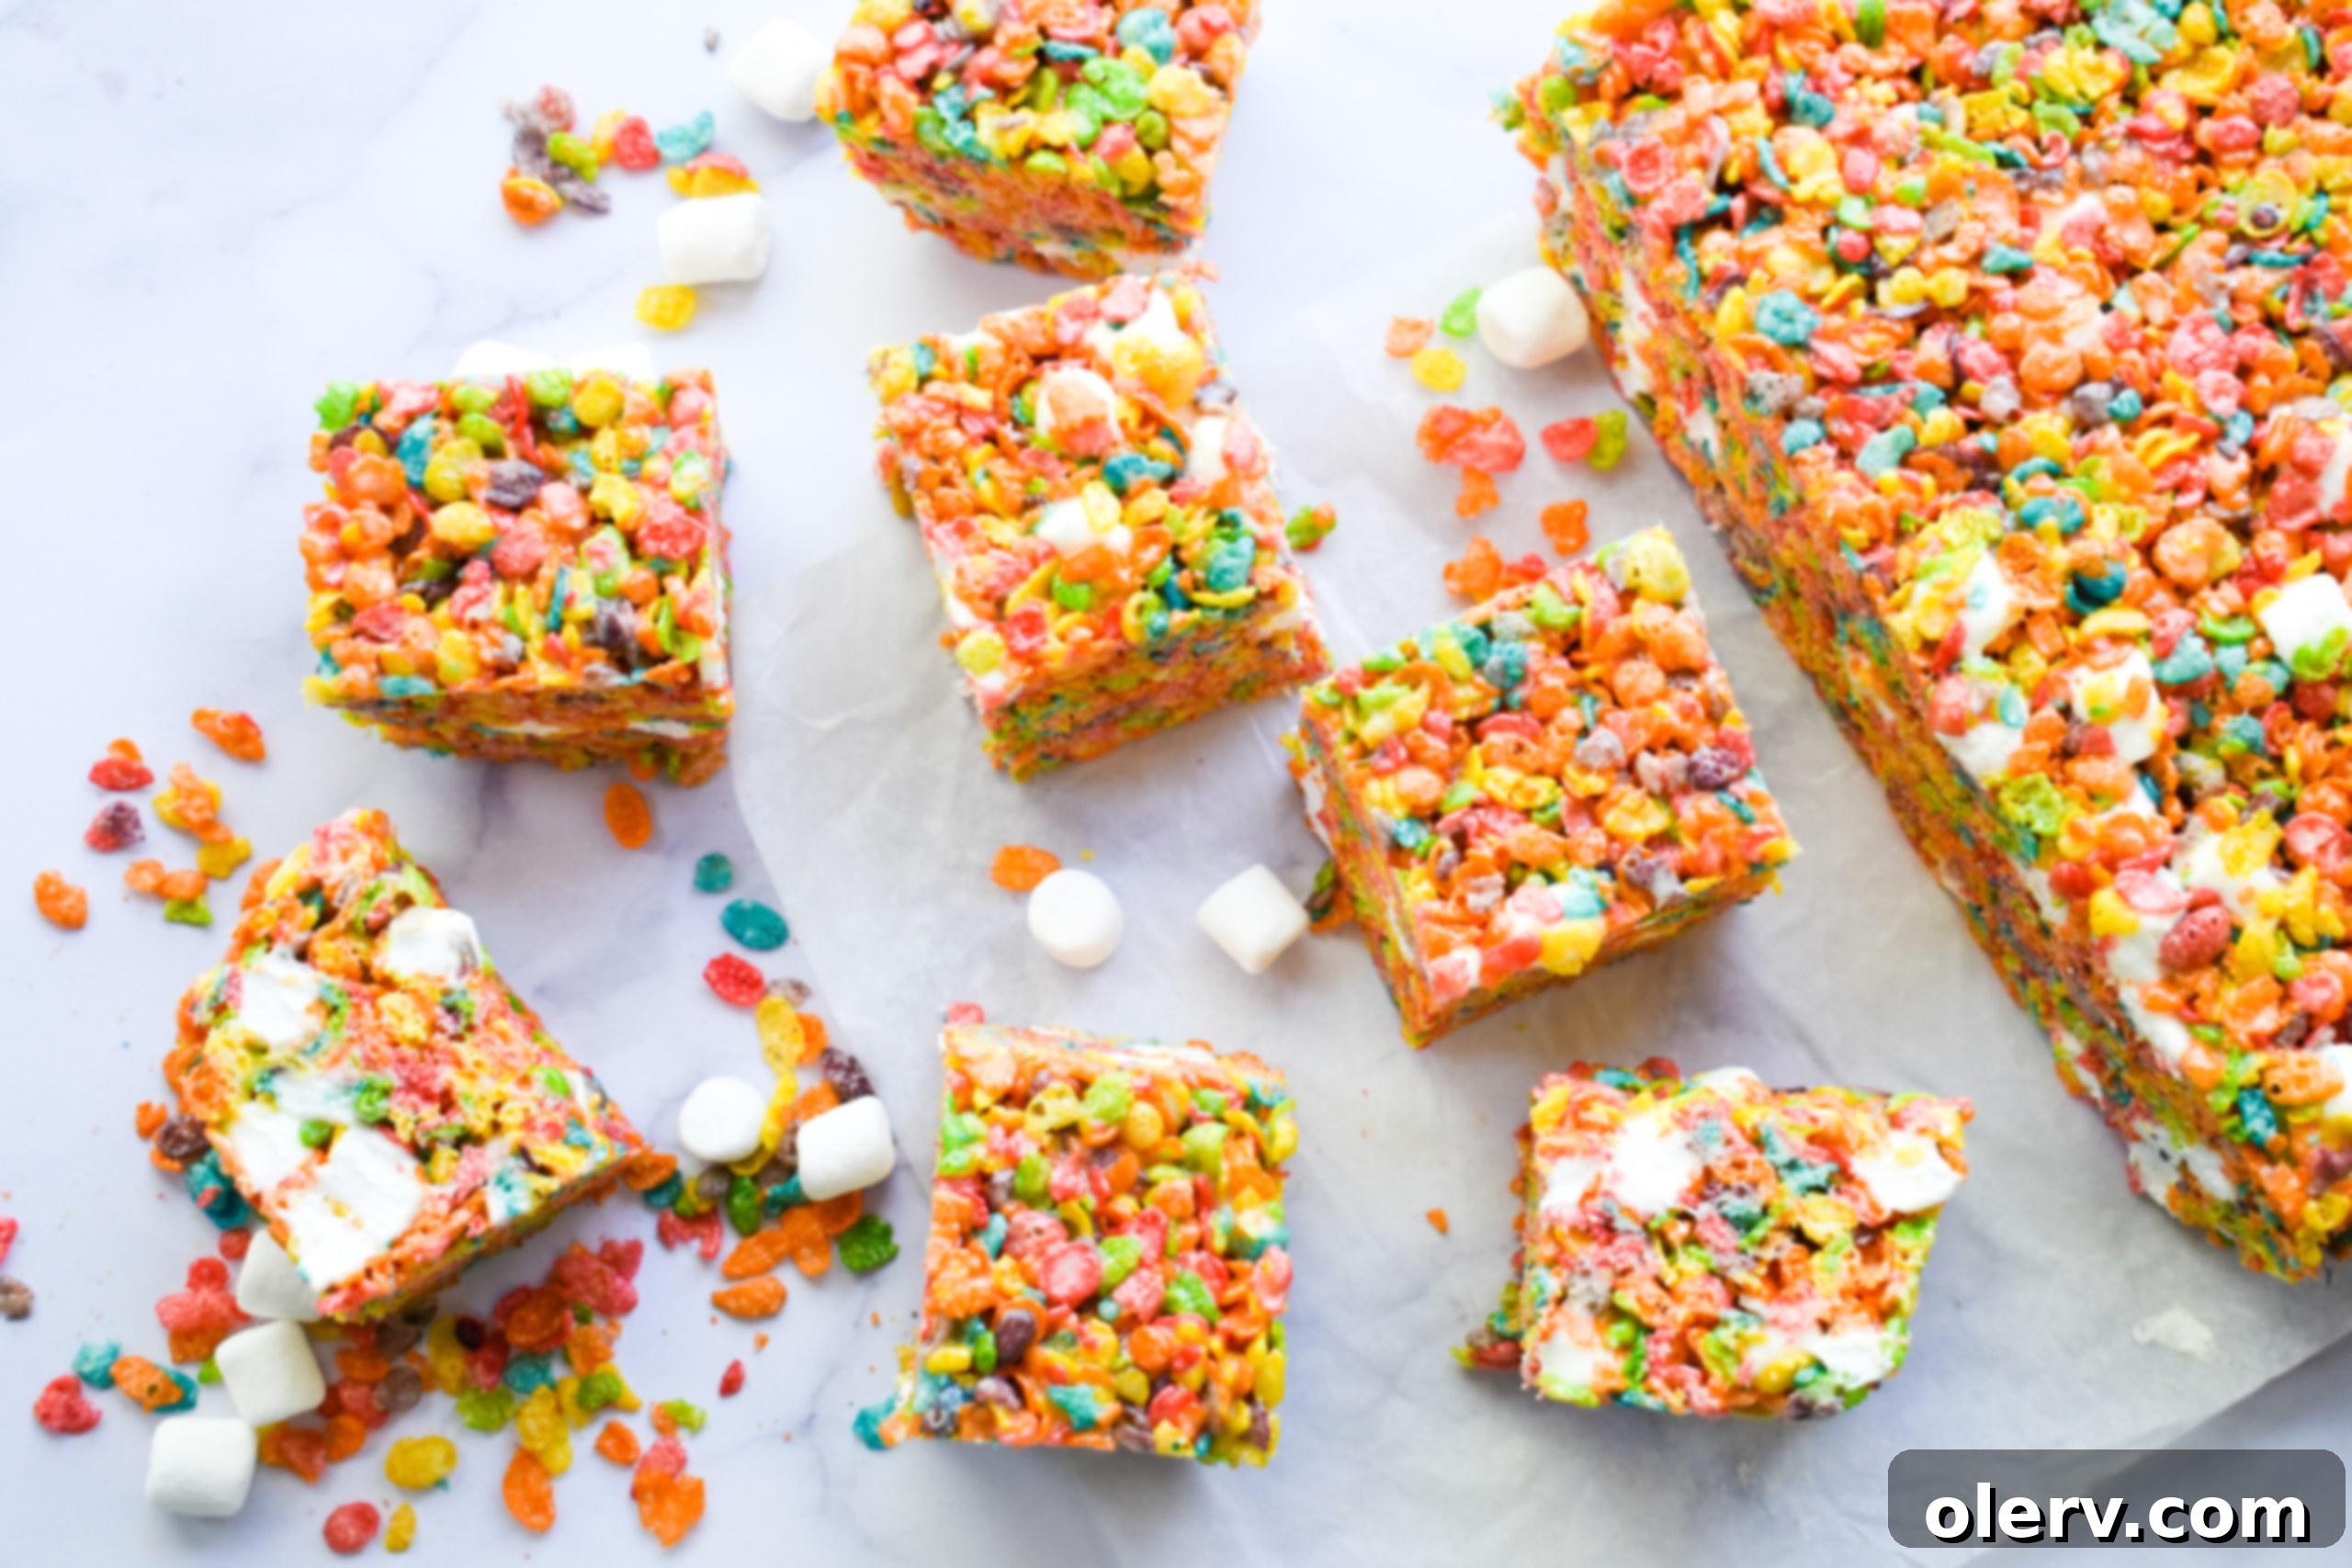
Easy & Irresistible Fruity Pebbles Cereal Bars: Your Go-To Gooey No-Bake Treat!
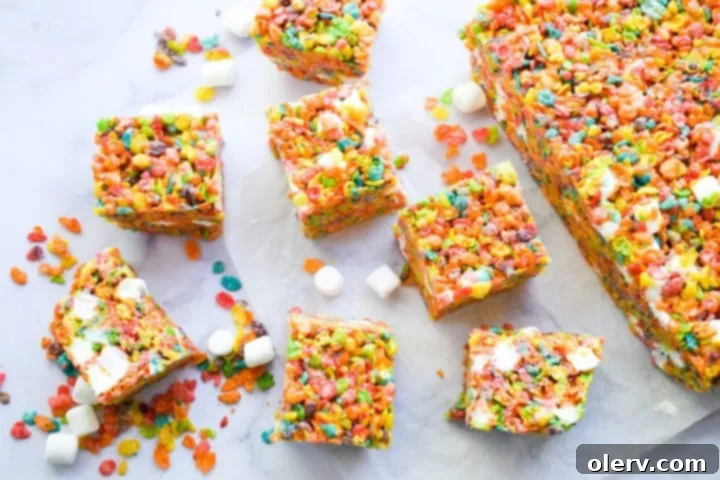
Get ready to whip up the ultimate snack that’s bursting with color and flavor: our incredibly delicious Fruity Pebbles Cereal Bars! Forget plain old treats; these bars are a game-changer, elevating the classic marshmallow cereal bar to a new, vibrant level. Made with beloved Fruity Pebbles cereal and an abundance of gooey mini marshmallows, this recipe is guaranteed to bring a smile to anyone’s face. They’re sweet, chewy, and absolutely addictive, making them the perfect rainbow treat for parties, lunchboxes, or a simple afternoon pick-me-up. If you’re a fan of the timeless Rice Krispie treat but crave something a little more exciting and fun, these cereal bars are precisely what you need. And the best part? They are wonderfully simple to make, requiring minimal effort for maximum deliciousness!
The Magic of Fruity Pebbles Cereal
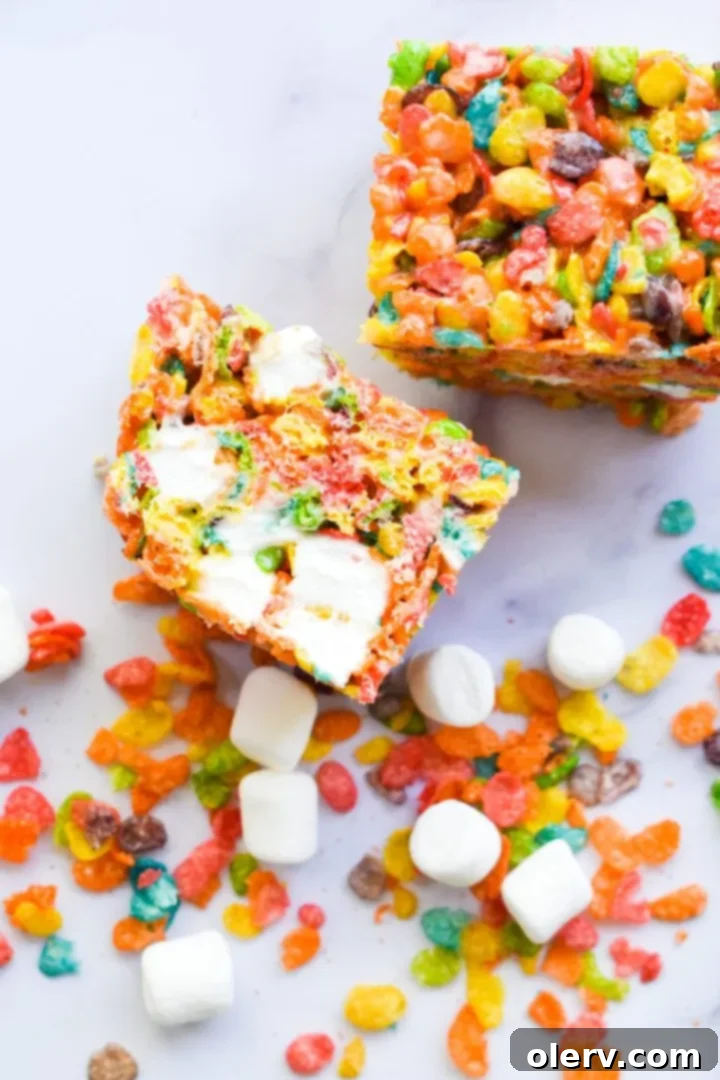
At the heart of these delightful bars lies the star ingredient: Fruity Pebbles cereal! This iconic cereal, known for its vibrant colors and sweet, fruity flavor, transforms into an irresistible, chewy treat when combined with melted marshmallows. While the original brand is fantastic, any generic or store-brand fruity pebble cereal will work beautifully for this recipe, so feel free to choose your favorite or whatever is readily available. The key is that distinct, sweet, and slightly tart flavor that perfectly balances the richness of the butter and marshmallows.
When I’m making a batch of these glorious cereal bars, I often opt for the larger bags of Fruity Pebbles over the standard boxes. This strategy is perfect for preparing a generous batch in a substantial 9×13-inch pan, ensuring you get plenty of hearty, satisfying cubes from your efforts. A typical box might only hold around 8 cups of cereal, but for this recipe, you’ll need a full 10 cups to achieve that ideal cereal-to-marshmallow ratio that makes these bars so wonderfully chewy and flavorful. Keep this in mind during your grocery run; picking up a larger bag or a couple of smaller boxes will save you a trip!
Using a large quantity of Fruity Pebbles not only allows for a bigger batch but also ensures that every single bar is packed with that quintessential fruity crunch and vibrant color, making each bite an experience. These Fruity Pebbles Cereal Bars aren’t just a dessert; they’re a celebration of flavor and fun!
The Indispensable Role of Mini Marshmallows
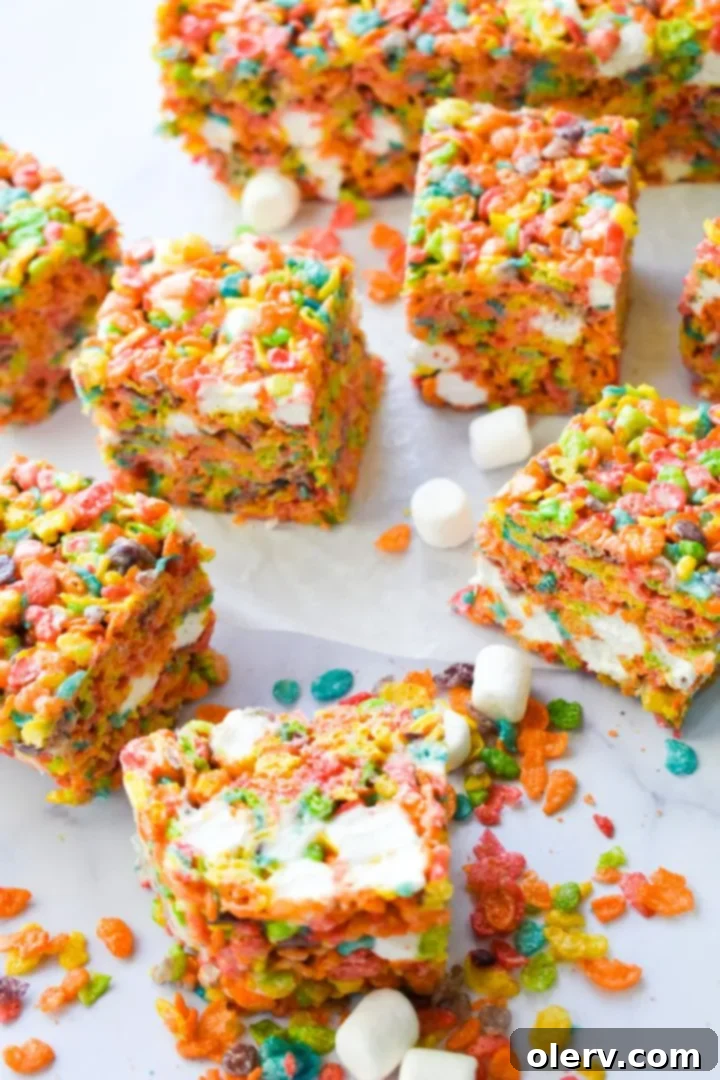
Marshmallows are the glue that holds these magnificent cereal bars together, literally and figuratively. When it comes to melting, I have a strong preference for mini marshmallows. Their smaller size means they melt down much quicker and more evenly than their larger counterparts, resulting in a perfectly smooth, consistent marshmallow base. This consistency is crucial for ensuring every piece of cereal is thoroughly coated, leading to that signature gooey texture we all crave in a cereal treat.
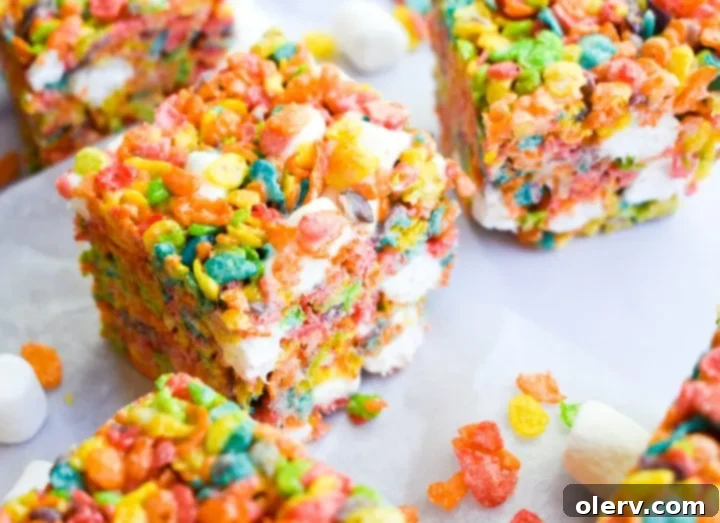
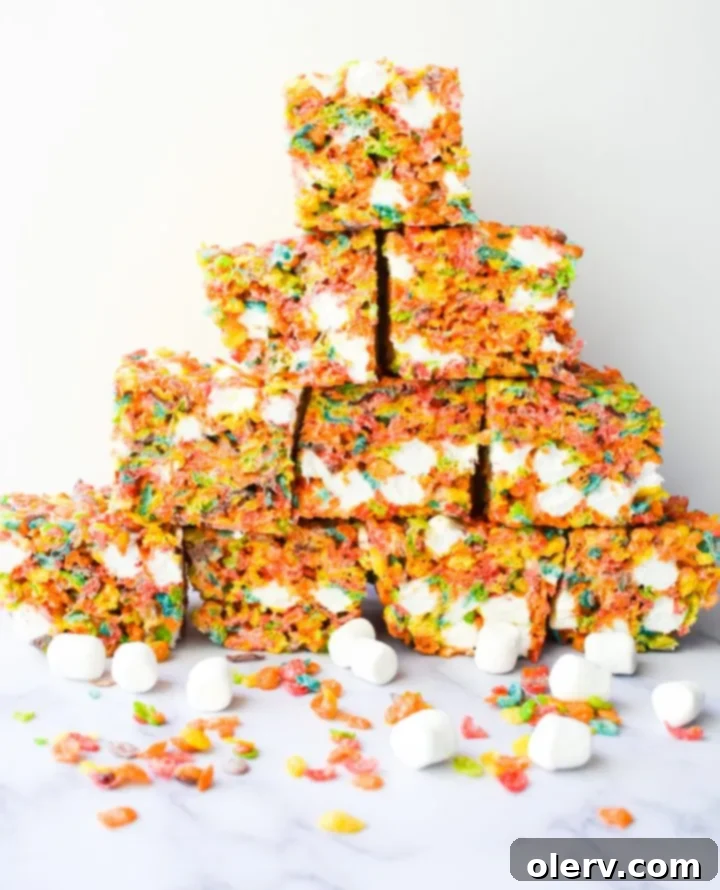
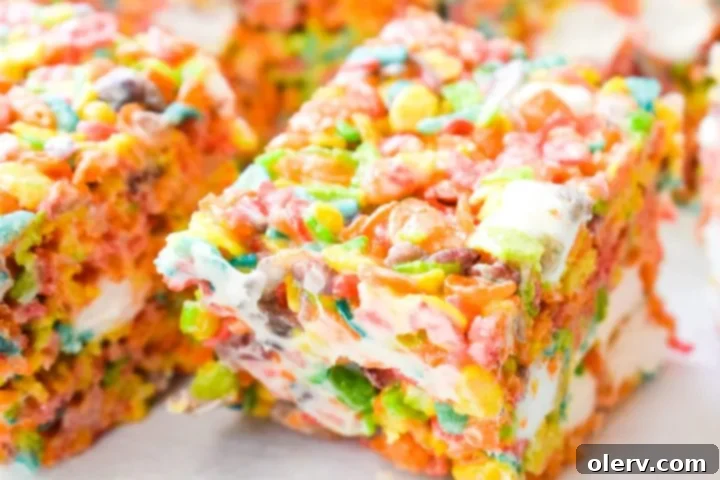
But here’s a little secret for achieving marshmallow perfection: I always reserve about a cup of mini marshmallows to fold in right at the end, after the melted marshmallow mixture has coated the cereal. This brilliant technique ensures that you get delightful pockets of soft, unmelted marshmallow throughout your bars, adding an extra layer of texture and sweetness to every single bite. These little white specks of joy are clearly visible in the photos and are a testament to the extra gooeyness and delightful chewiness you’ll experience.
Using two 10-ounce bags, totaling 20 ounces of mini marshmallows, is ideal for this recipe. This quantity guarantees enough melted marshmallow to bind the generous amount of Fruity Pebbles, while also allowing for that extra cup to be folded in for textural contrast. Don’t underestimate the power of these fluffy little clouds – they are truly what make these Fruity Pebbles Cereal Bars utterly irresistible!
Essential Ingredients: Butter and Vanilla
While Fruity Pebbles and marshmallows are the stars, unsalted butter and vanilla extract play crucial supporting roles in these cereal bars. The butter provides a rich, smooth base for melting the marshmallows, preventing them from sticking and adding a luxurious depth of flavor. Unsalted butter is preferred as it allows you to control the saltiness of the overall treat, ensuring it stays perfectly sweet. Vanilla extract, though a small addition, elevates the flavor profile, adding a warm, aromatic note that complements the fruity cereal and sweet marshmallows beautifully. Don’t skip these essential elements; they truly round out the taste of your homemade Fruity Pebbles Cereal Bars.
The Perfect No-Bake Treat for Any Season
One of the absolute best features of these Fruity Pebbles Cereal Bars is that they are a fantastic “no-bake” recipe! During the warmer months, the last thing anyone wants to do is turn on a hot oven and heat up the entire house. That’s why I adore turning to no-heat recipes that keep the kitchen cool and comfortable. These vibrant cereal bars are an ideal solution because they only require a stovetop for melting the butter and marshmallows. No sweltering house required!
Beyond just keeping your home cool, no-bake treats offer an unparalleled level of convenience and speed. In just minutes, you can transform simple ingredients into a dazzling dessert. This makes them perfect for busy weeknights, impromptu gatherings, or when you need a quick yet impressive treat for a bake sale or school event. They are truly a lifesaver for hosts and busy parents alike, offering deliciousness without the fuss.
My family and I also love making classic soft and chewy Rice Krispie treats and my famous caramel popcorn during the summer, precisely because they share that wonderful no-oven advantage. These Fruity Pebbles Cereal Bars fit right into that category of easy, delicious, and perfectly convenient snacks that can be enjoyed year-round, but especially when the sun is shining!
Crafting Your Fruity Pebbles Cereal Bars: Step-by-Step Success
Making these delightful Fruity Pebbles Cereal Bars is incredibly straightforward, but a few tips can ensure your treats are perfect every single time. Follow these steps for gooey, chewy, and irresistibly colorful bars:
- Prepare Your Pan: First, take a 9×13-inch baking pan. Lightly grease it with cooking spray, then line it with parchment paper, leaving an overhang on the sides. This parchment paper is your secret weapon for easy removal and clean cutting later.
- Measure Cereal: Measure out a full 10 cups of Fruity Pebbles cereal into a large mixing bowl. Set it aside, ready for action. Having it pre-measured means you can quickly combine everything once the marshmallow mixture is ready.
- Melt the Butter: In a large saucepan, melt 1 cup of unsalted butter over medium heat. Stir it gently until it’s completely liquid. This forms the rich base for our marshmallow goo.
- Add Marshmallows: Once the butter is melted, add 20 ounces (which is two standard 10-ounce bags) of mini marshmallows to the saucepan. Continuously stir the mixture with a spatula. It’s important to stir constantly to prevent scorching and ensure even melting. The marshmallows should become a smooth, glossy, and completely melted sauce, which usually takes about 3-4 minutes.
- Remove from Heat & Add Vanilla: As soon as the marshmallows are fully melted and smooth, immediately remove the saucepan from the heat. Stir in 1 teaspoon of vanilla extract. The vanilla adds a depth of flavor that complements the fruity cereal beautifully.
- Combine with Cereal: Pour the warm, gooey marshmallow sauce directly over the Fruity Pebbles in your large mixing bowl. Using your spatula, gently but thoroughly mix until every single piece of cereal is coated in the marshmallow goodness. Then, fold in the additional cup of mini marshmallows you reserved. This step is crucial for those delightful, chewy pockets of marshmallow in the finished bars!
- Press into Pan: Transfer the coated cereal mixture into your prepared 9×13-inch pan. Now, here’s a pro tip: lightly spray your hands or the back of a spatula with cooking spray (or even use the butter wrappers from earlier!) and firmly press the mixture down to compact it evenly into the pan. Don’t press too hard, as this can make your bars overly dense and tough, but ensure it’s firmly packed.
- Set & Serve: For the best results, place the pan in the fridge for about 15-20 minutes to allow the bars to set completely. This makes them much easier to cut cleanly. Once set, lift the bars out using the parchment paper overhang, cut them into squares or rectangles, and enjoy your vibrant, chewy, and utterly delicious Fruity Pebbles Cereal Bars!
Tips for Perfection
- Don’t Overcook Marshmallows: Overcooking the marshmallows can lead to hard, brittle bars. Melt them just until smooth and then remove from heat immediately.
- Press Gently: While you want to compact the mixture, pressing too hard can crush the cereal and make the bars dense and less chewy. A gentle, firm press is perfect.
- Grease Your Tools: To prevent sticking, always lightly grease your spatula or hands with cooking spray when pressing the mixture into the pan. You can even use the butter wrappers for a mess-free experience!
- Even Coating: Ensure all the cereal is thoroughly coated with the marshmallow mixture for consistent texture and flavor throughout.
Fun Variations & Customizations
While these Fruity Pebbles Cereal Bars are perfect as is, feel free to get creative with some exciting variations:
- Chocolate Drizzle: Melt some white chocolate or milk chocolate chips and drizzle them over the cooled bars for an extra layer of sweetness and visual appeal.
- Extra Sprinkles: Add a handful of rainbow sprinkles to the mixture along with the cereal, or sprinkle them on top while the bars are still warm for a festive touch.
- Different Extracts: Experiment with different extracts like almond, lemon, or orange to complement the fruity flavors of the cereal.
- Hybrid Cereal Bars: Mix Fruity Pebbles with other cereals like Lucky Charms or Rice Krispies for a unique flavor and texture combination.
- Nut Butter Swirl: For a twist, swirl a tablespoon or two of melted peanut butter or almond butter into the melted marshmallow mixture before combining with the cereal.
Storing Your Colorful Creation
To keep your Fruity Pebbles Cereal Bars fresh, soft, and chewy, proper storage is key. Once they are fully set and cut, store them in an airtight container at room temperature. They will typically stay fresh and delicious for 3-5 days. For longer storage, you can refrigerate them, but be aware that they might become a bit firmer. If refrigerating, let them come back to room temperature for about 15-20 minutes before serving for optimal chewiness.
Fruity Pebbles Cereal Bars Recipe
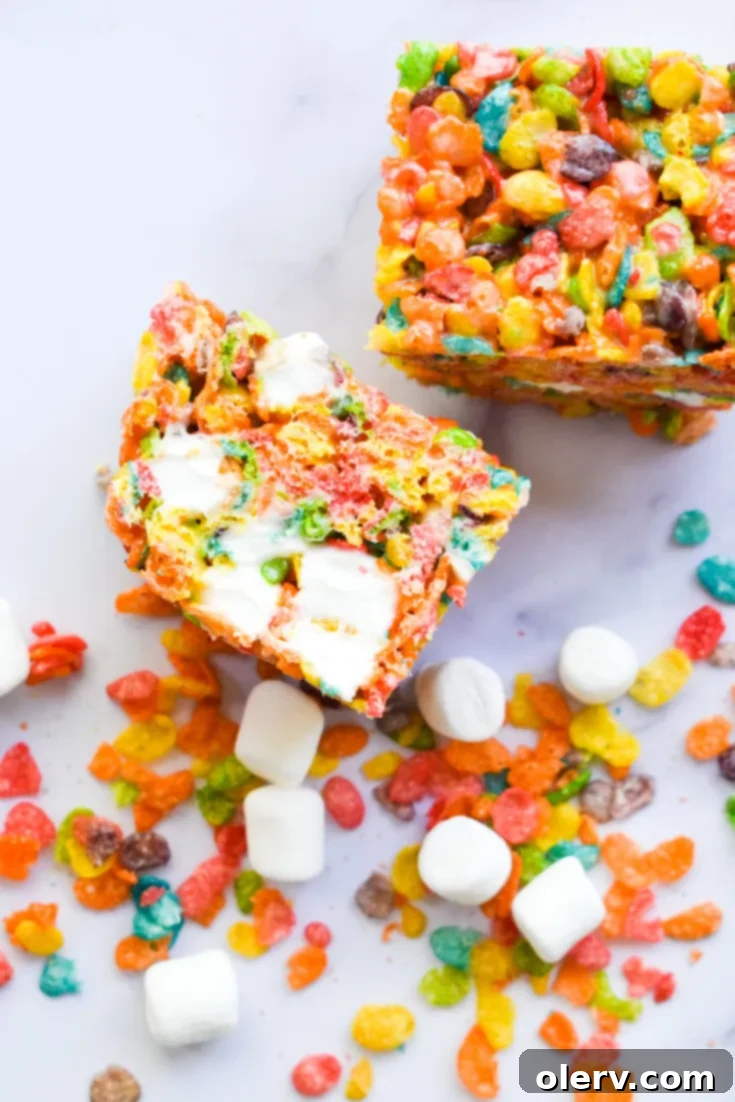
The most delicious Fruity Pebbles Cereal Bars made from colorful Fruity Pebbles cereal and generous amounts of mini marshmallows for a perfectly gooey and sweet no-bake treat!
5 minutes
10 minutes
15 minutes
Ingredients
- 10 cups Fruity Pebbles cereal
- 1 cup unsalted butter
- 20 ounces mini marshmallows (typically 2- 10 ounce bags)
- 1 teaspoon vanilla extract
- 1 additional cup of mini marshmallows (for folding in)
Instructions
- Prepare a 9×13-inch pan by greasing it lightly with cooking spray and lining it with parchment paper, allowing some overhang on the sides for easy lifting.
- Measure out 10 cups of Fruity Pebbles cereal into a large mixing bowl and set aside.
- In a large saucepan, add the unsalted butter and melt it over medium heat, stirring occasionally until fully liquid.
- Once the butter is melted, add the 20 ounces of mini marshmallows. Continuously stir the mixture with a spatula until the marshmallows are completely melted and smooth, which should take about 3-4 minutes. Be careful not to overcook.
- Remove the saucepan from the heat and immediately stir in the vanilla extract until well combined.
- Pour the warm marshmallow sauce over the Fruity Pebbles cereal in the large mixing bowl. Mix thoroughly with a spatula until all the cereal is evenly coated. Then, gently fold in the additional 1 cup of mini marshmallows.
- Transfer the coated cereal mixture into your prepared 9×13-inch pan. Using a butter wrapper, a piece of parchment paper, or lightly greased hands, firmly but gently press the mixture down to compact it evenly into the pan. Place the pan in the fridge for at least 15-20 minutes to allow the bars to set.
- Once set, lift the bars out of the pan using the parchment paper overhang. Cut them into squares or rectangles of your desired size, then serve and enjoy these delightful Fruity Pebbles Cereal Bars!
Notes
Pro Tip: Don’t throw away your butter wrappers! You can use them to press the cereal mixture into your pan. The residual butter on the wrapper will prevent the cereal from sticking, keeping your hands clean and making the process much easier!
Frequently Asked Questions About Fruity Pebbles Cereal Bars
Why are my Fruity Pebbles Cereal Bars hard?
The most common reason for hard cereal bars is overcooking the marshmallows. When marshmallows are heated for too long or at too high a temperature, they can caramelize too much, leading to a brittle texture once cooled. To avoid this, melt the marshmallows just until they are smooth and fully incorporated, then remove them from the heat immediately. Also, pressing the mixture too firmly into the pan can result in denser, harder bars, so a gentle yet firm press is ideal.
Can I use large marshmallows instead of mini marshmallows?
Yes, you can use large marshmallows, but mini marshmallows are highly recommended for this recipe. Mini marshmallows melt more quickly and evenly, ensuring a smoother, more consistent marshmallow mixture. If you use large marshmallows, cut them into smaller pieces to help them melt faster and stir continuously to prevent scorching. You will still need about 20 ounces total for the main mixture, plus an additional cup for folding in.
How long do Fruity Pebbles Cereal Bars last?
When stored properly in an airtight container at room temperature, these Fruity Pebbles Cereal Bars will remain fresh, soft, and chewy for about 3 to 5 days. If you need to store them for longer, they can be kept in the refrigerator for up to a week, but they might become a bit firmer. For best texture, let refrigerated bars come to room temperature for 15-20 minutes before serving.
Can I make these bars ahead of time for a party?
Absolutely! Fruity Pebbles Cereal Bars are an excellent make-ahead treat for parties or gatherings. Since they keep well at room temperature for several days, you can prepare them a day or two in advance. This allows you to focus on other preparations on the day of your event, knowing you have a delicious and crowd-pleasing dessert ready to go.
What other cereals can I use to make similar bars?
The beauty of cereal bars is their versatility! While Fruity Pebbles are fantastic, you can easily substitute them with other cereals to create different flavor profiles. Popular choices include:
- Rice Krispies: For the classic crispy treat.
- Lucky Charms: Adds even more marshmallows and magical shapes.
- Cocoa Puffs or Chocolate Cheerios: For a chocolatey twist.
- Cap’n Crunch: For a buttery, crunchy texture.
- Chex cereals: Can create a lighter, crispier bar.
Experiment with your favorite cereals to find your next go-to no-bake treat!
We hope you love these incredibly easy and utterly delicious Fruity Pebbles Cereal Bars as much as we do! They’re truly a bright, cheerful, and satisfying treat that’s perfect for any occasion. Don’t forget to pin this recipe for later and share your creations with us. Happy baking (without the oven)!
