The Ultimate Guide to Perfectly Grilled Corn on the Cob: The Husk-On Method for Sweet, Juicy Kernels
As soon as the temperatures rise, bringing longer days and outdoor gatherings, grilled corn on the cob inevitably finds its place on our summer menus. This method of cooking corn is not only incredibly simple but also remarkably quick, yielding perfectly cooked, sweet, and juicy kernels every time. My favorite approach involves grilling the corn with its husks still intact, a technique that locks in moisture and infuses a subtle smoky flavor. Let me guide you through the process of making the most delicious grilled corn on the cob – a recipe so good, you’ll find yourself making it all summer long!
Picking Out The Best Corn for Grilling
Before you can savor that first bite of perfectly grilled corn on the cob, selecting the freshest ears is crucial. High-quality corn is the foundation of a delicious dish. Here are some essential tips to help you pick the best possible ears from the market:
- Examine the Husks: Look for ears with tight, bright green husks. This indicates freshness and that the corn has been recently harvested. Avoid husks that are starting to dry out, turn yellow, or show signs of browning or cracking, as these are indicators of older corn.
- Check the Tassels (Silks): The hairy bit at the top, known as the tassel or silk, should be golden brown and slightly sticky. This stickiness is a good sign of juicy kernels inside. Steer clear of tassels that are dry, brittle, black, or moldy, as these often mean the corn is past its prime or may have internal damage.
- Feel for Plump Kernels: Gently squeeze the ear of corn through the husks from top to bottom. You should feel plump, firm kernels all the way around. Avoid ears with noticeable gaps or soft spots, which indicate kernels that haven’t fully developed or have been damaged. Uniformly plump kernels ensure even cooking and a satisfying bite.
Visiting a local farmers’ market often provides the freshest corn, as it’s typically picked shortly before being sold, maximizing its natural sweetness and moisture content.
Preparing the Husks for the Grill
The secret to incredibly juicy and flavorful grilled corn on the cob lies in leaving some of the husks on during the grilling process. This protective layer acts as a natural steaming pouch, preventing the delicate kernels from drying out and charring excessively, while also infusing a wonderful smoky flavor. Here’s how to prepare them:
I mindfully trim the long, fibrous tassels at the very top of the stalk, typically where they begin to dry out. Then, I carefully peel back only a few layers of the husk, exposing a small portion of the corn. This allows some direct heat to reach the corn faster, but keeps the majority of the husk intact to do its job. Leaving most of the husk intact creates a perfect steamy environment for the corn, ensuring it cooks thoroughly and remains incredibly moist. An added benefit? The husks also make peeling and getting rid of stubborn silks much easier once the corn is cooked.
Soak the Husks for Optimal Moisture and Flavor
A quick soak is a crucial step that adds essential moisture to your corn, allowing it to “steam” beautifully while on the grill. This simple technique prevents the husks from burning too quickly and helps create that tender, succulent texture we all crave from grilled corn.
I simply add my prepared ears of corn, husks and all, to a large bowl filled with cold water. For an extra touch of flavor, I like to add about a tablespoon of salt to the soaking water. Let the corn soak for 5-10 minutes. This short period is all that’s needed for the husks to absorb enough moisture and become pliable. This absorption is key because it minimizes the risk of the husks catching fire on the hot grill and ensures a gentle steaming process for the kernels within. Some prefer to soak for up to 30 minutes for maximum steam, but even a shorter soak makes a significant difference. Just be sure to shake off any excess water before placing them on the grill.
How Long Do You Grill Corn on the Cob with Husks?
Once your corn husks are adequately soaked, it’s time for the magic to happen on the grill! Preheat your grill to a medium temperature, typically around 350-400°F (175-200°C). This ensures even cooking without immediately charring the kernels.
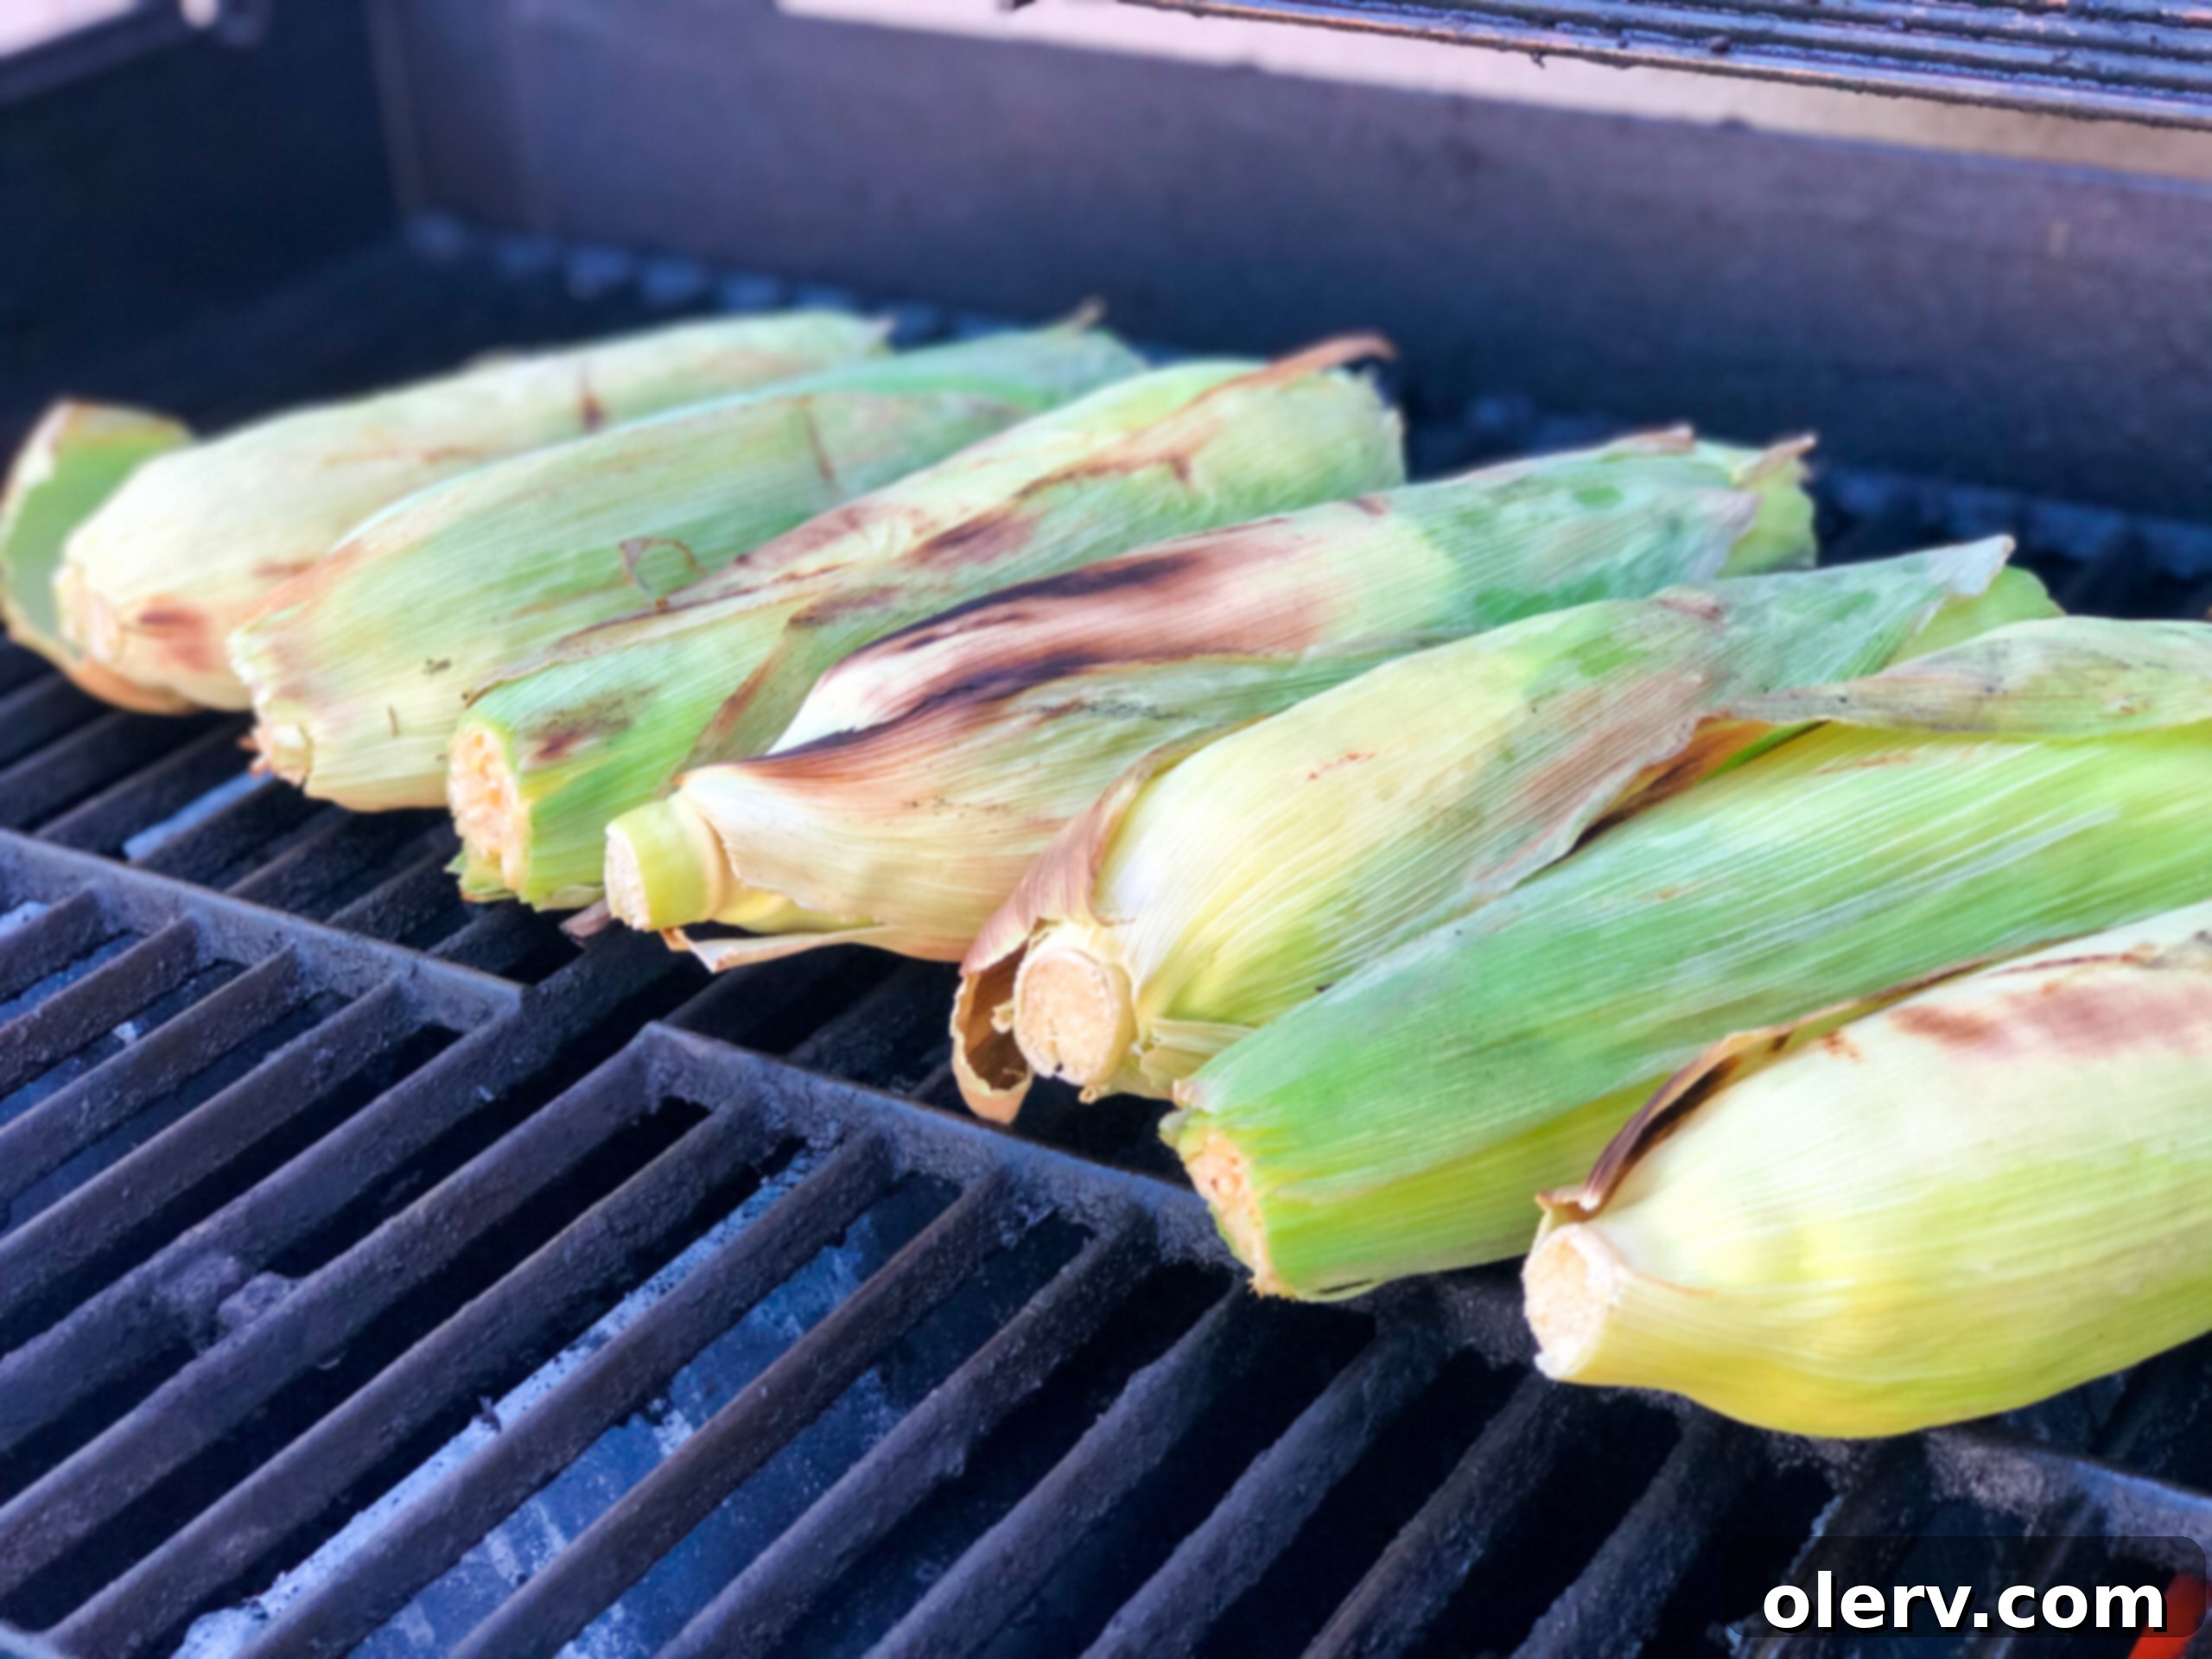
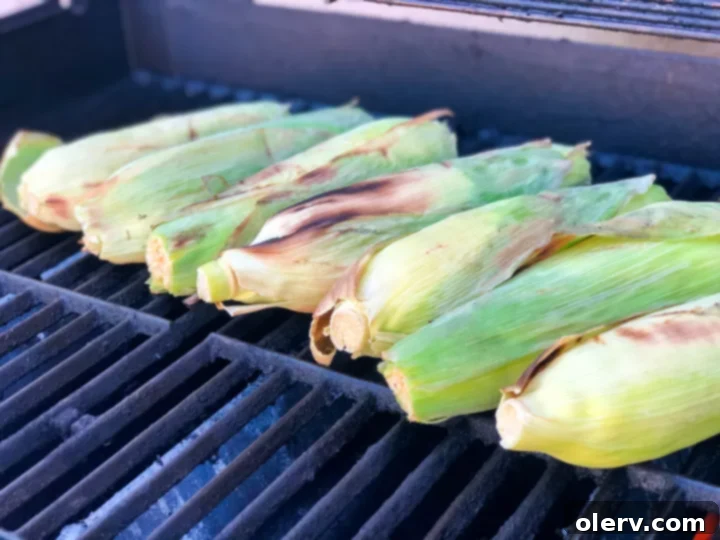
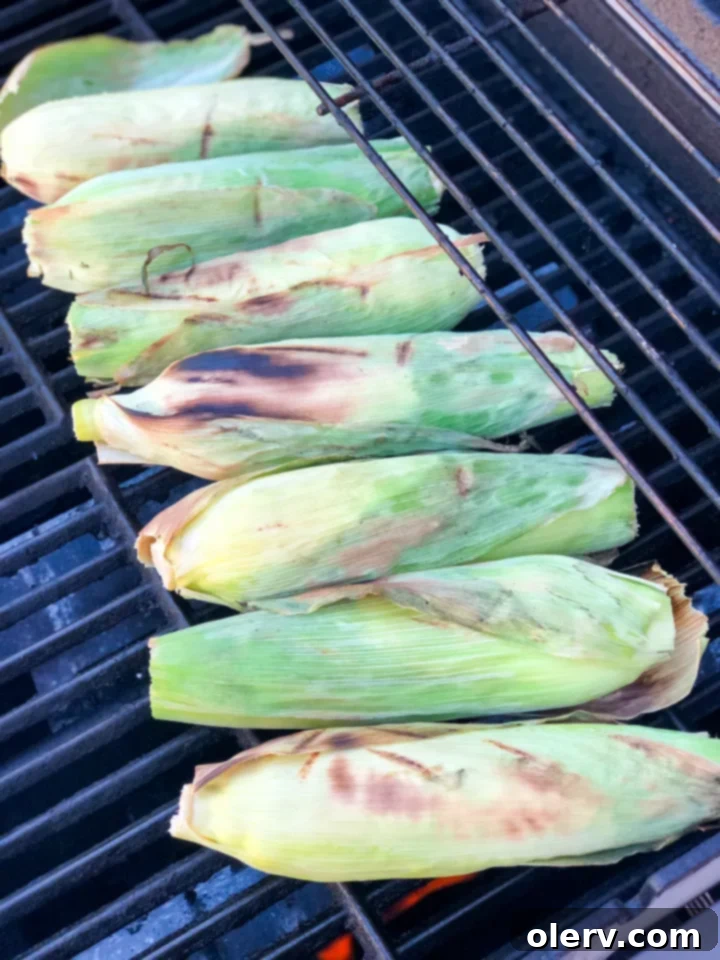
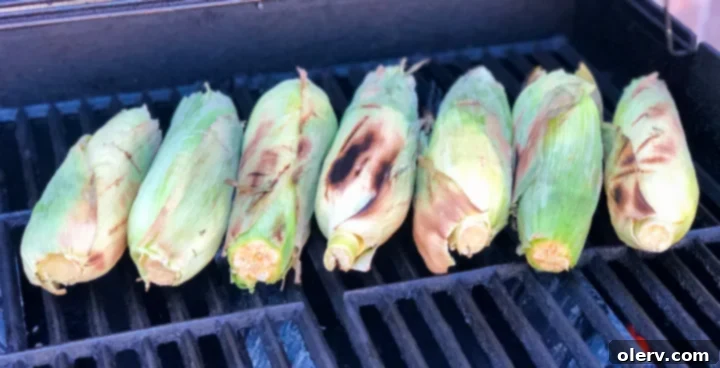
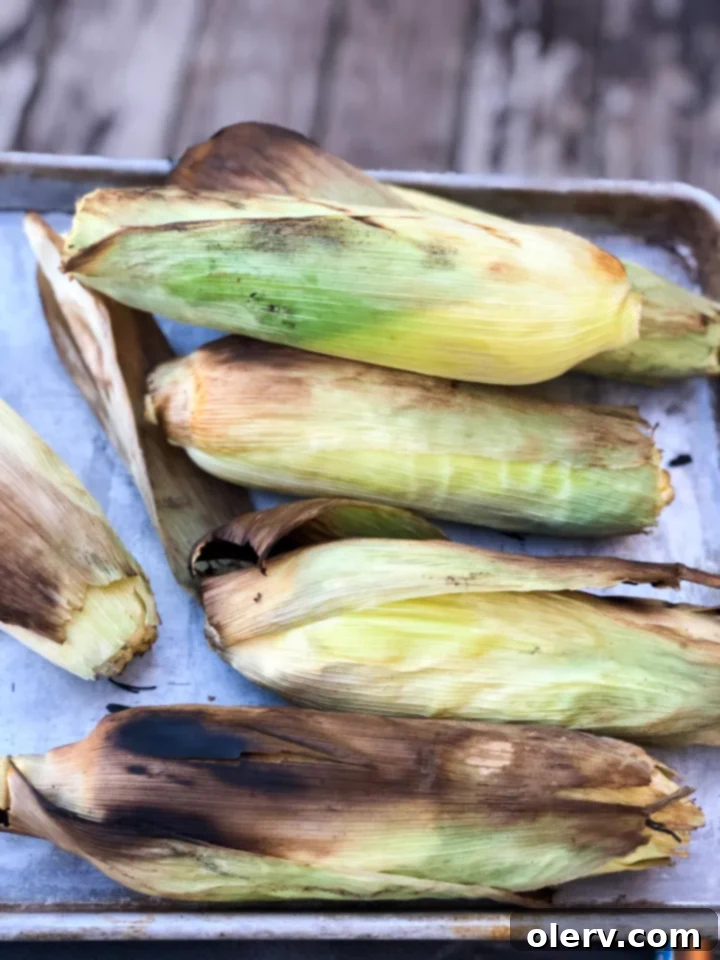
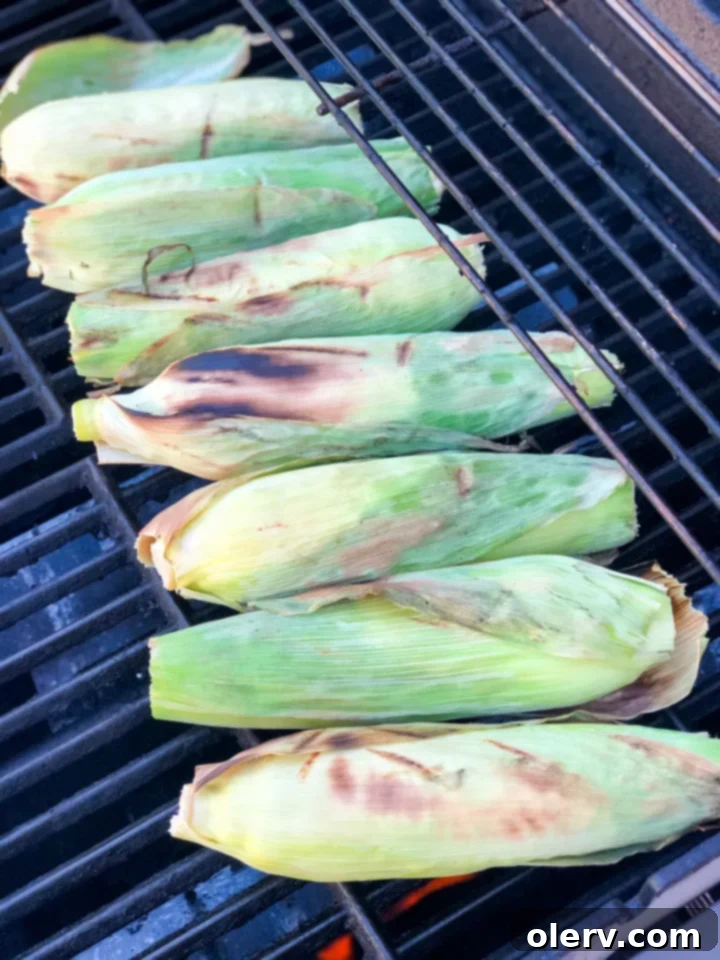
The beauty of the husk-on method is that you can simply place the corn directly on the hot grill grates. Yes, you read that correctly – direct heat is ideal for this technique! The soaked husks will protect the kernels while creating that wonderful steaming effect. Don’t be alarmed if the outer husks become blackened and slightly charred; this is normal and desirable! This charring contributes a delicious, smoky depth of flavor to the sweet kernels inside. Plus, the husks become incredibly easy to remove once cooked, taking most of the silk with them.
Grill the corn for a total of 15 to 20 minutes, turning the ears every 5 minutes to ensure even cooking and charring on all sides. You’ll know the corn is perfectly cooked when the kernels are tender when pierced with a paring knife or when the ear feels slightly softer when squeezed through the husk.
You are going to absolutely love the incredible flavor and texture of this perfectly grilled corn on the cob!
Serving Your Delicious Grilled Corn
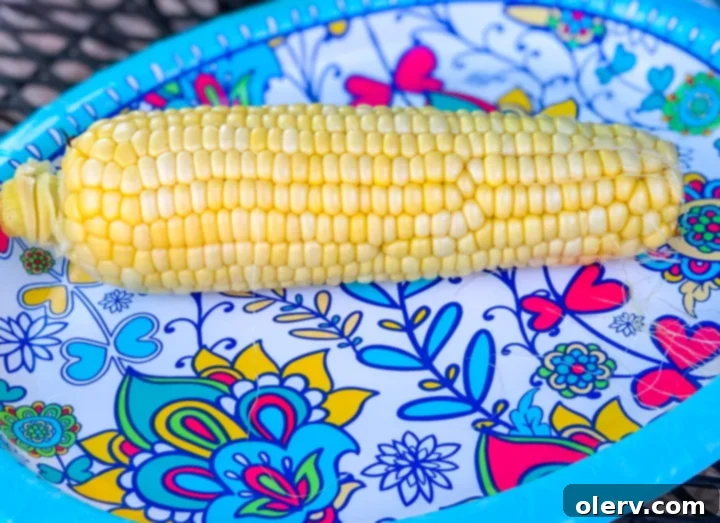
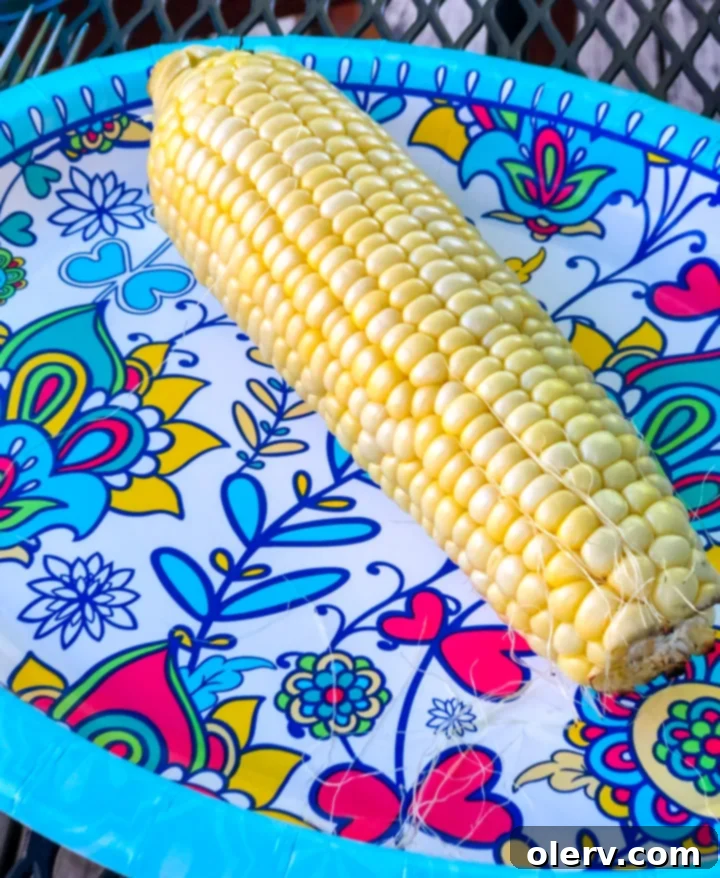
Once your corn is perfectly grilled and infused with smoky flavor, it’s time to enjoy! Carefully remove the hot ears from the grill. The husks, now charred and softened, will peel away with remarkable ease, often taking most of the silk strands with them for a clean, hassle-free experience. You can then serve the corn right on the cob, or if preferred, carefully cut the kernels off with a sharp knife for salads, salsas, or as a vibrant side dish.
No matter how you serve it, don’t forget the classic toppings! A generous slather of butter (or a flavorful compound butter like garlic herb or chili lime), a sprinkle of Johnny’s Seasoning Salt, and a dash of freshly ground black pepper are all you need to elevate its natural sweetness. For those who love to experiment, consider adding a squeeze of fresh lime juice, a sprinkle of chili powder, a dusting of grated Parmesan or Cotija cheese, or even some fresh chopped cilantro. Spread your chosen toppings over the hot corn to let them melt and meld into the tender kernels.
Why Grill Corn with Husks On? The Benefits Explained
While there are several methods to grill corn, the husk-on technique stands out for numerous reasons, making it a favorite among grilling enthusiasts:
- Unbeatable Moisture Retention: The husks act as a natural, protective wrapper, essentially steaming the corn as it cooks. This method locks in the corn’s natural moisture, resulting in incredibly plump, juicy, and tender kernels that are never dry or tough.
- Enhanced Smoky Flavor: As the outer husks char on the grill, they impart a wonderful, subtle smoky aroma and flavor to the corn inside. This adds a depth that’s hard to achieve with other methods.
- Effortless Silk Removal: One of the biggest advantages is how easily the corn silk comes off after grilling. The heat and steam help loosen the silk from the kernels, allowing it to peel away almost entirely with the husks, saving you time and frustration.
- Protection from Burning: The husks shield the delicate kernels from direct, intense heat, preventing them from over-charring or drying out. This means you get perfectly cooked corn without burnt spots on the kernels.
- Easy Cleanup: Since the corn is cooked within its natural wrapper, there’s less direct contact with the grill grates, which often means an easier cleanup afterward. The husks also provide a convenient, built-in handle for serving.
Troubleshooting and Expert Tips for Grilling Corn
- Husks Catching Fire: While soaking significantly reduces this risk, if a dry husk happens to ignite, simply spritz it with a bit of water or use tongs to move the ear to a cooler section of the grill momentarily. The key is to ensure the husks are well-soaked before grilling.
- Stubborn Silk Strands: Even with the husk-on method, a few silk strands might cling to the kernels. Don’t fret! Once the corn is shucked, a clean kitchen brush, a damp paper towel, or even your fingers can easily remove any lingering silk.
- Don’t Overcook: While the husks offer protection, it’s still possible to overcook corn, leading to chewy or starchy kernels. Keep an eye on the cooking time (15-20 minutes is a good range) and check for tenderness as described above.
- Gas vs. Charcoal Grill: This method works beautifully on both! For a charcoal grill, arrange coals for medium-direct heat. For a gas grill, preheat to medium (350-400°F). Both will deliver fantastic results.
Perfect Pairings for Your Grilled Corn
Grilled corn on the cob is a versatile side dish that complements almost any summer meal. It’s an absolute must-have for:
- Grilled meats like succulent chicken, juicy steaks, or tender ribs.
- Classic backyard BBQ staples such as burgers, hot dogs, and sausages.
- Light and fresh summer salads, adding a burst of sweetness and crunch.
- Any outdoor gathering or picnic, serving as an easy-to-eat and universally loved vegetable side.
Other Delicious Summer Recipes You’ll Love
- Instant Pot Potato Salad
- Red White & Blueberry Fruit Salad
- Marinated Grilled Chicken
- S’more Cereal Bars
Like this recipe and want to save it for later? Pin this perfect grilled corn on the cob recipe to Pinteresthere!
Perfectly Grilled Corn on the Cob (Husk-On Method)
When the weather gets warm, grilled corn on the cob is always on the menu. This method is super simple and easy to do, ensuring sweet and juicy kernels every time!
15 minutes
20 minutes
35 minutes
Ingredients
- 6 ears of fresh corn, with husks
- 1 tablespoon salt (for soaking water)
- Johnny’s Seasoning Salt
- Freshly ground black pepper
- Butter or Flavored Butter (I recommend Chef Shamy Garlic Butter)
Instructions
- Heat the grill to medium. Preheat your grill to medium heat, aiming for a temperature between 350-400°F (175-200°C).
- Prepare and soak the corn. Carefully pull back the outer husks of each ear of corn down to the base. Strip away any loose silk from each ear by hand. Fold the husks back into place. Place the ears of corn in a large bowl of cold water with 1 tablespoon of salt for 10-15 minutes to allow the husks to absorb moisture.
- Grill the corn. Remove corn from the water and shake off any excess. Place the corn directly on the hot grill grates, close the cover, and grill for 15 to 20 minutes, turning every 5 minutes, or until the kernels are tender when pierced with a paring knife. The husks may blacken, which adds to the smoky flavor.
- Serve and enjoy. Carefully remove the hot corn from the grill. Peel back the husks (they should come off easily, taking most of the silk with them) and discard. Serve immediately on the cob or cut the kernels off. Spread with butter and seasonings of choice while hot.
Notes
Chef Shamy Garlic Butter is fantastic for adding a burst of flavor.
Johnny’s Seasoning Salt adds a wonderful savory kick.
For extra flair, try squeezing fresh lime juice and sprinkling chili powder or grated Cotija cheese on the hot corn.
Nutrition Information:
Yield:
6
Serving Size:
1 corn
Amount Per Serving:
Calories: 155
Total Fat: 3.4g
Cholesterol: 6mg
Sodium: 29mg
Carbohydrates: 32g
Protein: 4.5g
