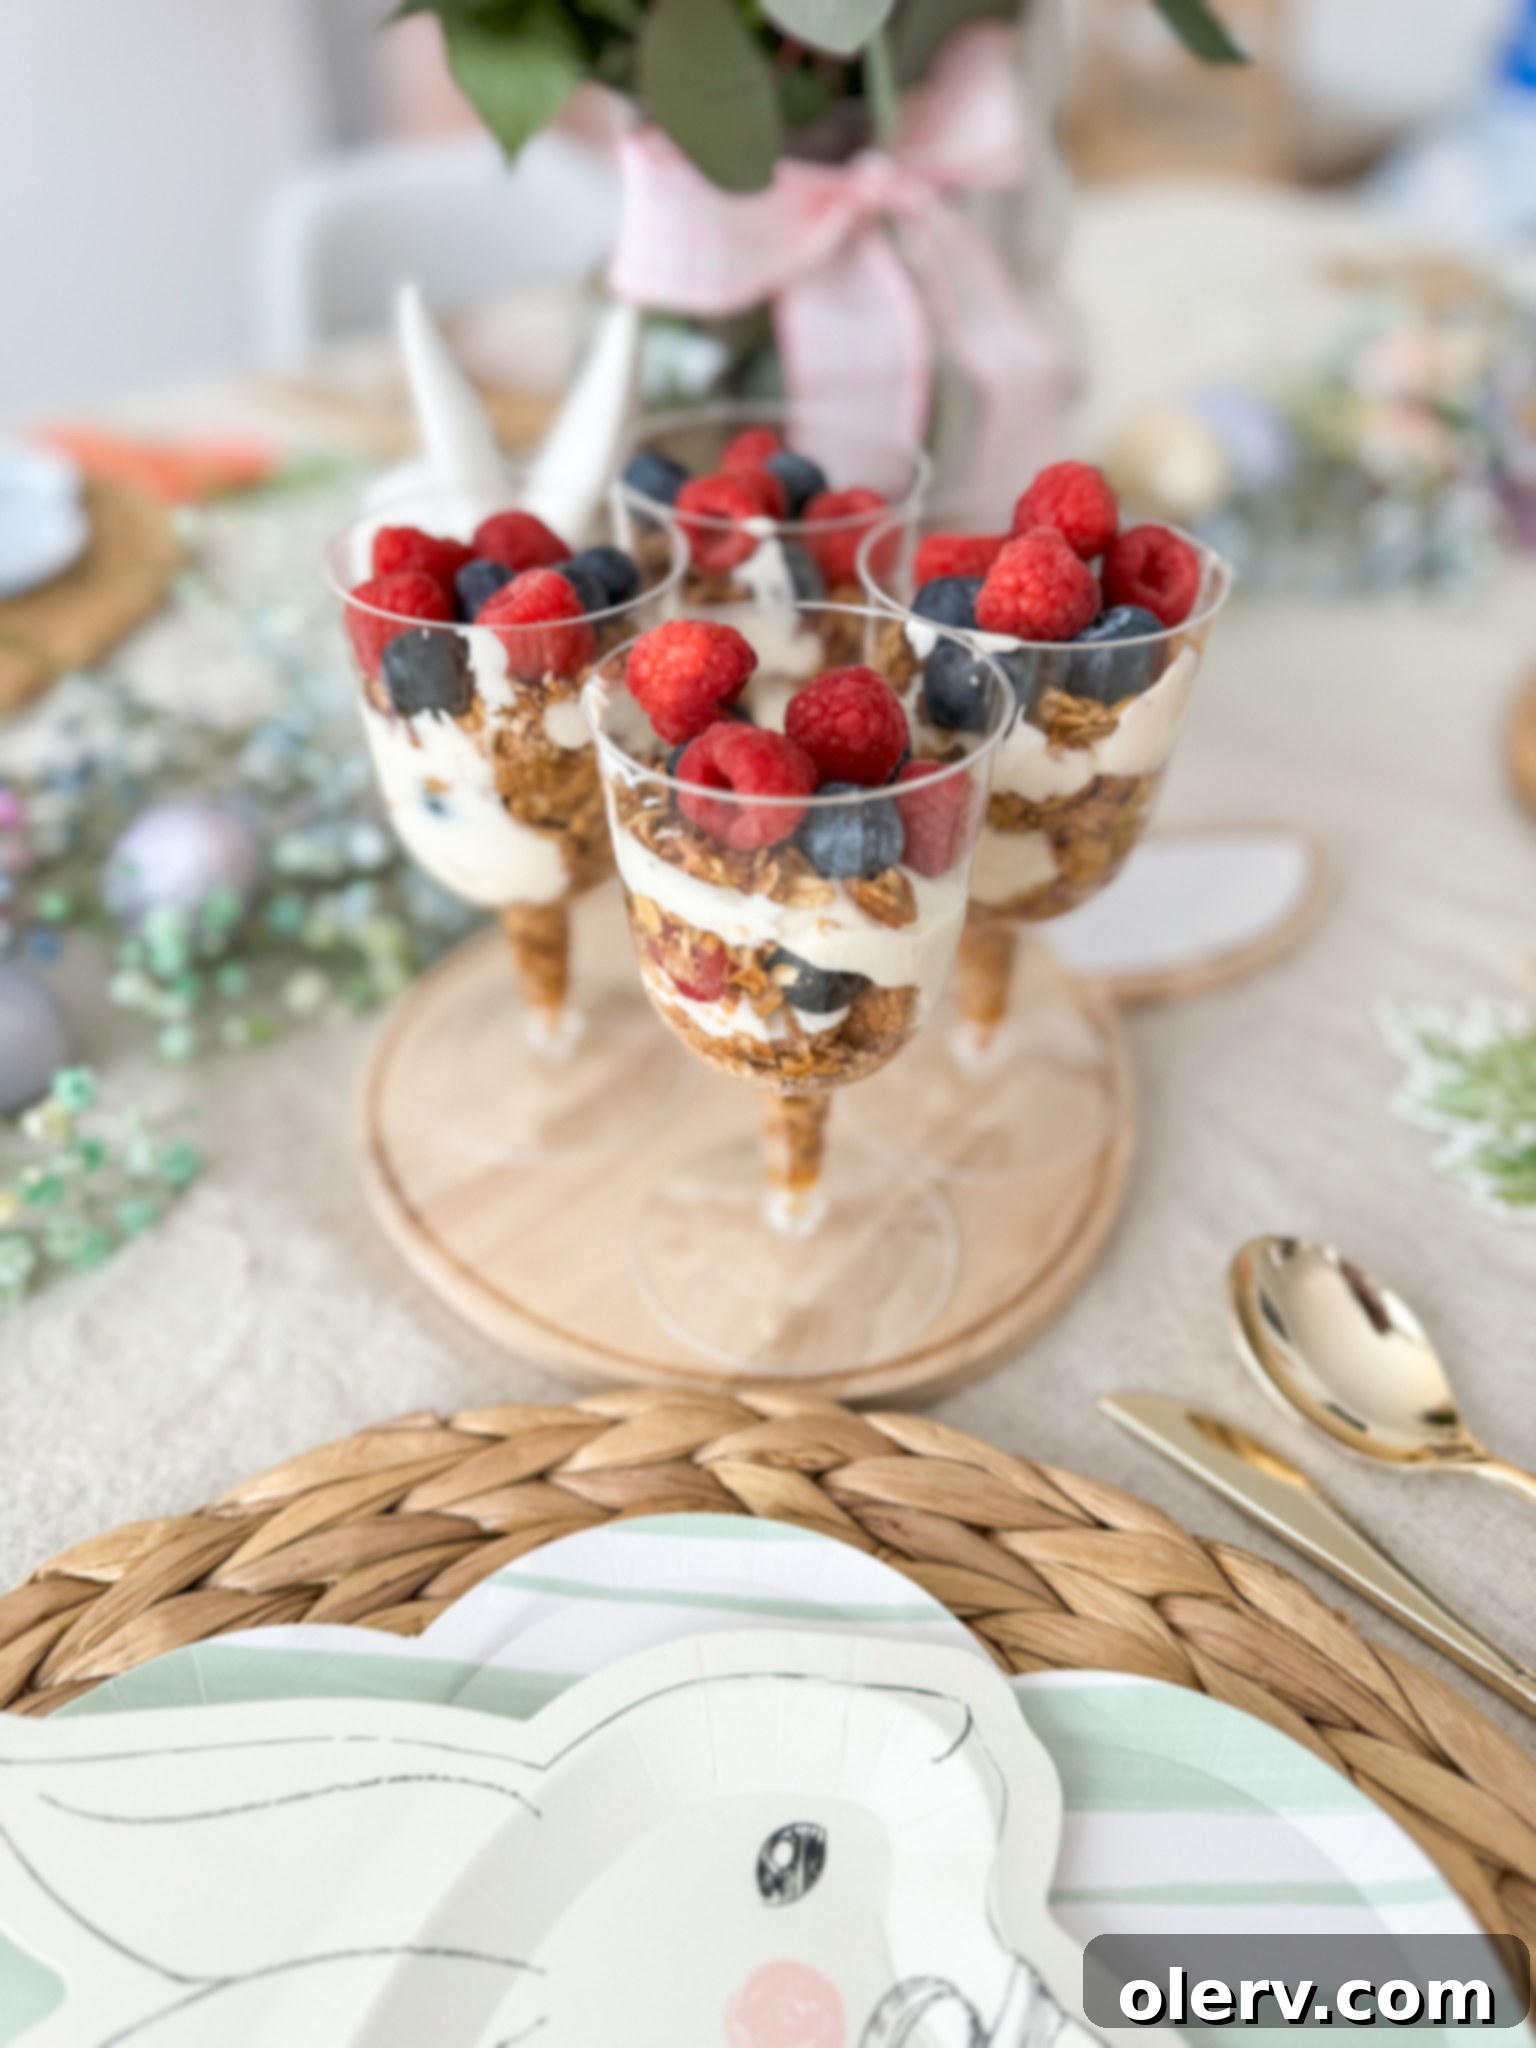
Effortlessly Delicious: Crafting Perfect Yogurt Parfait Cups with Homemade Granola
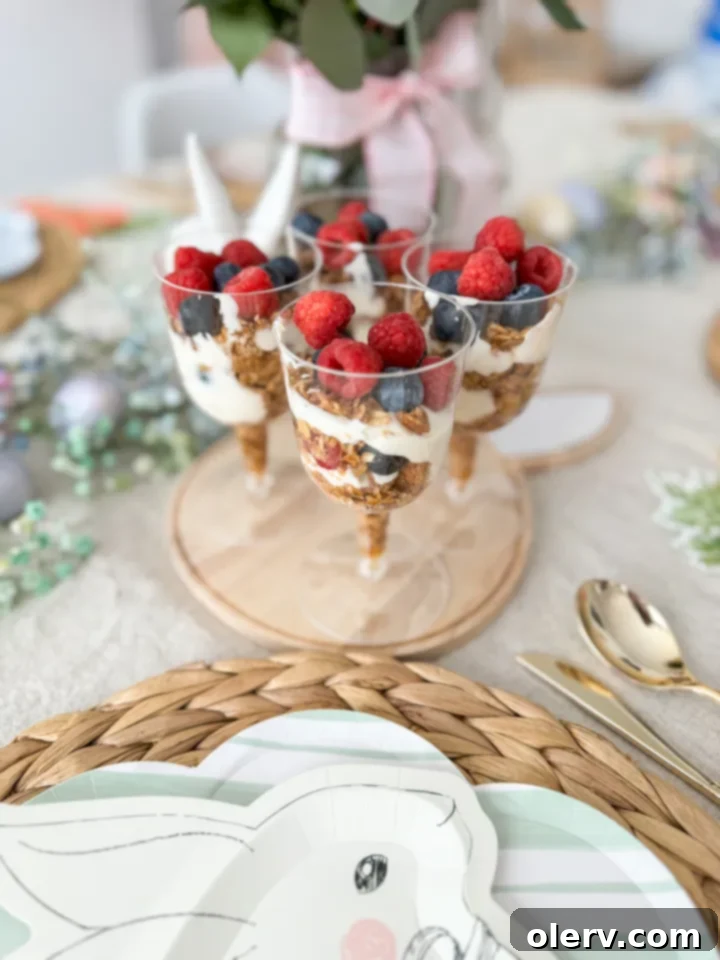
Imagine starting your day with a burst of freshness and satisfying crunch, or delighting your guests with a visually stunning, yet effortlessly prepared, treat. These creamy yogurt parfait cups, featuring vibrant layers of fresh fruit and irresistible homemade peanut butter granola, are the answer! They are incredibly versatile, making them perfect for a wholesome breakfast, an elegant brunch centerpiece, or even a light and refreshing dessert. The charm of these parfaits lies not just in their delicious taste, but also in their beautiful presentation – especially when served in attractive cups or glasses. They’re the ideal party food, easy to assemble in advance, and guaranteed to impress. Let’s dive into making these delightful homemade parfait cups together!
The Art of Building Perfect Yogurt Parfait Cups
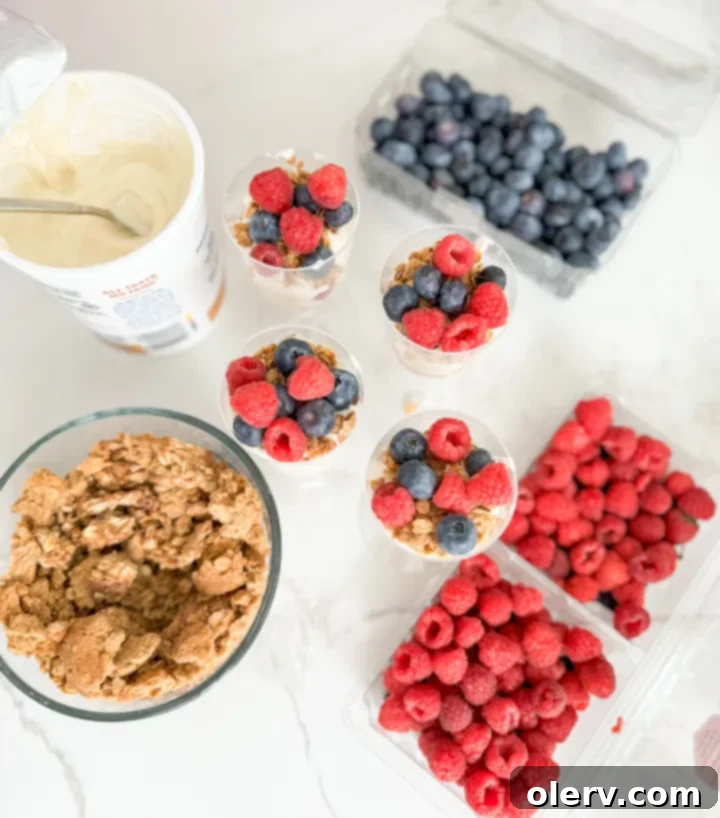
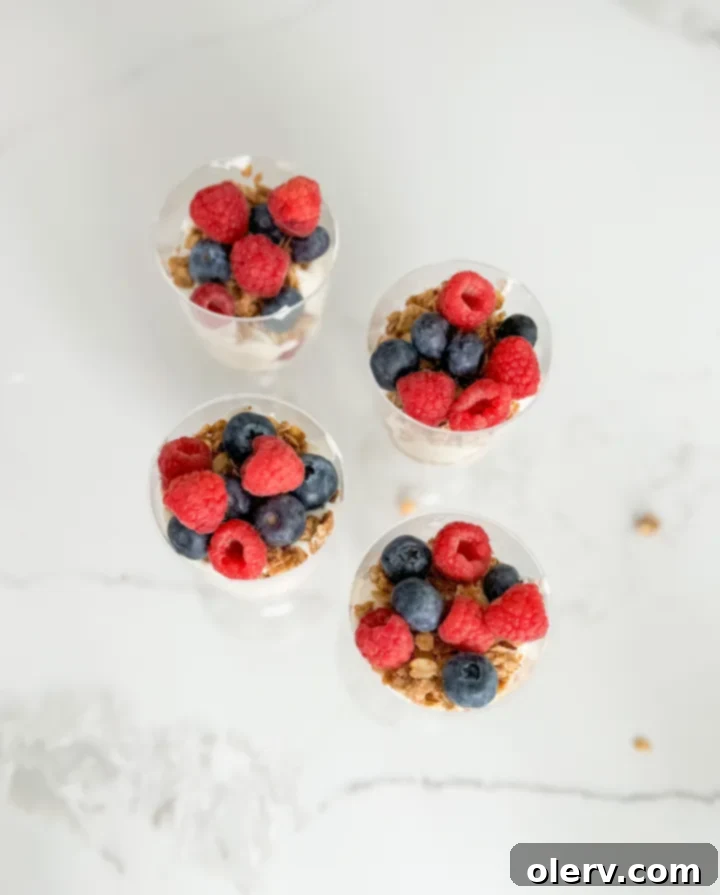
One of the most enjoyable aspects of making parfait cups is the freedom it offers. There isn’t a rigid “parfait recipe” you must follow; instead, you’re encouraged to unleash your creativity! You can layer and build each cup with an array of add-ins and elements that cater to your taste and dietary preferences. For this particular recipe, we’re focusing on a delightful combination that’s both satisfying and visually appealing: layers of crunchy, homemade peanut butter granola, velvety honey Greek yogurt, and an abundance of fresh, sweet berries.
The choice of serving vessel can significantly enhance the appeal of your parfaits. While elegant glass cups instantly elevate the presentation, even simple plastic cups, like those easily found at a dollar store, can look fantastic when thoughtfully layered. Parfait cups are genuinely fantastic as party food! Their individual portions make serving a breeze, and their vibrant layers add a festive touch to any table. They would be absolutely perfect for your Easter brunch table, providing a light, fresh, and colorful option that appeals to everyone.
Love this recipe? Save it for later! Pin it to Pinterest here!
Crafting Your Custom Fruit Parfait: A Simple Step-by-Step Guide
Building a stunning fruit parfait is an art, but it’s an incredibly easy one to master! The key to a visually appealing and delicious parfait lies in thoughtful preparation and layering. Follow these simple steps to create your own delightful layered masterpiece:
Preparation is Key for Freshness
PREP: Begin by thoroughly washing and preparing your chosen fruits. For larger fruits like strawberries, bananas, or peaches, cut them into smaller, bite-sized pieces. This makes them easier to layer neatly and to eat comfortably with a spoon. If you’re using fruits prone to browning, such as bananas or apples, consider tossing them with a tiny amount of lemon juice to maintain their fresh appearance, especially if you plan to prepare your parfaits ahead of time.
The Art of Layering for Visual Appeal
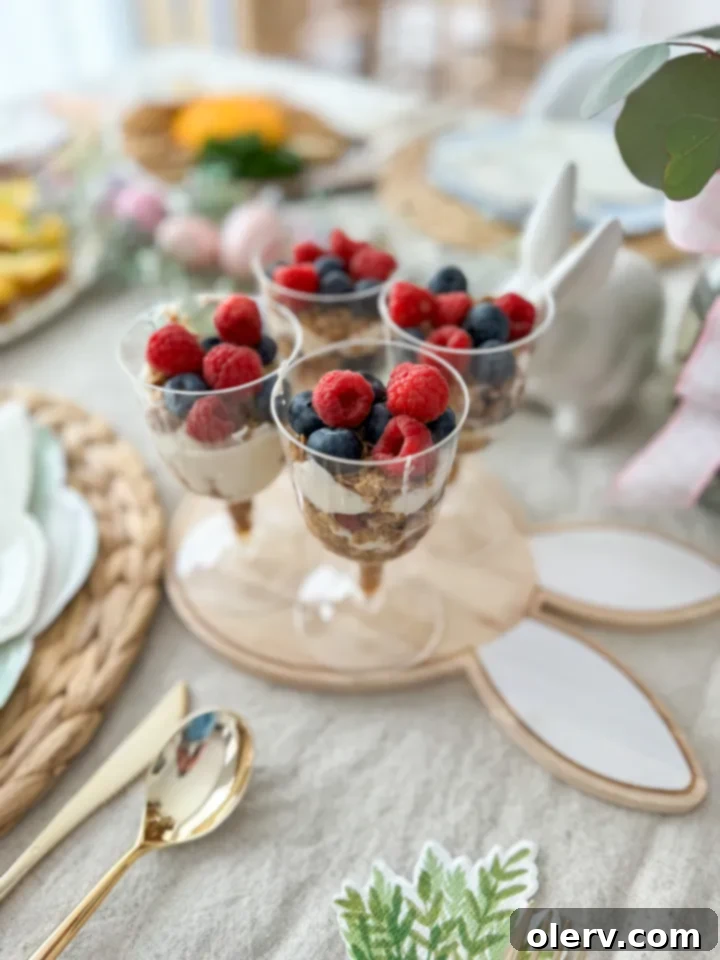
LAYER: The magic of a parfait is truly in its vibrant, distinct layers. Start with a substantial base of creamy yogurt at the bottom of your chosen glass or cup. This provides a stable and luscious foundation for your parfait. Next, add a generous sprinkle of your crunchy homemade granola, creating a textural contrast. Follow this with a few spoonfuls of your fresh, prepared fruit, adding a burst of color and natural sweetness. Repeat these layers—yogurt, granola, fruit—until you reach the top of your glass. The precise order of layers can be customized, but ending with a final layer of yogurt, topped with a few artfully placed berries and a final sprinkle of granola, typically offers the most appealing finish.
PRO TIP: For the most visually appealing parfaits, gently spread each layer so that it elegantly touches the inside perimeter of the glass. This simple technique allows all the delightful colors and varied textures of your ingredients to be clearly visible from the outside, creating a truly irresistible and professional-looking presentation. Use the back of a spoon or a small spatula to guide your ingredients against the glass.
Chilling and Serving for Optimal Flavor
REFRIGERATE: Once your parfait cups are beautifully assembled, cover them lightly to protect their freshness (plastic wrap or individual lids work perfectly) and refrigerate until you are ready to serve. Chilling for at least 30 minutes allows the flavors to meld together harmoniously and ensures a wonderfully refreshing experience. While parfaits can certainly be enjoyed immediately after assembly, a little time in the fridge enhances their overall appeal and makes them even more delightful, especially if you’re hosting an event.
Homemade Peanut Butter Granola: The Irresistible Star of Your Parfait
While store-bought granola is undeniably convenient, making your own peanut butter granola at home elevates your parfaits to an entirely new level. Not only does it give you complete control over the ingredients, allowing you to avoid artificial additives and adjust sweetness, but the taste and texture of fresh, warm, homemade granola are simply unparalleled. Plus, the process fills your kitchen with the most inviting, comforting aroma!
Ingredients for Crunchy Peanut Butter Granola
This simple recipe yields a perfectly balanced, crunchy, and flavorful granola that complements the creamy yogurt and fresh fruit beautifully.
- 3 cups old-fashioned oats (rolled oats work best for texture)
- 1/2 teaspoon salt (enhances overall flavor)
- 1 teaspoon cinnamon (adds warmth and spice)
- 1/2 cup creamy peanut butter (provides richness and helps bind clusters)
- 1/4 cup maple syrup or honey (natural sweetener and binder for crunch)
- 1 teaspoon vanilla extract (adds a lovely aromatic depth)
Instructions for Baking Perfect Granola Clusters
To begin, preheat your oven to 350 degrees Fahrenheit (175°C). Line a large baking sheet with parchment paper to prevent sticking and ensure easy cleanup. In a spacious mixing bowl, combine all the dry ingredients first: the old-fashioned oats, salt, and cinnamon. Give them a quick stir to distribute evenly. Then, add the wet ingredients: creamy peanut butter, maple syrup (or honey), and vanilla extract. Stir everything together thoroughly, ensuring that the oats are evenly coated with the wet mixture. The mixture should appear well-combined and slightly sticky.
Next, carefully spread the granola mixture out onto the prepared baking sheet. It’s crucial to ensure it’s in a single, even layer to promote consistent baking and crispness. Avoid piling it too high. Bake in your preheated oven for approximately 20 minutes. During the baking process, be sure to stir the granola at the halfway point (around the 10-minute mark). This prevents the edges from burning and encourages uniform golden-brown crispness across all the oats. Once baked to a beautiful golden hue, remove the granola from the oven and let it cool completely on the baking sheet. This is a crucial step for achieving those coveted crunchy clusters; as the granola cools, it will firm up and become perfectly crisp. Resist the urge to touch it while it’s still warm!

Once your homemade granola has completely cooled and hardened, transfer it to an airtight container. It will stay fresh and perfectly crunchy at room temperature for up to two weeks. This makes it an excellent component to prepare in advance, not just for parfaits but also for healthy snacking on its own!
Customizing Your Parfaits: Endless Possibilities for Flavor and Texture
The beauty of parfait cups lies in their incredible adaptability. Don’t feel limited to the specific ingredients listed here; instead, use them as a fantastic starting point for your own culinary adventures! Here are some ideas to inspire your unique parfait creations, allowing you to tailor them to your personal preferences or dietary needs:
- Yogurt Variations: While Greek yogurt offers a wonderfully rich, thick consistency and a significant protein boost, feel free to experiment with different types. Regular plain yogurt, pre-flavored vanilla yogurt, or even dairy-free alternatives like almond, coconut, or soy yogurt can be used. If opting for plain yogurt, you can adjust the sweetness with additional honey, maple syrup, agave nectar, or a touch of stevia.
- Fruit Choices: Beyond the classic berries, the world of fruit is your oyster! Consider vibrant sliced peaches, juicy mangoes, tangy kiwi, sweet pineapple, plump cherries, or even seasonally appropriate roasted apples or pears in the fall. Focus on what’s fresh and in season for the best flavor and nutritional value.
- Granola Add-ins: Before baking your homemade granola, mix in other exciting ingredients. Shredded coconut (toasted or untoasted), chopped nuts (almonds, walnuts, pecans, cashews), or a variety of seeds (chia, flax, pumpkin, sunflower) can add extra texture, healthy fats, and distinct flavors. For a touch of indulgence, a sprinkle of mini chocolate chips or cocoa nibs can be a delightful addition.
- Extra Layers & Toppings: Elevate your parfaits with additional layers and garnishes. A decadent drizzle of extra honey, maple syrup, or even a homemade berry compote or chocolate sauce can take them to the next level. A dollop of whipped cream (dairy or coconut-based) transforms a breakfast parfait into an indulgent dessert. For a final flourish, consider a sprinkle of chopped nuts, a dash of cocoa powder, or a few fresh mint leaves for color and aroma.
- Protein Boost: For a more substantial and filling meal, especially post-workout or as a robust breakfast, easily incorporate a scoop of your favorite unflavored or vanilla protein powder directly into the yogurt before layering. Mix it in thoroughly to avoid lumps.
Serving Suggestions for Every Occasion
Yogurt parfaits are incredibly versatile and can fit seamlessly into almost any meal or event, making them a true culinary chameleon:
- Healthy & Quick Breakfast: They offer a quick, nutritious, and satisfying start to your day. Prepare them the night before for a grab-and-go option during busy mornings.
- Elegant Brunch Centerpiece: Serve individual parfaits in clear, attractive glasses for a sophisticated and vibrant touch to any brunch spread. Their fresh ingredients and beautiful layers pair wonderfully with other brunch staples like quiches, pastries, and fruit platters. They are truly perfect for Easter brunch, adding vibrant colors and fresh flavors that guests will adore.
- Light & Refreshing Dessert: A guilt-free and naturally sweet treat after dinner. Enhance it with a drizzle of dark chocolate or a sprinkle of toasted coconut for an extra special touch that feels indulgent without being heavy.
- Effortless Party Food: Ideal for potlucks, picnics, family gatherings, or any celebration. Their individual servings make them hygienic, easy to handle, and convenient for guests to enjoy without the need for plates and extra utensils.
- Revitalizing Afternoon Snack: A perfect refreshing and energy-boosting snack to tide you over between meals, offering sustained energy from protein and complex carbs.
Make-Ahead Tips for Stress-Free Parfait Enjoyment
One of the biggest advantages of these parfaits, especially when entertaining or preparing for a busy week, is that many components can be prepared in advance. This significantly reduces stress and allows for quick assembly when needed.
- Granola Preparation: Your homemade peanut butter granola is an excellent make-ahead component. It can be baked and stored in an airtight container at room temperature for up to two weeks, maintaining its perfect crunch.
- Fruit Preparation: Wash and chop most of your fruits up to a day in advance. Store them in separate airtight containers in the refrigerator. However, fruits like bananas are best sliced just before assembly to prevent unsightly browning. Berries hold up well when washed and stored chilled.
- Yogurt Mixture: If you’re using plain Greek yogurt and adding honey or other sweeteners, you can mix this a day ahead and keep it chilled in the refrigerator, ready for layering.
- Assembly Timing: For optimal results and to maintain the satisfying crunch of the granola, it’s best to assemble the parfaits no more than 2-4 hours before serving. If you need to assemble them further in advance (e.g., the night before), layer the fruit and yogurt components, and then add the granola just before serving. This prevents the granola from becoming soggy from prolonged contact with the yogurt. If a fully assembled parfait needs to hold overnight, consider using a sturdier, less absorbent granola, or accept that the granola may have a slightly softer texture.
Why Choose Homemade Parfaits Over Store-Bought?
Beyond the delightful taste and impressive visual appeal, there are several compelling reasons to make your own parfaits from scratch:
- Complete Control over Ingredients: By making your own, you completely avoid artificial flavors, excessive added sugars, and unwanted preservatives often found in pre-made parfaits or many store-bought granolas. You know exactly what goes into your food.
- Superior Nutritional Benefits: Enjoy a truly wholesome and nourishing meal packed with high-quality protein from Greek yogurt, essential fiber from oats, and a wealth of vitamins and antioxidants from fresh fruit. It’s a fantastic and delicious way to incorporate healthy components into your daily diet.
- Significantly More Cost-Effective: Preparing your own homemade granola and assembling parfaits at home is almost always much more economical than purchasing individual pre-packaged versions from the supermarket or a cafe. Your wallet will thank you!
- Ultimate Customization: You have the freedom to tailor every single aspect of your parfait to your exact liking – from the sweetness level of the yogurt to the specific types of fruit, nuts, seeds, and other delicious add-ins. This is particularly beneficial for accommodating specific dietary restrictions, allergies, or simply personal taste preferences.
Other Delightful Easter & Brunch Recipes to Try
If you’re planning an Easter celebration, a spring brunch, or any festive gathering, these homemade yogurt parfait cups will be a wonderful and refreshing addition to your menu. And if you’re looking for even more culinary inspiration to complete your spread, explore some of these other festive and delicious recipes:
- Easter Brunch Menu
- Carrot Cheese Ball
- Easter Nest Cookies
- Easter Muddy Buddies
- Personal Easter Cheesecake Cupcakes
- Carrot Cake Cookies
- Instant Pot Deviled Eggs
- Carrot Cake Cupcakes
- Pancake Poppers
- Cadbury Egg Crack
- Mini Quiches
Homemade Yogurt Parfait Cups with Peanut Butter Granola
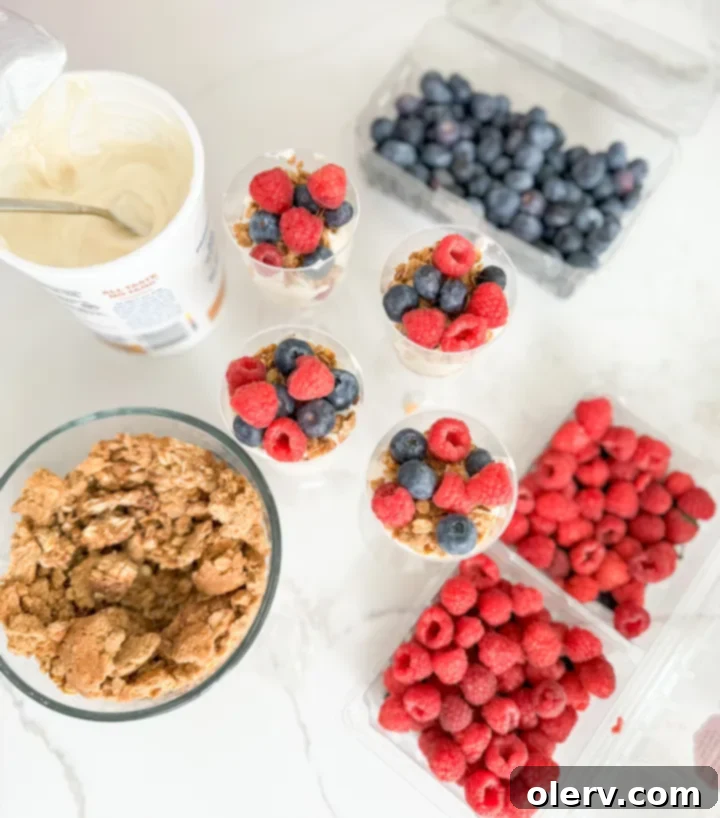
These creamy yogurt parfait cups contain layers of fresh fruit and crunchy homemade peanut butter granola. They are perfect for a healthy and delicious breakfast, an elegant brunch, or a light and satisfying dessert. Easy to prepare ahead of time for any occasion!
10 minutes
20 minutes
10 minutes
40 minutes
Ingredients
For the Homemade Peanut Butter Granola:
- 3 cups old-fashioned oats
- 1/2 teaspoon salt
- 1 teaspoon cinnamon
- 1/2 cup creamy peanut butter
- 1/4 cup maple syrup or honey
- 1 teaspoon vanilla extract
For the Parfait Cups (Yields 4 servings):
- 4 cups Greek yogurt (plain or honey-flavored, or sweetened to taste)
- 1-2 cups fresh mixed berries (such as strawberries, blueberries, raspberries)
- Optional: other fresh fruits like sliced banana, kiwi, peaches
Instructions
Homemade Peanut Butter Granola:
- Preheat your oven to 350°F (175°C). Prepare a baking sheet by lining it with parchment paper.
- In a large mixing bowl, combine the old-fashioned oats, salt, cinnamon, creamy peanut butter, maple syrup (or honey), and vanilla extract. Stir everything thoroughly until the oats are completely coated and the mixture is well combined.
- Spread the granola mixture evenly in a single layer onto the prepared baking sheet. Bake for 20 minutes, making sure to stir the granola gently at the halfway point (around 10 minutes) to ensure uniform browning and crispness.
- Once baked, remove the granola from the oven and let it cool completely on the baking sheet. As it cools, it will become wonderfully crunchy and form clusters. Store in an airtight container at room temperature for up to two weeks.
Assembling the Parfait Cups:
- Wash and prepare your fresh fruits. If using large fruits like strawberries, slice them into smaller, bite-sized pieces. For bananas, slice them just before assembly to prevent browning.
- To assemble each parfait, start with a layer of about 1/4 cup of Greek yogurt at the bottom of your chosen glass or cup.
- Next, add a generous sprinkle of your freshly made peanut butter granola (about 2-3 tablespoons), followed by a spoonful of your prepared fresh fruit. Repeat these layers—yogurt, granola, fruit—until you reach the top of the glass. For the best visual effect, gently spread each layer to touch the sides of the glass. Finish with a final layer of yogurt and a decorative topping of granola and fresh berries.
- Cover the assembled parfait cups (with plastic wrap or lids) and refrigerate for at least 30 minutes before serving. This allows the flavors to meld beautifully and ensures a refreshing temperature. For make-ahead parfaits (several hours in advance), consider adding the granola just before serving to maintain its maximum crunch. Enjoy!
