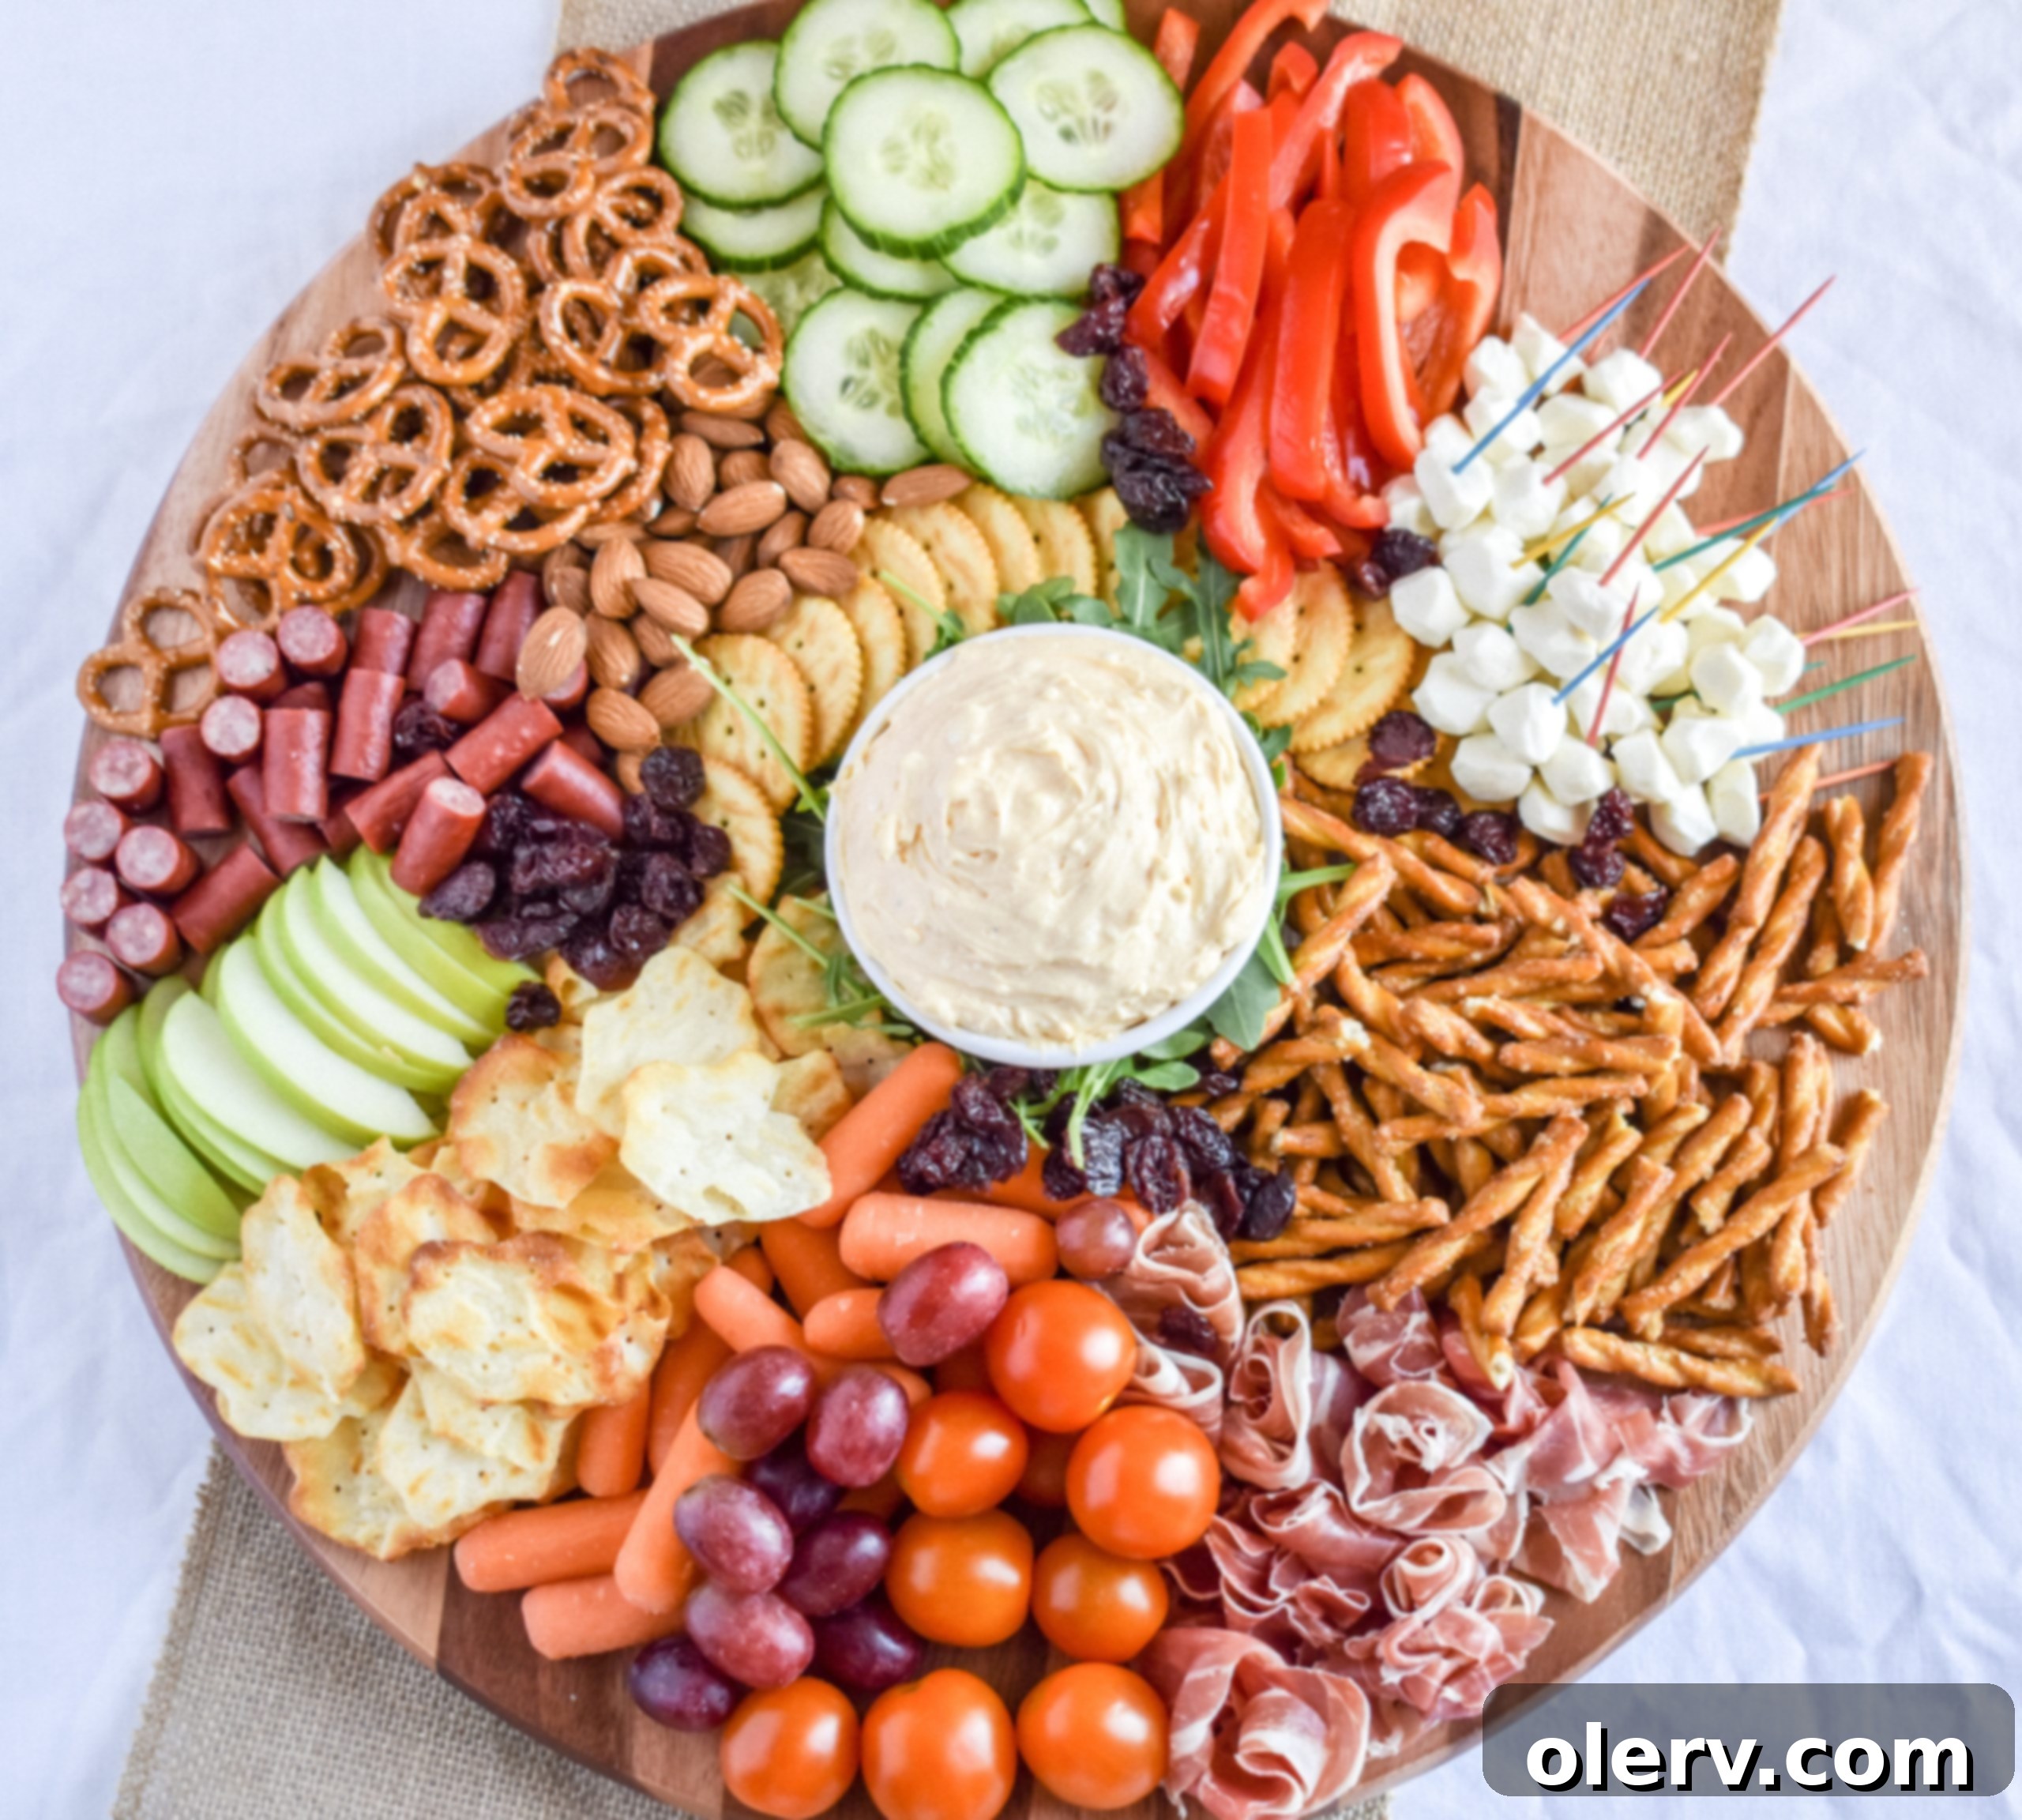
Grandma’s Irresistible Cheese Ball & The Ultimate Charcuterie Board: A Holiday Essential
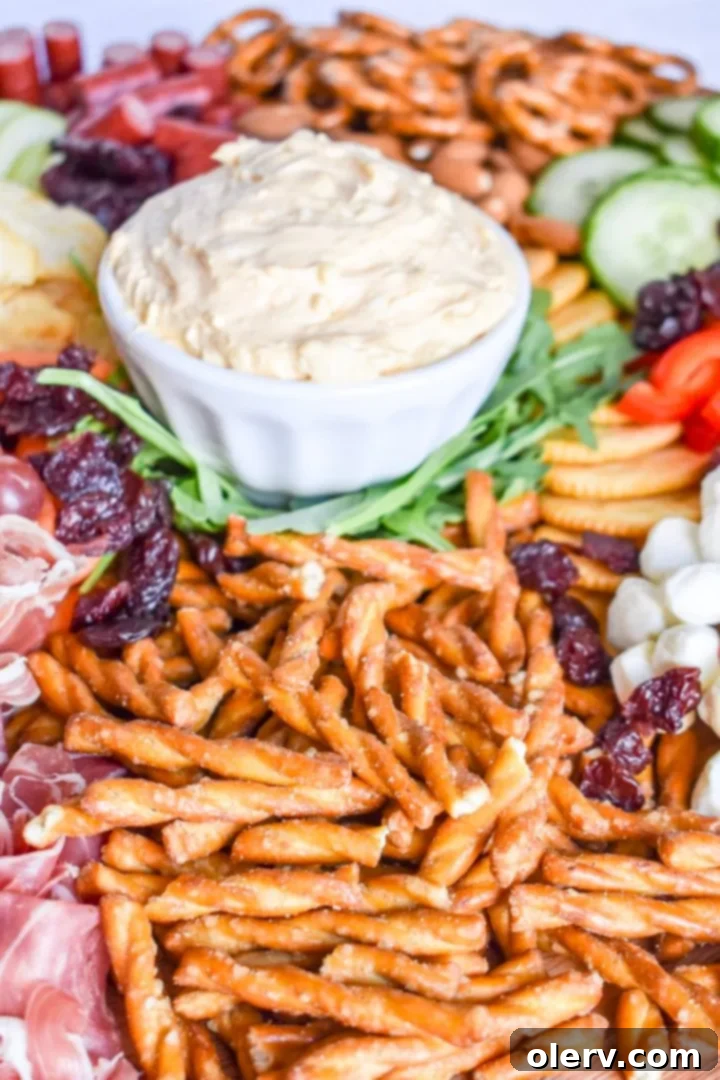
Some recipes simply hold a special place in our hearts – they’re more than just food; they’re a tradition. This particular recipe is one of those cherished family secrets, passed down through generations, making an appearance at every gathering and solidifying its status as a true holiday staple. We’re talking about my Grandma’s Cheese Ball recipe, and trust me, it’s an absolute gem! This incredibly delicious cheese ball is not only a fantastic dip on its own but also serves as the perfect centerpiece for a stunning charcuterie board. It’s guaranteed to be a hit on your holiday table or at any festive occasion. Join me as we recreate these beloved classics!
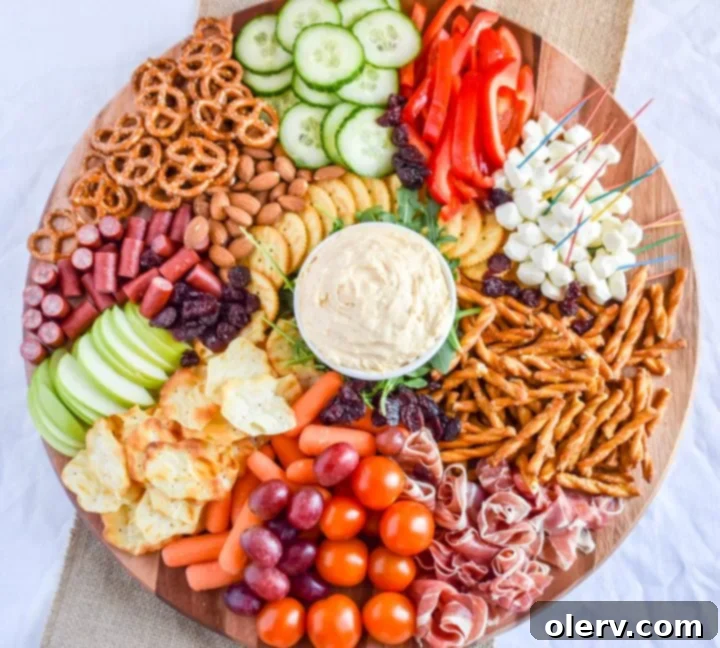
The Legend of Grandma’s Irresistible Cheese Ball
My grandma is truly one of a kind! Her kitchen is a magical place where delicious aromas are always swirling, and she has an incredible collection of hundreds of tried-and-true recipes spanning decades. Whenever I’m looking for fresh flavor ideas or a spark of culinary inspiration, she’s the first person I turn to. A former school teacher, she even diligently proofreads my blog posts and recipes for typos, a gesture I deeply appreciate. You know I love you, Grandma B!
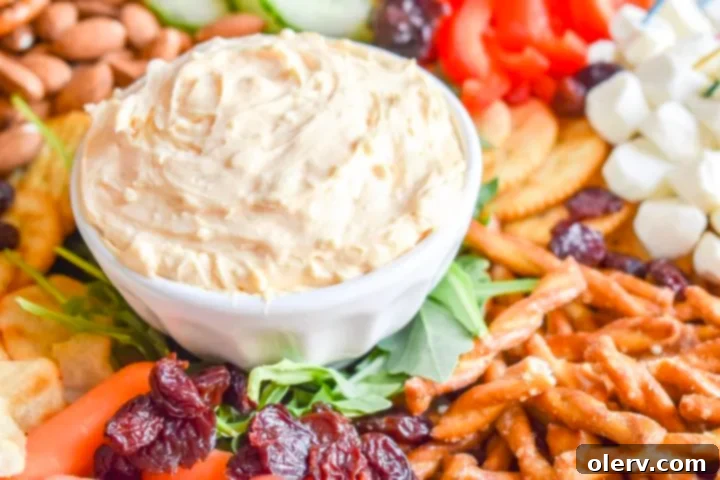
This legendary cheese ball recipe is remarkably simple to prepare, making it an ideal choice for busy hosts. It’s crafted from a harmonious blend of creamy Philadelphia cream cheese, a small jar of tangy Kraft Old English Cheese Spread, and a few tablespoons of robust Roquefort cheese. The result is a wonderfully rich, savory, and slightly piquant spread that’s utterly addictive. While it’s fantastic served as a smooth dip, you also have the option to roll it in finely chopped walnuts or any other crushed nuts for added texture and visual appeal. This versatile cheese ball pairs perfectly with an array of dippers, including classic crackers, crisp fresh veggies, crunchy pretzels, or even toasted bread slices. It’s a versatile crowd-pleaser that never disappoints.
Ready to get started? Scroll down to the bottom of this post for the complete recipe for Grandma’s Cheese Ball, and let’s bring some homemade magic to your next gathering!
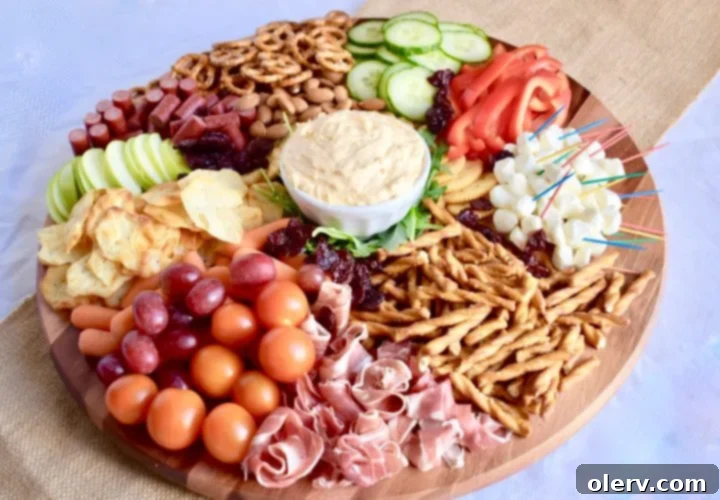
Elevate Your Spread: The Art of the Charcuterie Board
Charcuterie boards have become incredibly popular, and for all the right reasons! They offer a delightful and aesthetically pleasing way to present an array of delicious bites. Imagine a beautiful spread of savory meats, an assortment of exquisite cheeses, crunchy nuts, vibrant fresh and dried fruits, and a selection of delectable dips and spreads. What’s not to love about such a diverse and customizable feast?
The best part? Crafting a stunning charcuterie board is surprisingly easy and incredibly fun. It allows for endless creativity and is a fantastic way to impress your guests without spending hours in the kitchen. Let me guide you step-by-step through the process of building your own masterpiece, ensuring every element is perfectly placed for both taste and visual appeal.
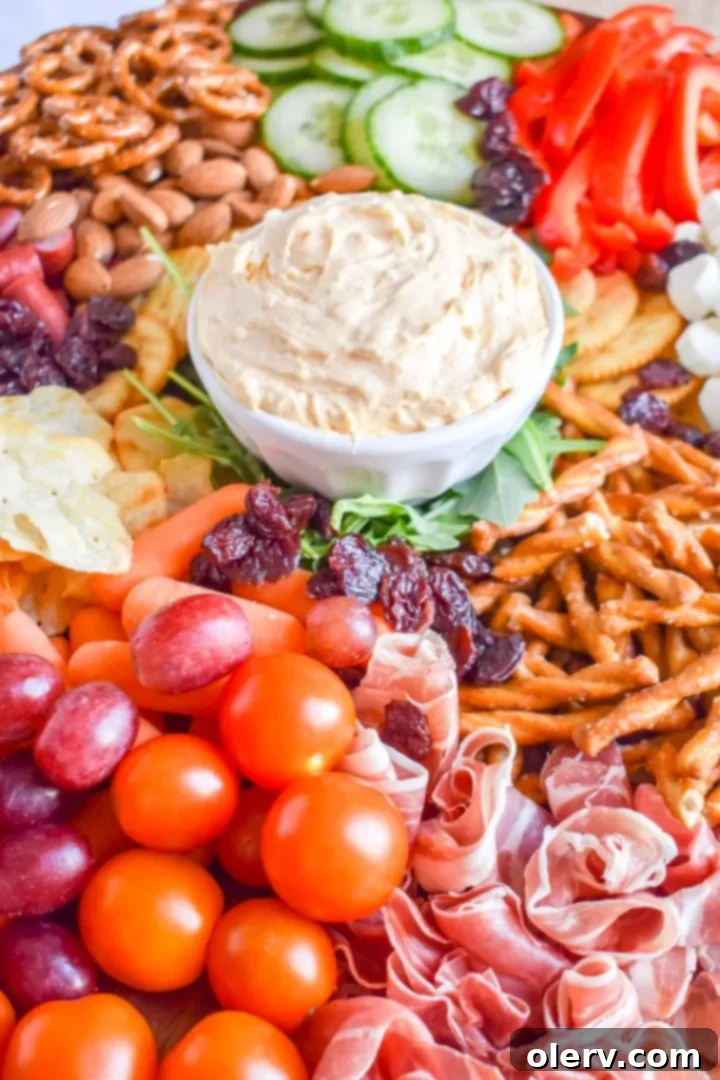
Mastering the Charcuterie Board: A Step-by-Step Guide
Creating an impressive charcuterie board is an art form, but one that is easily mastered with a few key principles. The goal is to create a visually appealing and delicious spread that offers a variety of textures, colors, and flavors. Follow these steps to build a board that will wow your guests and satisfy every palate.
Choosing Your Canvas: Any Board Works!
The foundation of any great charcuterie board is, of course, the board itself! Don’t feel like you need a specialty item; you can repurpose many things you already own. The key is to have a clean, flat surface that can hold all your delicious ingredients. Consider these options:
- Wooden Cutting Boards: Classic, rustic, and durable. They come in various shapes and sizes.
- Pizza Stones: Often round, they provide a sturdy, heat-retaining surface that looks great.
- Lazy Susans: Perfect for larger gatherings, allowing guests to easily spin and access all items.
- Cookie Sheets or Baking Trays: An often-overlooked but highly functional option, especially those with raised edges to keep things contained.
- Slate Tiles or Marble Slabs: Offer a sleek, elegant look and keep cheeses cool.
Ultimately, whatever clean, food-safe board or platter you have lying around the house can be transformed into the base for your stunning charcuterie spread. The more unique, the better!
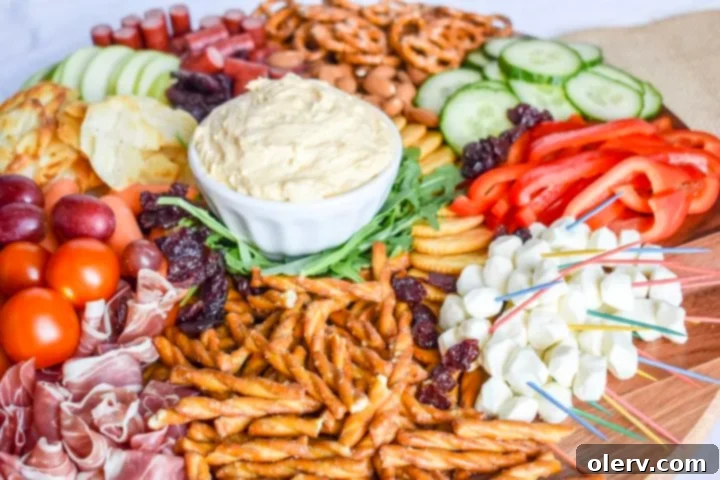
The Star of the Show: Cheese Please!
Cheese is undoubtedly a cornerstone of any good charcuterie board. Aim for a selection of 3-4 different types to offer variety in flavor and texture. It’s crucial to serve all cheeses at room temperature, as this allows their full flavors and aromas to truly shine. Mix soft and hard varieties for a well-rounded experience:
- Soft Cheeses: Goat cheese, Brie, Gorgonzola, Feta, Cream Cheese (like in Grandma’s Cheese Ball!).
- Hard Cheeses: Gruyere, Sharp Cheddar, White Cheddar, Manchego, Aged Gouda, Havarti.
- Unique Options: Mozzarella pearls (fresh and delicate), smoked Gouda, pepper jack.
Creative Cheese Display Ideas:
- Cubed and Piled: Cut harder cheeses into cubes and stack them to add height and dimension to your board.
- Fanned Slices: Thinly slice cheeses into squares or rectangles and fan them out elegantly along the edge of the board.
- Triangular Arrangement: Cut cheese into thin, triangular slices and arrange them in a circle, with the points facing inwards, creating a beautiful pattern.
- Whole Wheels/Wedges: For soft cheeses like Brie, leave a small wheel or wedge mostly intact and provide a spreader or small knife.
Don’t forget to include small cheese knives or spreaders for each type of cheese.
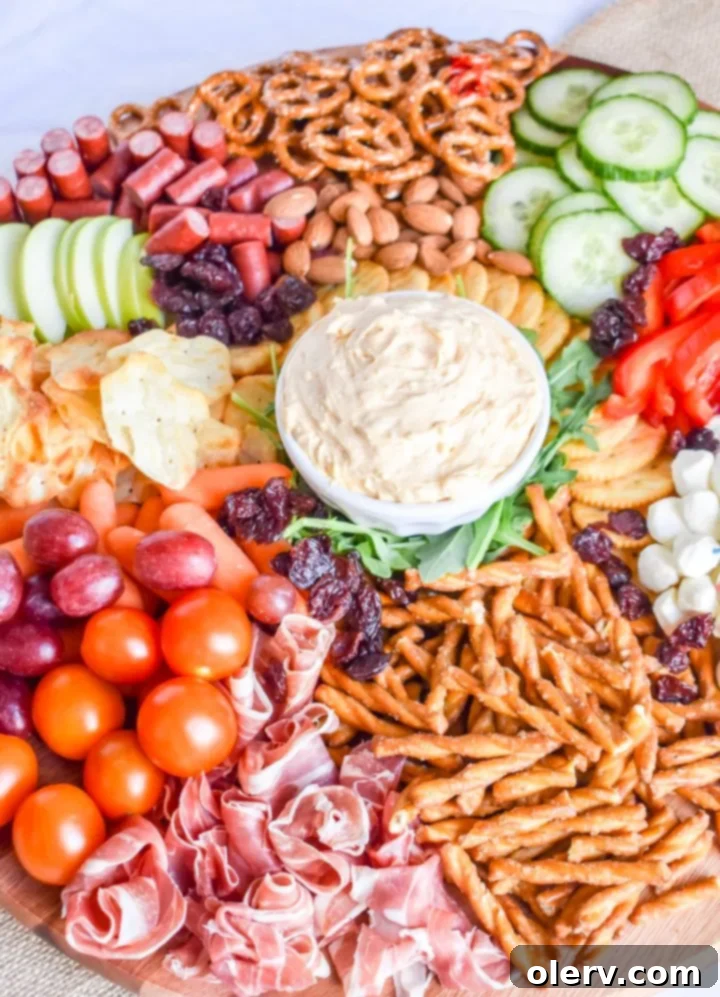
Savory Selections: Meet Me at the Meat Aisle
Cured meats are essential to a traditional charcuterie board, adding salty, savory notes that perfectly complement the cheeses. Choose 2-3 types, preferably pre-sliced for convenience. Think about a mix of spicy, mild, and rich flavors:
- Salami: Hard salami, Genoa salami, coppa, sopressata.
- Prosciutto: Thinly sliced, delicate, and salty.
- Pepperoni: A crowd-pleaser, offering a slight spice.
- Smoked Salmon: A delicious alternative or addition, especially for a brunch board.
- Capicola: A flavorful cured ham.
Presentation Tips for Meats:
The way you arrange your meats can significantly enhance the board’s visual appeal. Get creative with folding and rolling:
- Folded Rounds: Take a round, thin slice of meat (like salami or pepperoni), fold it in half, then fold it in half again to create a quarter-circle. Arrange these in tight, overlapping rows or circles.
- Rosettes: For very thin meats like prosciutto, loosely roll slices into small rosettes and stack them delicately to create height and texture.
- Ribbon Folds: Fold longer slices into loose accordion-style ribbons.
- Draped: For larger, thinner slices, you can simply drape them in a relaxed, artful manner.
Create small piles or lines of meat, aiming for a natural, abundant look.
Dips & Spreads: Adding Flavor Layers
Condiments and dips are key to adding moisture, flavor contrast, and an extra layer of deliciousness to your charcuterie board. Include small bowls with one or more different sauces, spreads, or jams. This is where my Grandma’s Cheese Ball truly shines, often making a delightful appearance as the main dip!
Other excellent additions include:
- Honey: A natural sweetener that pairs beautifully with many cheeses (especially brie and goat cheese).
- Jams/Preserves: Fig jam, apricot preserves, or berry jams offer a sweet counterpoint to savory meats and cheeses.
- Other Cheese Dips: A classic spinach and artichoke dip or a spicy pimento cheese can add variety.
- Hummus: A savory, earthy option, consider unique flavors like savory pumpkin hummus.
- Mustards: Dijon, whole grain, or honey mustard for meats.
- Olives & Pickles: Briny olives, cornichons, or pickled onions add a tangy, acidic kick that cuts through richness.
Strategically place these small bowls throughout your board, using them to fill gaps and add color.
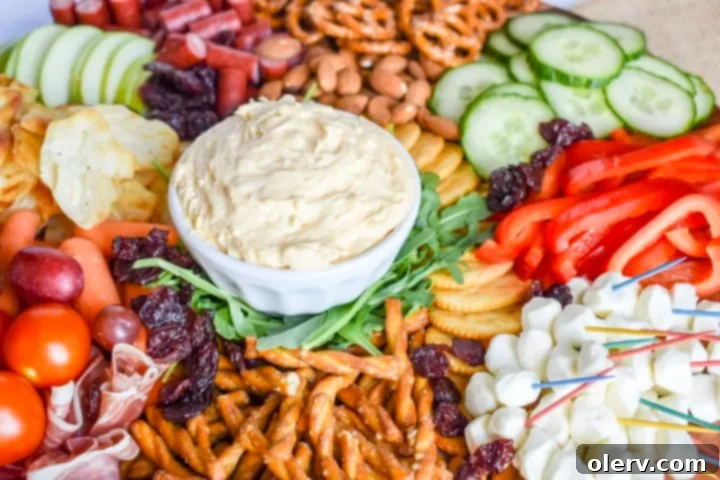
Freshness and Color: Bring the Color with Fresh Fruit & Veggies
Fruits and vegetables are essential for adding freshness, vibrant color, and healthy balance to your charcuterie board. They offer a delightful textural contrast and palate cleanser. Aim for a mix of seasonal and year-round favorites:
- Fresh Fruits:
- Berries: Blueberries, blackberries, raspberries, and strawberries add bursts of sweetness and rich color.
- Grapes: Bunches of red and green grapes are easy to snack on and look elegant.
- Apples & Pears: Sliced apples (toss in lemon juice to prevent browning) and pears offer crispness and pair well with cheese.
- Figs: Fresh figs, when in season, are a luxurious and beautiful addition.
- Dried Fruits:
- Craisins & Raisins: Sweet and chewy, they offer a concentrated burst of flavor.
- Apricots & Mangos: Dried apricots and mango slices add a tropical sweetness and bright color.
- Banana Chips: For an unexpected crunch.
- Fresh Vegetables:
- Cucumbers: Sliced or cut into sticks for a refreshing crunch.
- Cherry Tomatoes: Bright, juicy, and colorful.
- Carrots & Celery: Cut into sticks for dipping.
- Bell Peppers: Sliced red, yellow, or orange peppers add a sweet crunch and vivid color.
- Radishes: Thinly sliced for a peppery bite.
Arrange these elements in clusters, allowing them to spill over and fill any empty spaces, creating a lush, abundant feel.
Crunch and Texture: Let’s Get Crunchy
No charcuterie board is complete without a variety of crunchy elements to complement the creamy cheeses and soft meats. Nuts, crackers, and crisps are easy additions that require no extra prep work, offering satisfying texture and flavor. Choose a few to round out your board:
- Nuts:
- Pistachios: Salty and vibrant green.
- Almonds: Roasted or raw, always a classic.
- Walnuts: Earthy and robust.
- Pecans: Buttery and rich.
- Cashews: Creamy and mild.
- Macadamia Nuts: Luxurious and rich.
- Crackers & Crisps:
- Assorted Crackers: A variety of shapes, sizes, and flavors (water crackers, whole wheat, seeded).
- Pretzels: Sticks or twists for a salty crunch.
- Pita Chips: Robust and great for dipping.
- Breadsticks: Long and elegant.
- Crostini: Thinly sliced and toasted baguette.
Arrangement Tip: Use nuts to strategically fill in any small gaps on your board. Stack them in small, inviting piles around other ingredients, adding to the sense of abundance and ensuring every corner of your board is appealing.
Bringing It All Together: Tips for a Stunning Presentation
Now that you have all your components ready, it’s time to assemble your masterpiece. Here are a few final tips to ensure your charcuterie board is both beautiful and functional:
- Start with the Largest Items: Place your cheeses and any small bowls (for dips, olives, or jams) first. These are your anchors.
- Add Meats and Larger Fruits: Arrange your folded meats and larger fruit clusters around the cheeses and bowls.
- Fill in with Smaller Items: Use crackers, nuts, berries, and smaller veggies to fill in the gaps. This creates a lush, overflowing look.
- Create Height and Dimension: Don’t make everything flat. Use small ramekins for dips, pile cheeses, or arrange fruits in varying heights to add visual interest.
- Vary Textures and Colors: Aim for a balance of soft and crunchy, sweet and savory, and a rainbow of colors to make the board inviting.
- Garnish for Flair: A few sprigs of fresh rosemary or thyme scattered amongst the ingredients can add a professional, aromatic touch.
- Provide Utensils: Ensure there are enough small serving forks, spoons, and cheese knives for guests to easily serve themselves.
- Don’t Be Afraid to Overlap: A truly abundant board often has items slightly overlapping, giving it a generous and inviting feel.
With these tips, you’re now equipped to create a charcuterie board that not only tastes incredible but also looks like a work of art. And remember, at the heart of it all, is that irresistible, easy-to-make Grandma’s Cheese Ball!
Like this recipe and want to save it for later? Pin it to Pinterest here!
Grandma’s Cheese Ball
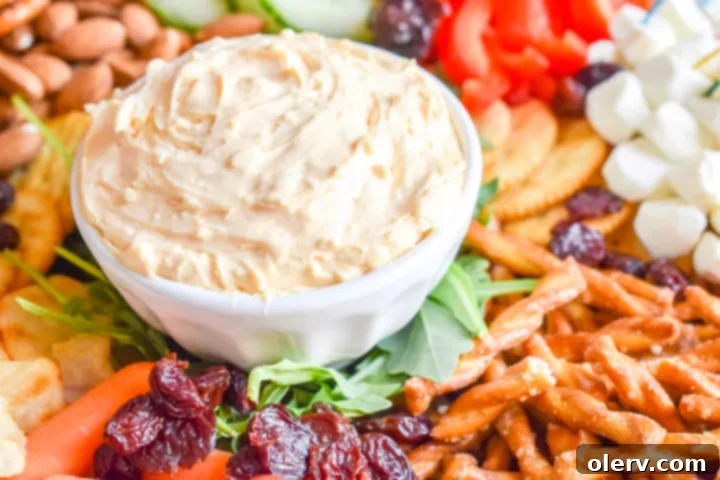
This Cheese Ball recipe couldn’t be easier to throw together! It’s so simple and so delicious!
10 minutes
10 minutes
Ingredients
- 2 packages Philadelphia cream cheese
- 1 small jar Kraft Old English Cheese Spread
- 3 tablespoons Roquefort Cheese Or Kraft Roka Blue Cheese Spread if you can find it
- Optional: 1 cup chopped nuts (walnuts, almonds, pecans…)
Instructions
For the Cheese Ball
- Let cheeses stand at room temperature until softened.
- In a stand mixer or with a handheld attachment, mix all the ingredients together.
If serving as a dip:
Place spread in a bowl and refrigerate until ready to serve. Serve with your favorite crackers.
If rolling into a ball:
Add cheese to a bowl and place in the fridge for 2-3 hours.
When chilled, roll cheese mixture into one large, or two small balls. Place the cheese in wax paper to help with shaping.
You can then roll the balls in a cup of chopped nuts for a pretty exterior. Serve with your favorite crackers.
