Ultimate Homemade Fried Ice Cream Bars: Your Easy Celebration Dessert Recipe
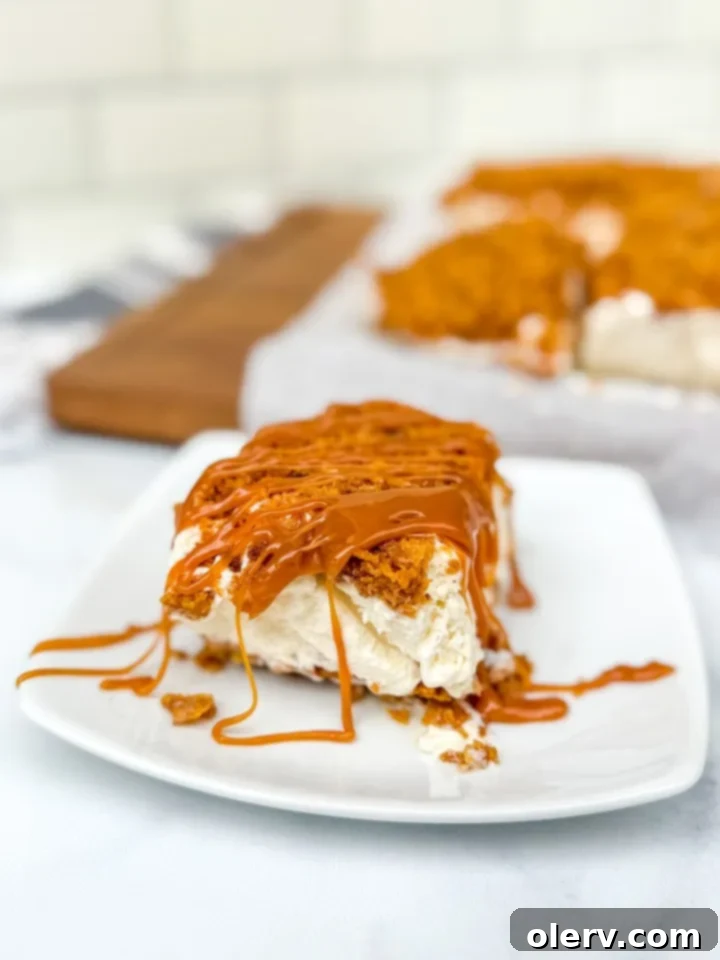
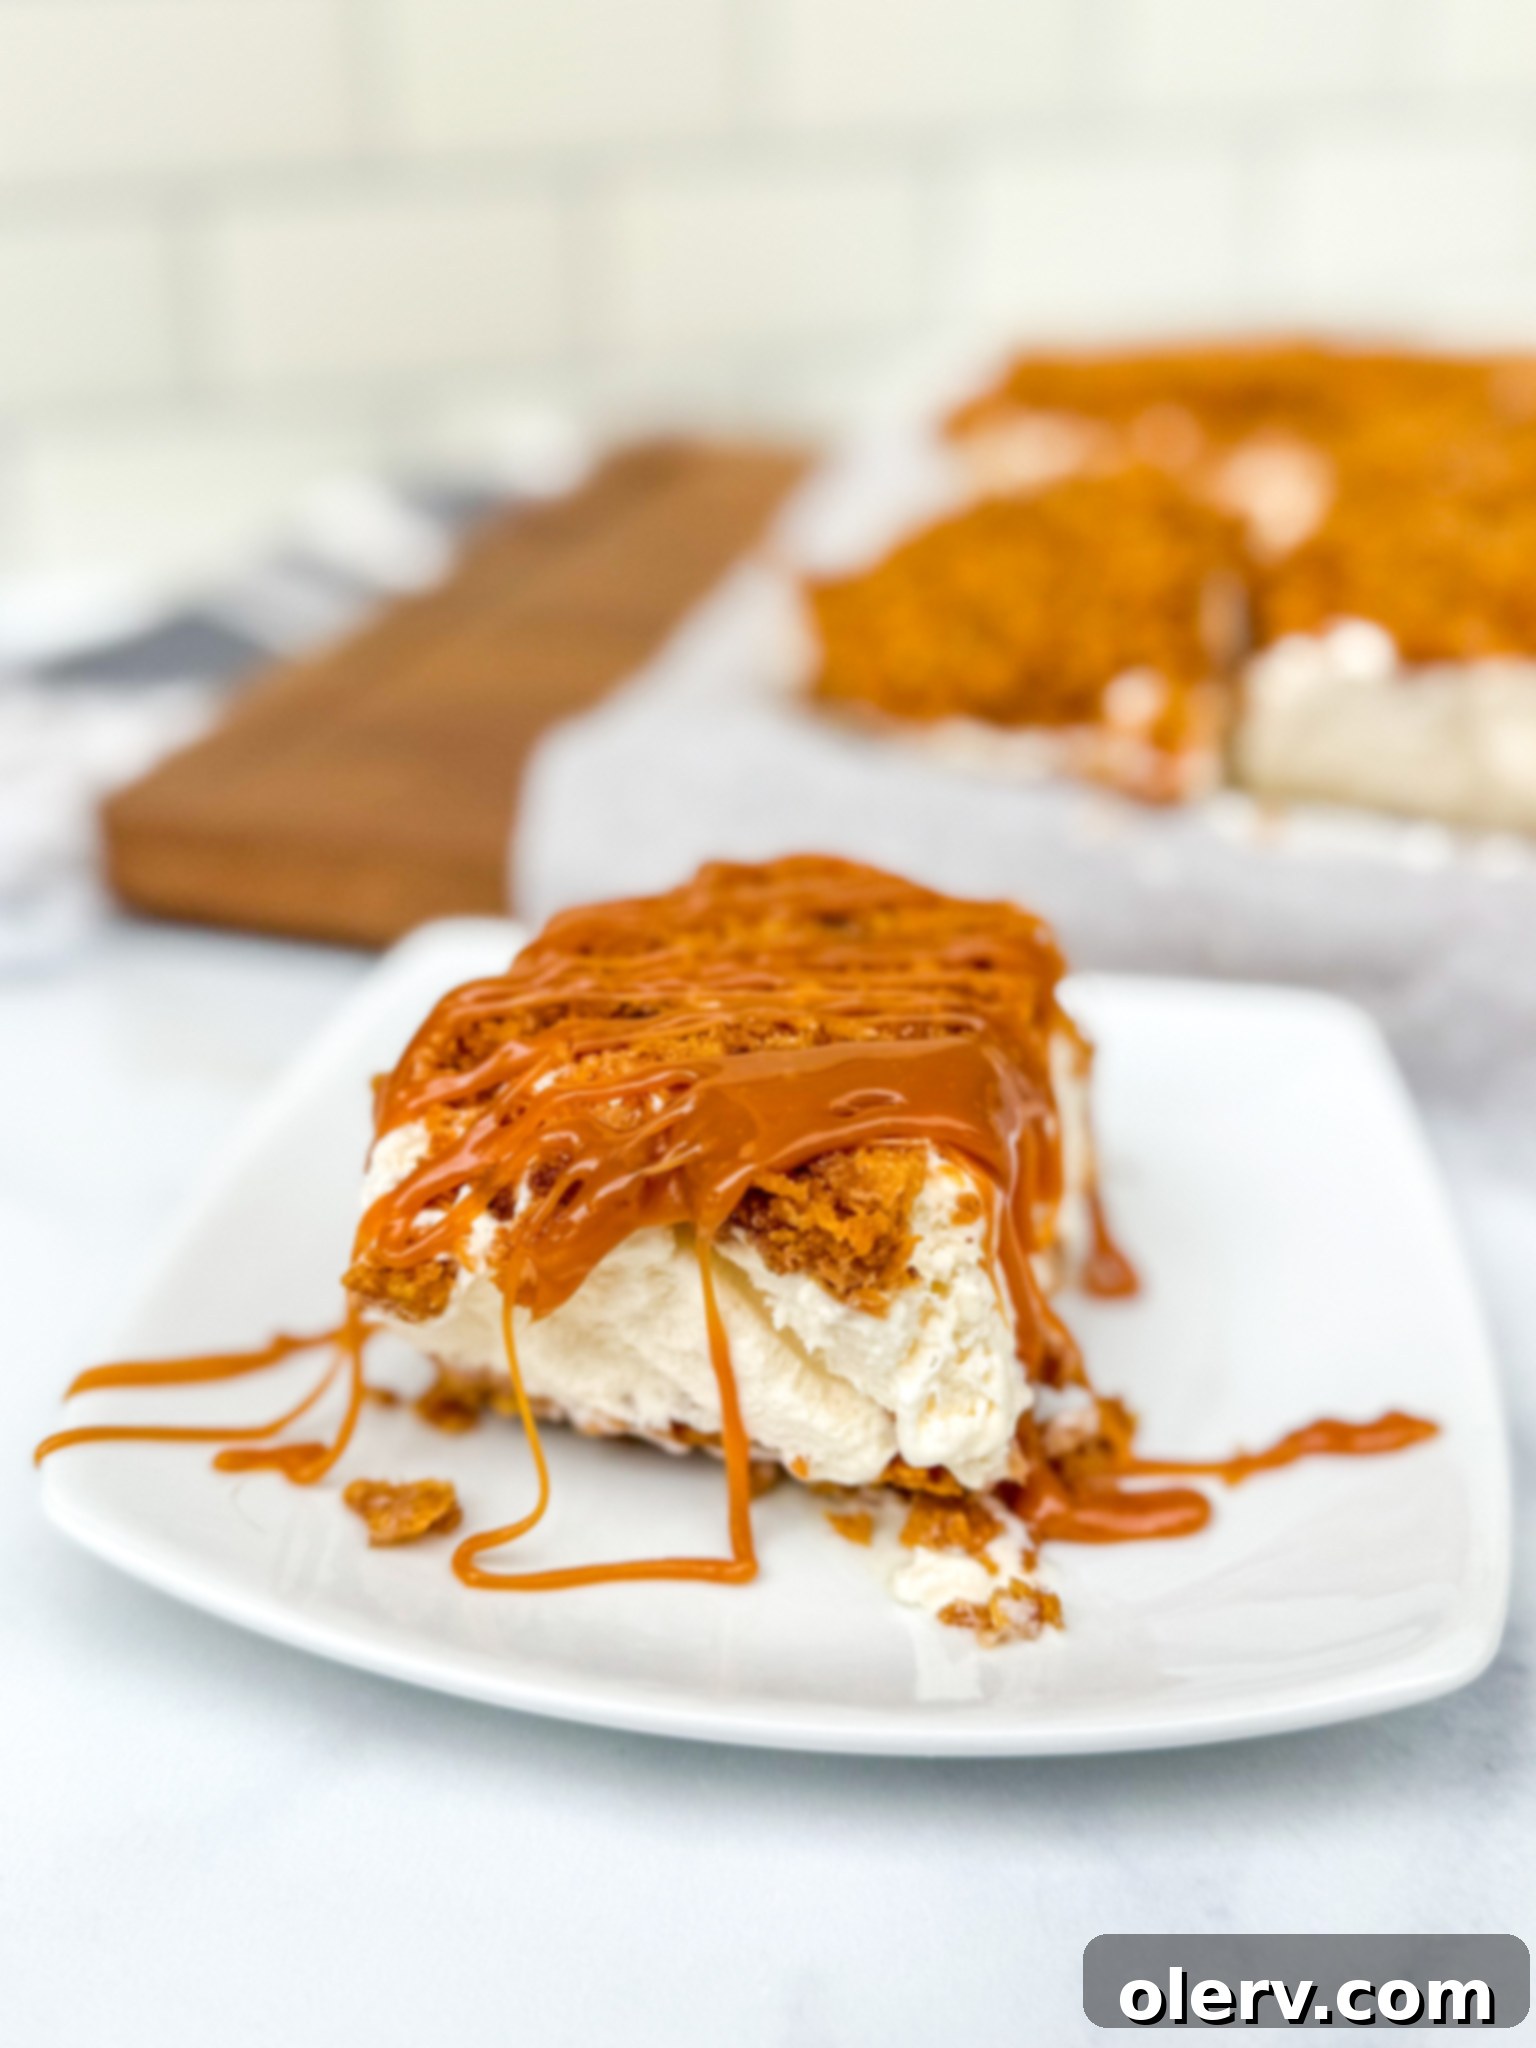
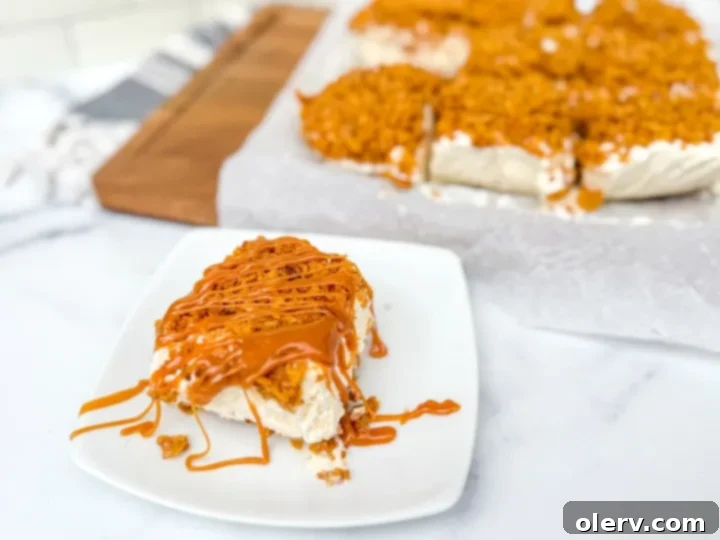
Get ready to elevate your dessert game with a recipe that promises to be the ultimate, show-stopping treat: Homemade Fried Ice Cream Bars! Imagine all the beloved elements of traditional fried ice cream – that delightful crispy, crunchy coating, the creamy, sweet ice cream interior, and a luscious warm caramel drizzle – but made conveniently in your own kitchen. This ingenious recipe transforms a classic restaurant indulgence into an accessible, crowd-pleasing dessert bar that you can prepare with ease. No deep frying required, yet it delivers all the iconic flavors and textures we adore. Dive into this guide, and let’s create these incredible dessert bars together!
Experience the Magic of Fried Ice Cream at Home
Whenever I think of an elevated dessert that perfectly captures the essence of a celebration, Fried Ice Cream immediately comes to mind. It’s a dessert that screams special occasions, often reserved for outings to a favorite restaurant or as a delightful treat during a vacation. The idea of recreating that experience, with its unique blend of hot and cold, crispy and creamy, was the inspiration behind these fantastic Fried Ice Cream Bars.
But why should such a fantastic treat be limited to special venues? My mission was to bring the pure joy and distinct flavors of fried ice cream directly to your home kitchen. That vision culminated in this innovative recipe, which simplifies the process without compromising on taste or texture. You no longer need a deep fryer or specialized equipment to enjoy this culinary marvel.
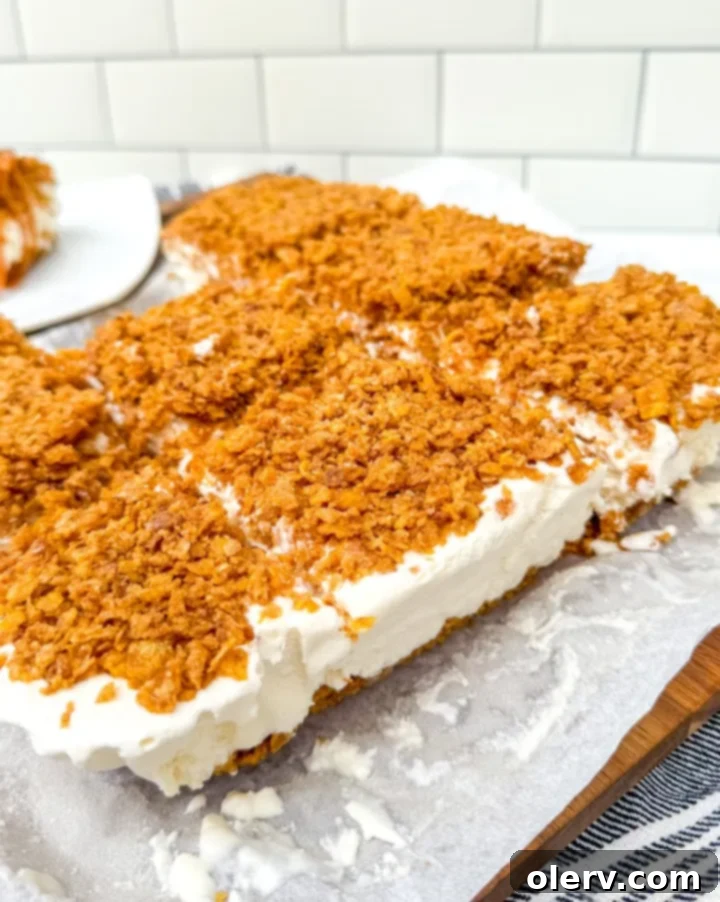
This recipe masterfully combines all the classic elements of traditional fried ice cream – a rich, cinnamon-infused cornflake crust and topping, generously filled with a velvety homemade vanilla ice cream, and finished with a warm, gooey caramel sauce. All of this is presented in a convenient bar format, making it perfect for serving a crowd or enjoying piece by piece. You are truly going to fall in love with these bars, so let’s gather our ingredients and embark on this delicious journey!
Why You’ll Love This No-Fry Fried Ice Cream Bar Recipe
These Fried Ice Cream Bars aren’t just a dessert; they’re an experience. Here’s why this recipe will become a cherished favorite in your household:
- Effortlessly Impressive: While they look incredibly sophisticated, the preparation is surprisingly straightforward. You’ll impress everyone with minimal fuss.
- No Frying Required: Enjoy all the flavors of fried ice cream without the messy and time-consuming deep-frying process. Our crispy cornflake crust achieves the desired texture beautifully.
- Make-Ahead Friendly: These bars need to freeze overnight, making them an ideal dessert to prepare in advance for parties or gatherings.
- Customizable: Easily adapt the ice cream base, crust, or toppings to suit your personal preferences or dietary needs.
- Perfect for Any Occasion: From casual family dinners to grand celebrations, these bars fit seamlessly into any event, offering a unique and memorable sweet ending.
- Irresistible Flavor Combination: The warm cinnamon-sugar crunch perfectly complements the cold, creamy vanilla ice cream, all tied together with a rich, warm caramel. It’s a symphony of textures and temperatures in every bite!
Ingredients You’ll Need to Craft These Delicious Fried Ice Cream Bars
To create the magical crispy crust and topping for our bars, you’ll need just a few simple ingredients:
- 3/4 cup butter: Unsalted butter is preferred to control the saltiness, melted to combine with the cornflakes. It acts as the binder and flavor enhancer for our crust.
- 3 cups crushed cornflakes: The star of our “fried” element! These provide the signature crunch and texture reminiscent of traditionally fried ice cream. Crushing them gently ensures a good consistency.
- 2 teaspoons cinnamon: Essential for that warm, inviting flavor that pairs so wonderfully with both the cornflakes and vanilla ice cream. Don’t skip this!
- 5 Tablespoons sugar: Granulated sugar adds a touch of sweetness to the cornflake mixture, caramelizing slightly as it toasts.
For the Velvety Ice Cream Layer
The homemade vanilla ice cream layer is surprisingly simple to make, requiring no special ice cream machine. It’s incredibly creamy and sweet!
- 1 3/4 cup heavy whipping cream: The foundation of our no-churn ice cream, whipped to stiff peaks for an airy, rich base.
- 1/4 cup evaporated milk: Adds a subtle depth of flavor and contributes to the smooth texture of the ice cream.
- 1/8 teaspoon salt: A tiny pinch balances the sweetness and enhances all the other flavors.
- 1 14-ounce can sweetened condensed milk: This is the secret to our no-churn ice cream’s sweetness and incredible creaminess, eliminating the need for an ice cream maker.
- 2 teaspoons vanilla: Pure vanilla extract is crucial for that classic, comforting vanilla flavor that perfectly complements the cinnamon crust.
Finishing Touches Just Before Serving
These toppings are what truly complete the “fried ice cream” experience, adding warmth, creaminess, and a touch of classic flair.
- Warm caramel sauce: A generous drizzle of warm caramel is non-negotiable! It adds a luxurious sweetness and a contrasting warm element that makes these bars truly special.
- Whipping cream: A dollop of freshly whipped cream adds extra indulgence and a beautiful presentation.
- Maraschino cherries: For that iconic vibrant red pop of color and a touch of traditional dessert charm.
Step-by-Step Guide: How to Make Fried Ice Cream Bars at Home
- Prepare the Crispy Cornflake Crust: In a large skillet, melt the butter over medium heat. Once melted, add the crushed cornflakes and cinnamon. Stir continuously for approximately five minutes until the mixture turns golden brown and smells fragrant. This toasting process is key to developing that deep, “fried” flavor. Remove the skillet from the heat and immediately stir in the sugar until well combined. Transfer the mixture to a bowl and allow it to cool completely before proceeding. This prevents the ice cream from melting prematurely.
- Whip Up the Creamy Ice Cream Filling: To the bowl of a stand mixer fitted with a whisk attachment (or use a large bowl with a hand mixer), combine the heavy whipping cream, evaporated milk, and salt. Beat on high speed until stiff peaks form. This means the cream will hold its shape when the whisk is lifted. Gradually, with the mixer still running on a lower speed, pour in the sweetened condensed milk and vanilla extract. Continue to beat until the mixture thickens again and is well incorporated, forming a luscious, sweet cream.
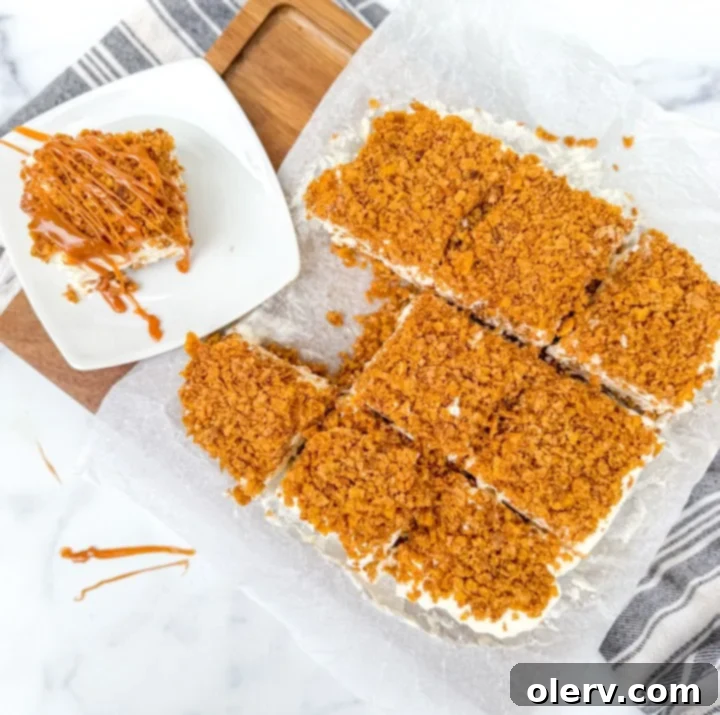
- Assemble and Freeze the Bars: Take a 9×9 inch pan and either grease it lightly or line it with parchment paper, leaving an overhang on two sides for easy removal. This step is crucial for effortless slicing later. Press half of the cooled cornflake mixture evenly into the bottom of the prepared pan, forming the base crust. Carefully pour the creamy ice cream filling over this crust, spreading it smoothly to the edges. Finally, sprinkle the remaining cornflake mixture evenly over the top of the ice cream layer, creating our signature crunchy topping. Cover the pan tightly with plastic wrap or aluminum foil and freeze overnight, or for at least 8 hours, to ensure the bars are perfectly set and firm.
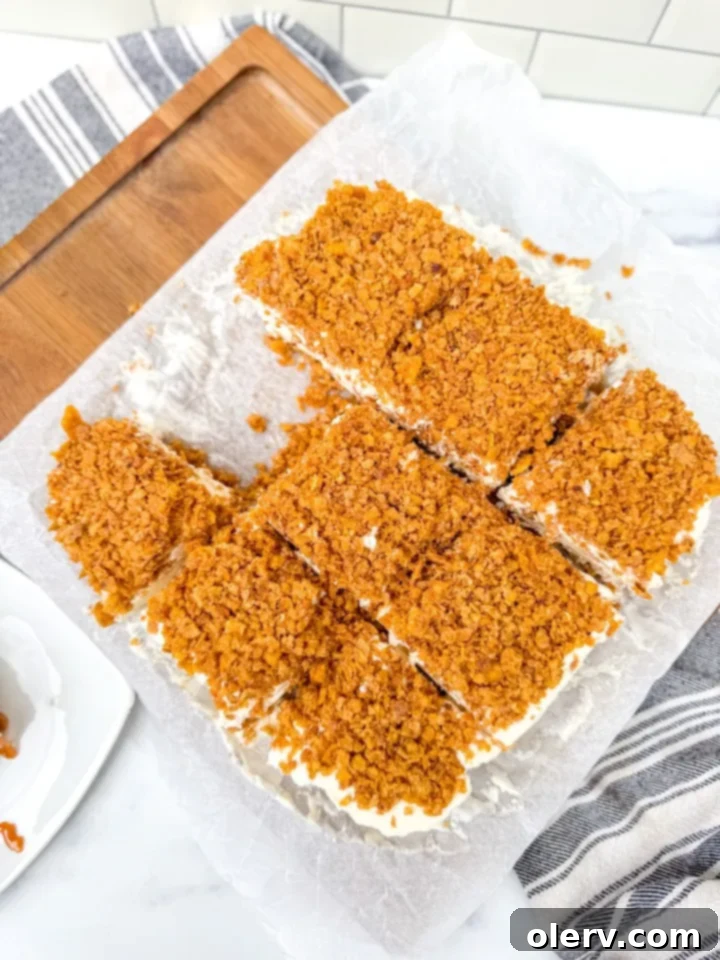
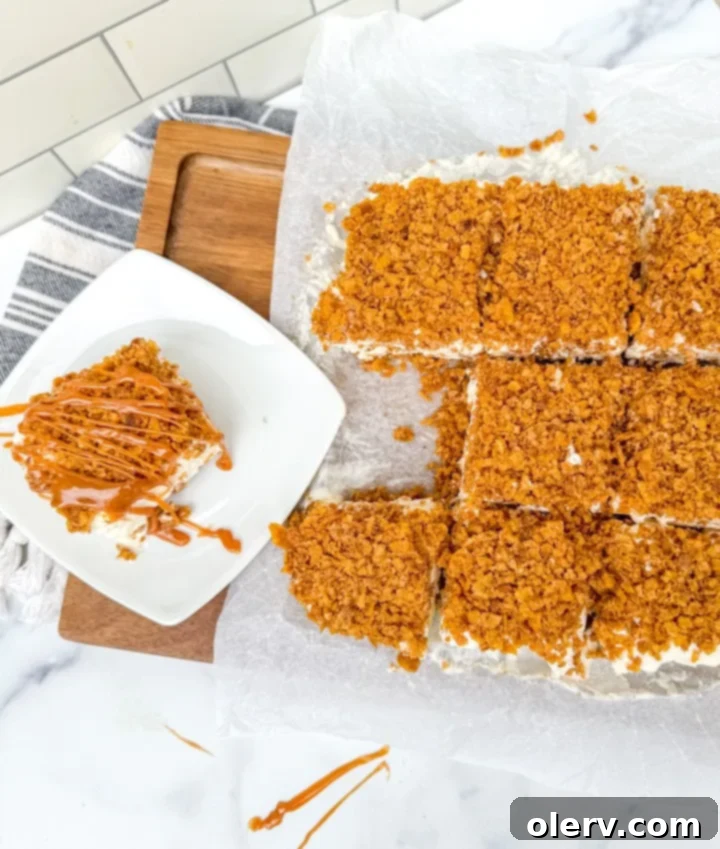
- Slice, Top, and Serve: Once completely frozen, remove the pan from the freezer. Use the parchment paper overhangs to lift the entire block of bars out of the pan. Place it on a cutting board. Using a sharp knife, cut the block into your desired number of servings – typically 9-12 bars. For the ultimate “fried ice cream” experience, top each bar generously with warmed caramel sauce, a dollop of fresh whipping cream, and a vibrant maraschino cherry. Serve immediately and savor every incredible bite!
Expert Tips for Perfect Fried Ice Cream Bars Every Time
- Crush Cornflakes Evenly: For the best texture, ensure your cornflakes are crushed into small, uniform pieces, but not powdered. A food processor with quick pulses works well, or simply place them in a bag and crush with a rolling pin.
- Don’t Rush the Cooling: Allowing the cornflake mixture to cool completely before adding it to the pan is vital. If it’s warm, it will melt the ice cream base.
- Grease or Line Your Pan: This step cannot be overstated! Lining with parchment paper (with an overhang) makes removing and cutting the frozen bars incredibly easy and mess-free.
- Achieve Stiff Peaks: When whipping the heavy cream, make sure it reaches stiff peaks. This ensures a light and airy ice cream texture that holds its shape when frozen.
- Freeze Thoroughly: For perfectly firm bars that are easy to cut and hold their shape, an overnight freeze is ideal. If you’re short on time, at least 8 hours will suffice.
- Warm Your Caramel: Heating the caramel sauce slightly before drizzling makes it flow beautifully and adds that delightful warm contrast against the cold ice cream.
- Use a Hot Knife for Slicing: For cleaner cuts, run your knife under hot water, dry it quickly, and then slice. Repeat for each cut if needed.
Variations and Customizations for Your Fried Ice Cream Bars
While the classic version is undeniably delicious, feel free to get creative and customize your Fried Ice Cream Bars to your liking!
- Different Ice Cream Flavors: Instead of vanilla, try a base of chocolate, strawberry, coffee, or even mint chip ice cream. Ensure it’s a good quality, creamy ice cream.
- Alternative Crusts: Experiment with different crunchy cereals (like frosted flakes or crushed oat cereal), crushed graham crackers, or even crushed shortbread cookies for the crust. Adjust butter and sugar proportions as needed.
- Nutty Crunch: Add finely chopped pecans, walnuts, or almonds to the cornflake mixture for an extra layer of texture and flavor.
- Chocolate Lover’s Dream: Drizzle with chocolate sauce in addition to or instead of caramel. You could also sprinkle mini chocolate chips over the ice cream layer.
- Fruit Toppings: Fresh berries (strawberries, raspberries) or sliced bananas can add a refreshing touch to the rich dessert.
- Spiced Up: Add a pinch of nutmeg or a dash of pumpkin pie spice to the cornflake mixture for a seasonal twist.
- Coffee Infusion: Add 1-2 tablespoons of instant espresso powder to the heavy cream mixture for a subtle coffee flavor.
Storage Instructions for Leftover Bars
These Fried Ice Cream Bars are best enjoyed fresh, but if you happen to have any leftovers, they can be stored to enjoy later.
- Freezer Storage: Once cut, place individual bars on a baking sheet lined with parchment paper and freeze for about 30 minutes until very firm. Then, wrap each bar tightly in plastic wrap and place them in an airtight freezer-safe container or bag.
- How Long Do They Last?: Stored properly, the Fried Ice Cream Bars will maintain their best quality for up to 2-3 weeks in the freezer. Beyond that, the texture of the crust might soften slightly.
- Serving from Freezer: When ready to serve, simply unwrap and top with your desired caramel, cream, and cherry. You might want to let them sit at room temperature for 5-10 minutes to soften slightly, but not too long to keep the ice cream firm.
Frequently Asked Questions (FAQs)
Here are answers to some common questions about making these delicious Fried Ice Cream Bars:
- Can I use store-bought ice cream? Yes, you absolutely can! If using store-bought ice cream, let it soften slightly at room temperature until it’s spreadable, then follow the assembly instructions. Be aware that the texture might be slightly different from the homemade no-churn version.
- My cornflake mixture isn’t getting crispy enough. What did I do wrong? Ensure you’re toasting the cornflakes in butter over medium heat, stirring constantly, until they turn golden brown. Don’t overheat, but make sure they’ve had enough time to toast. Also, allow them to cool completely before using.
- Can I make this recipe vegan or dairy-free? With some substitutions, yes! You can use vegan butter, plant-based cornflakes, and a dairy-free heavy whipping cream alternative (like coconut cream, chilled well) along with dairy-free sweetened condensed milk. Ensure all your other ingredients are also dairy-free.
- What if I don’t have a stand mixer? A hand mixer works perfectly fine for whipping the heavy cream and mixing in the other ice cream ingredients. Just ensure your bowl is large enough.
- How far in advance can I make these? Since they need to freeze overnight, they are excellent for preparing 1-2 days in advance. They hold up well in the freezer for a few weeks, as mentioned in the storage tips.
If you try this recipe, I would absolutely love to hear from you! Please leave a comment below, rate it, or snap a photo and tag it with @TheAlexDaynes on Instagram! I get so much joy from seeing what you’ve been cooking in your kitchens. It always makes my day!
Love this recipe and want to save it for later? Pin it to Pinterest here!
Fried Ice Cream Bars
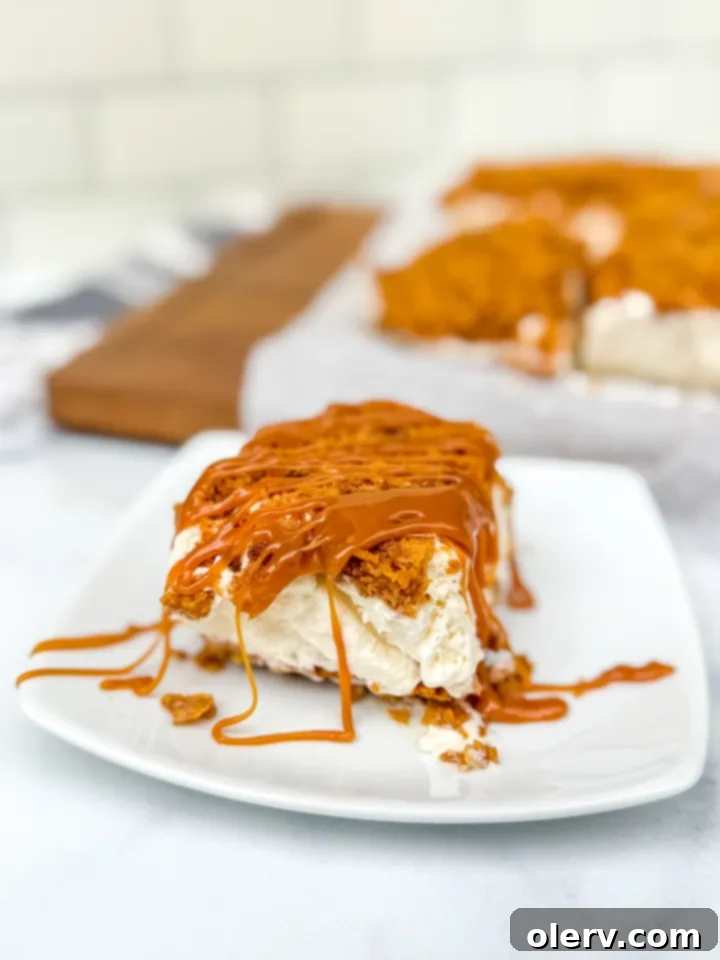
The ultimate, show-stopping dessert is Fried Ice Cream Bars! I’m bringing the fun of traditional fried ice cream to your kitchen so you can make it at home!
35 minutes
15 minutes
8 hours
8 hours 50 minutes
Ingredients
- 3/4 cup butter
- 3 cups crushed cornflakes
- 2 teaspoons cinnamon
- 5 Tablespoons sugar
For the Ice Cream
- 1 3/4 cup heavy whipping cream
- 1/4 cup evaporated milk
- 1/8 teaspoon salt
- 1 14-ounce can sweetened condensed milk
- 2 teaspoons vanilla
Just Before Serving
- warm caramel sauce
- whipping cream
- maraschino cherries
Instructions
- In a large skillet, melt the butter over medium heat. Add the cornflakes and cinnamon and stir until golden brown, roughly five minutes. Remove from the heat and stir in the sugar. Cool completely.
- To a stand mixer, beat the heavy cream, evaporated milk, and salt until stiff peaks form. Gradually pour in the sweetened condensed milk and vanilla until thickened again.
- Add half the cornflake mixture to the bottom of a greased or lined 9×9 pan. Pour the ice cream filling over the crust. Sprinkle the remaining cornflakes over the ice cream. Cover and freeze overnight.
- Cut the bars into desired servings and top each with warmed caramel sauce, whipping cream, and maraschino cherries. Enjoy!
