Mastering Easy Cut-Out Sugar Cookies: Your Go-To Recipe for Festive Baking

There’s something truly magical about a perfectly baked, beautifully decorated cut-out sugar cookie. It’s more than just a sweet treat; it’s a canvas for creativity, a symbol of celebration, and a heartwarming tradition shared across generations. This recipe for easy cut-out sugar cookies is designed to give you consistently delicious results every time. These cookies are wonderfully buttery and sweet, with a delicate crispness that melts in your mouth. Most importantly, the dough is incredibly stable, ensuring your intricately cut shapes remain perfect during baking – no spreading! Whether you’re preparing for Christmas, Easter, or any special occasion, these no-spread sugar cookies are your ideal foundation for edible art. Join me as we bake the best cut-out sugar cookies you’ll ever make!

Easy Sugar Cookies: A Sweet Tradition for Every Occasion
Decorating sugar cookies has always been a cherished holiday tradition in my family. Growing up, my mom made sure that every Christmas, she’d gather my brothers and me to prepare for our annual Christmas cookie baking and decorating session. These moments weren’t just about the cookies; they were about laughter, creativity, and making lasting memories together.
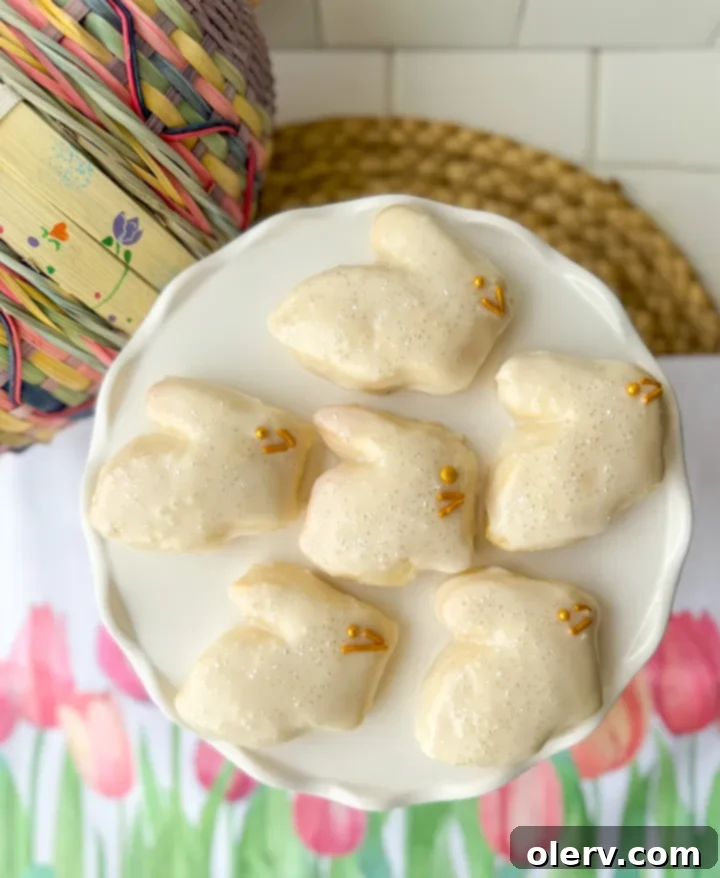
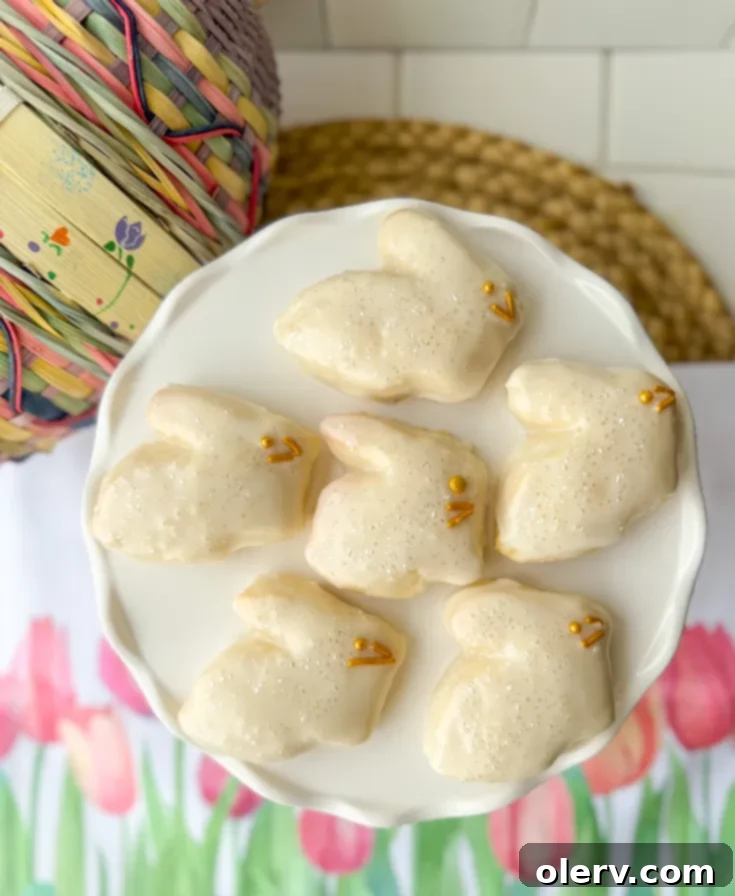
What makes sugar cookies truly special is their incredible versatility. These aren’t just for Christmas anymore! This reliable recipe provides the perfect blank canvas for whatever theme or celebration you have in mind. Imagine festive green shamrocks for St. Patrick’s Day, adorable bunnies for Easter, patriotic stars for the Fourth of July, sparkling shapes for New Year’s, spooky ghosts for Halloween, autumnal leaves for Thanksgiving, or charming hearts for Valentine’s Day! Every holiday and special moment deserves a batch of delicious, homemade cut-out sugar cookies, customized to perfection.

Top Tips for Successful No-Spread Cut-Out Sugar Cookies
Achieving those perfectly crisp edges and beautifully defined shapes with your cut-out sugar cookies isn’t difficult, but it does require attention to a few key details. These three essential tips are the secret to ensuring your sugar cookies hold their shape without spreading during baking:
- Always Use Real Butter: This is non-negotiable for flavor and texture! While margarine or other butter substitutes might seem appealing, they often contain more water, which can cause your cookies to spread excessively in the oven. Real butter (whether salted or unsalted, though I typically use salted as it’s what I have on hand) contributes to that rich, delicious buttery flavor and helps maintain the dough’s structure. Ensure your butter is softened to room temperature, but not melted, for optimal creaming.
- Mix Ingredients Thoroughly (Especially the Butter and Sugar): Proper mixing is crucial. When you cream butter and sugar together, you’re incorporating air, which contributes to the cookies’ light texture. However, it’s also vital to ensure the butter is fully incorporated into the sugar and later, the dry ingredients. If there are any unmixed pockets of butter in your dough, these will melt rapidly when exposed to the oven’s heat, causing your cookies to lose their shape and spread thin. Scrape down the sides and bottom of your mixing bowl frequently to ensure everything is evenly combined, resulting in a homogenous dough.
- Refrigerate the Dough – Don’t Skip This Step! I know, waiting for dough to chill can feel like a test of patience, but it’s arguably the most critical step for no-spread cookies. Chilling the dough solidifies the butter within, making it less likely to melt too quickly in the oven. This firm dough is also much easier to roll out and cut cleanly. Aim for at least 1-2 hours of chilling, or even up to 2 days for ultimate convenience. This crucial step prevents your carefully cut shapes from becoming shapeless blobs.
Essential Tools and Ingredients for Perfect Sugar Cookies
Having the right tools and understanding your ingredients are key to a smooth baking process and delicious results. Here’s what you’ll need:
Key Ingredients Deep Dive:
- All-Purpose Flour: The foundation of our cookies. Measure it correctly by spooning it into your measuring cup and leveling off with a knife, rather than scooping directly, to avoid a dense cookie.
- Baking Powder: Our leavening agent, giving the cookies a slight lift and a tender texture without causing excessive spreading.
- Salt: Essential for balancing the sweetness and enhancing all the other flavors in the cookie.
- Unsalted Butter: As discussed, real butter is vital. Using unsalted allows you to control the exact amount of salt in your recipe. Softened to room temperature means it should yield slightly to a gentle press, but not be greasy or melted.
- Granulated Sugar: Provides sweetness and contributes to the cookie’s texture and crisp edges.
- Large Egg: Binds the ingredients together and adds richness. Ensure it’s at room temperature for better emulsification with the butter and sugar.
- Pure Vanilla Extract: A classic flavor enhancer that gives sugar cookies their signature taste.
- Almond Extract: This is my secret weapon! A touch of almond extract elevates the flavor profile, adding a subtle, delightful note that complements the vanilla beautifully without being overpowering.
Essential Baking Tools:
- Stand Mixer with Paddle Attachment (or Hand Mixer): Makes creaming butter and sugar a breeze and ensures thorough mixing.
- Rolling Pin: A standard rolling pin works, but one with adjustable thickness rings can help achieve perfectly even dough.
- Cookie Cutters: The fun part! Gather an assortment of shapes suitable for your chosen occasion.
- Parchment Paper or Silicone Baking Mats: Prevents sticking and makes for easy cleanup.
- Baking Sheets: Light-colored baking sheets are generally best for even baking.
- Wire Rack: Crucial for cooling cookies completely before decorating.

Decorating Your Masterpieces: Royal Icing for Sugar Cookies
Once your beautiful cut-out sugar cookies have cooled, it’s time for the most exciting part: decorating! While buttercream frosting offers a rich, creamy texture, for crisp edges and professional-looking designs that harden and stack easily, royal icing is truly unmatched. If you’re looking for a fast, easy, and fuss-free way to frost your cut-out sugar cookies, then my simple recipe for homemade royal icing is exactly what you need.
I absolutely adore using this icing for sugar cookies because of its simplicity and flawless finish. It’s incredibly easy to whip together, perfect for dipping each cookie to get a smooth, even coat. The best part? It hardens and sets perfectly every time, allowing for intricate designs if you choose to pipe, or a simple, elegant glaze that protects your cookies and makes them easy to store and transport. Plus, it’s the ideal base for adding sprinkles, edible glitter, or other decorative elements before it fully sets.
Like this recipe and want to save it for later? Pin it to Pinterest here!
Frequently Asked Questions About Cut-Out Sugar Cookies
Here are some common questions bakers have when making cut-out sugar cookies:
Can I make the cookie dough ahead of time?
Absolutely! This dough is perfect for making in advance. You can refrigerate the dough wrapped tightly in plastic wrap for up to 2 days. This is great for holiday baking when you want to spread out the work.
Can I freeze cut-out sugar cookie dough or baked cookies?
Yes to both! You can roll out and cut the dough, then freeze the raw cut-out shapes on a baking sheet until firm. Transfer them to an airtight container or freezer bag for up to 3 months. Bake from frozen, adding a minute or two to the baking time. Baked and undecorated cookies can also be frozen in an airtight container for up to 3 months. Thaw at room temperature before decorating.
Why did my cookies spread in the oven?
Cookie spreading is usually due to one of the “Top Tips” being missed. Ensure your butter is real and softened (not melted), your ingredients are thoroughly mixed (no butter pockets!), and most importantly, the dough is adequately chilled. An oven that isn’t fully preheated can also contribute to spreading.
How can I get soft centers with crisp edges?
The baking time is key here. Bake until the edges are lightly golden brown but the centers still look slightly soft. The cookies will continue to cook slightly on the hot baking sheet after coming out of the oven. Transferring them to a wire rack after 5 minutes on the sheet helps them cool evenly.
What kind of cookie cutters should I use?
Any metal or sturdy plastic cookie cutters will work! For intricate designs, ensure the dough is well-chilled to prevent sticking and distortion. Having a good variety allows for creative expression throughout the year.
Easy Cut-Out Sugar Cookies with Royal Icing

With crisp edges, thick centers, and plenty of room for creative decorating, you’ll adore these buttery, soft sugar cookies. This no-spread recipe is perfect for every holiday!
2 hours
10 minutes
1 hour
3 hours 10 minutes
Ingredients for Sugar Cookies
- 2 and 1/4 cups all-purpose flour
- 1/2 teaspoon baking powder
- 1/4 teaspoon salt
- 3/4 cup unsalted butter, softened to room temperature
- 3/4 cup granulated sugar
- 1 large egg, at room temperature
- 2 teaspoons pure vanilla extract
- 1/4 teaspoon almond extract
Ingredients for Easy Royal Icing
- 1 1/2 cups powdered sugar
- 2 Tablespoons warm water
- 1/2 Tablespoon light corn syrup
- *Food coloring & flavorings (optional)
Instructions for Sugar Cookies
- Whisk together the flour, baking powder, and salt in a medium bowl. Set aside.
- In a stand mixer fitted with a paddle attachment (or using a hand mixer), beat the softened butter and granulated sugar together at high speed until the mixture is completely smooth and creamy. This should take about 2 minutes, ensuring no pockets of butter remain.
- Add the room temperature egg, pure vanilla extract, and almond extract to the butter mixture. Beat on high speed until all ingredients are well combined, approximately 1 minute. Make sure to scrape down the sides and up the bottom of the bowl with a spatula and beat again as needed to ensure everything is fully incorporated.
- Gradually add the whisked dry ingredients to the wet ingredients. Mix on low speed until just combined. Be careful not to overmix; stop as soon as no dry streaks of flour are visible. The dough will be relatively soft at this stage.
- Prepare for chilling: Place the dough onto a large piece of parchment paper, lightly floured. Using a lightly floured rolling pin, roll the dough out evenly to about 1/4-inch thickness. This uniform thickness is important for consistent baking.
- Cover the rolled dough with plastic wrap or aluminum foil, ensuring it’s completely sealed. Refrigerate the dough for a minimum of 1-2 hours, or up to 2 days. This chilling step is crucial for preventing the cookies from spreading and maintaining their shape.
- Once the dough is thoroughly chilled, preheat your oven to 350°F (175°C).
- Line 2-3 large baking sheets with fresh parchment paper or silicone baking mats. Using your favorite cookie cutters, cut out desired shapes from the chilled dough. Place the cut-out cookies onto the prepared baking sheets, leaving about 3 inches of space between each cookie to allow for proper air circulation. Gather and re-roll any remaining dough scraps, chilling briefly if it becomes too soft, and continue cutting until all the dough is used.
- Bake the cookies for 9-10 minutes, or until the edges are lightly golden brown. The centers should still appear soft. Avoid overbaking, as this can make the cookies dry. Allow the cookies to cool on the baking sheet for 5 minutes before carefully transferring them to a wire rack to cool completely. They must be entirely cool before you begin decorating.
- Once completely cooled, frost and sprinkle your cookies as desired. Enjoy your beautiful and delicious homemade sugar cookies!
Instructions for Easy Royal Icing
- In a small bowl, mix together the warm water and light corn syrup. This creates your “sugar water.”
- Pour the sugar water mixture into the powdered sugar. Stir thoroughly until all ingredients are combined and smooth. Initially, the mixture will be quite thick. The ideal consistency you’re aiming for is a slowly dripping icing that, when drizzled back into the bowl, slowly disappears into the surface. If it’s too thick, add water a tiny bit at a time (1/4 teaspoon), if too thin, add more powdered sugar.
- If desired, add food coloring and/or additional flavorings (like vanilla or almond extract, see notes). To frost, gently dip the top of each cooled cookie into the icing. Allow any excess icing to drip off before carefully placing the cookie on a wire rack to harden and set. If you plan to add sprinkles or other decorative elements, do so immediately after dipping, before the icing begins to set.
Notes
*I like to add an additional teaspoon of vanilla extract (or even a little more almond extract) to the icing to give it a little extra flavor. You could also experiment with other extracts like lemon, peppermint, or orange to match your cookie theme.
Nutrition Information:
Yield:
24
Serving Size:
1
Amount Per Serving:
Calories: 102
Total Fat: 7g
Saturated Fat: 4g
Trans Fat: 0g
Unsaturated Fat: 2g
Cholesterol: 23mg
Sodium: 42mg
Carbohydrates: 11g
Fiber: 0g
Sugar: 8g
Protein: 1g
