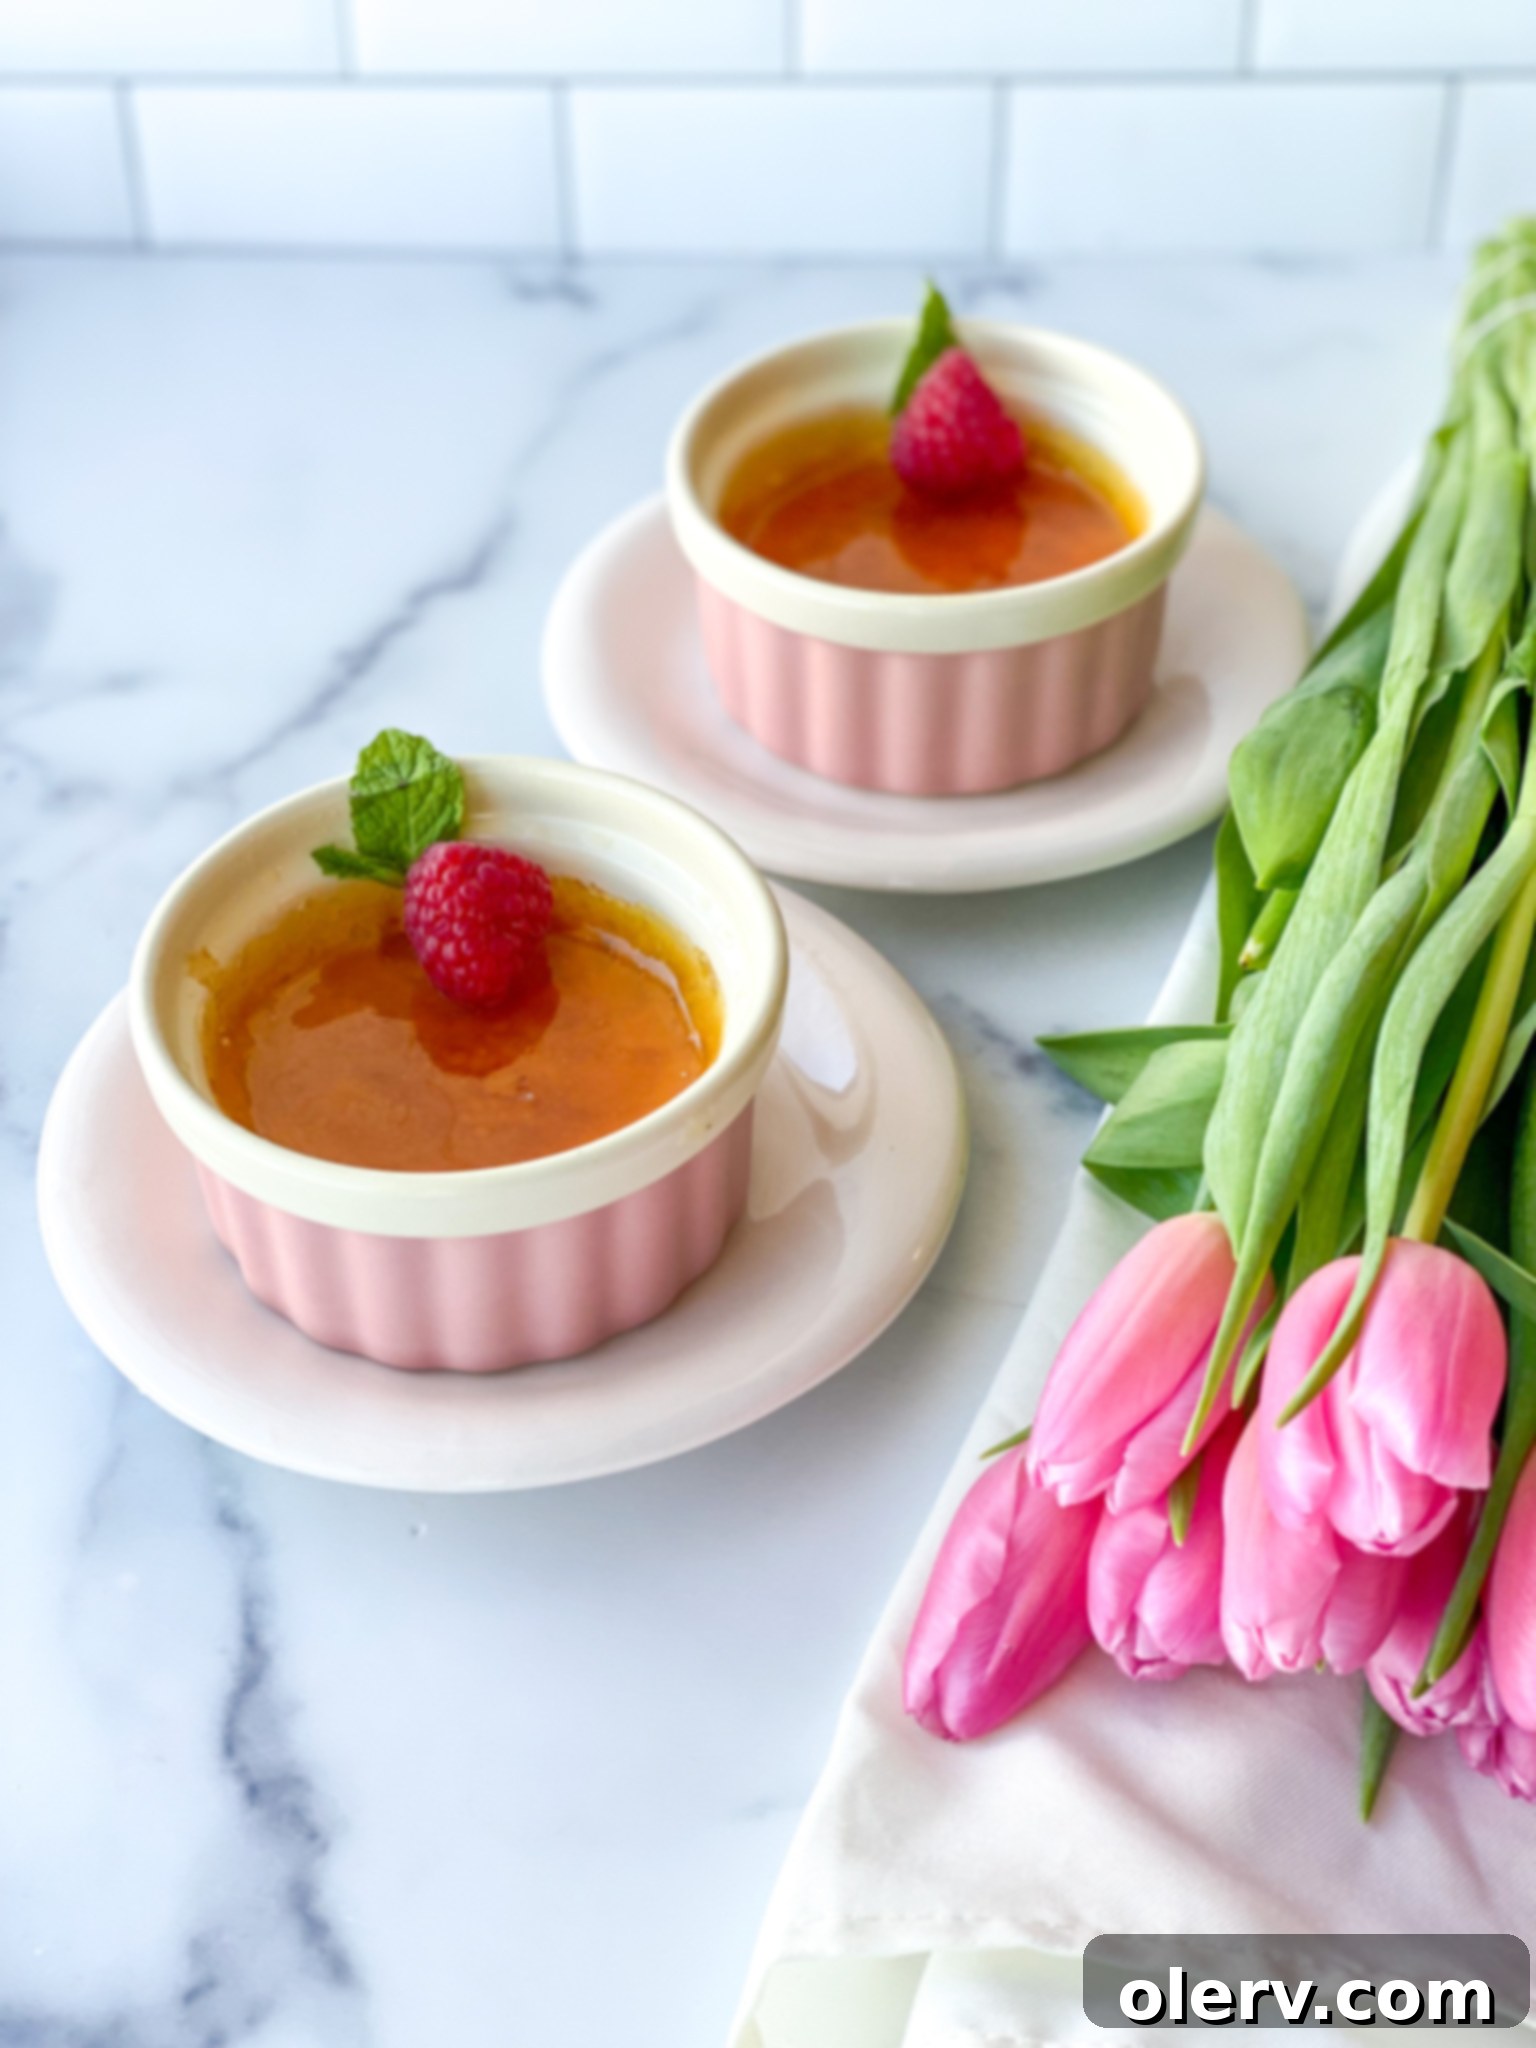
Easy 3-Ingredient Creme Brulee: Silky Vanilla Custard, No Torch Needed!
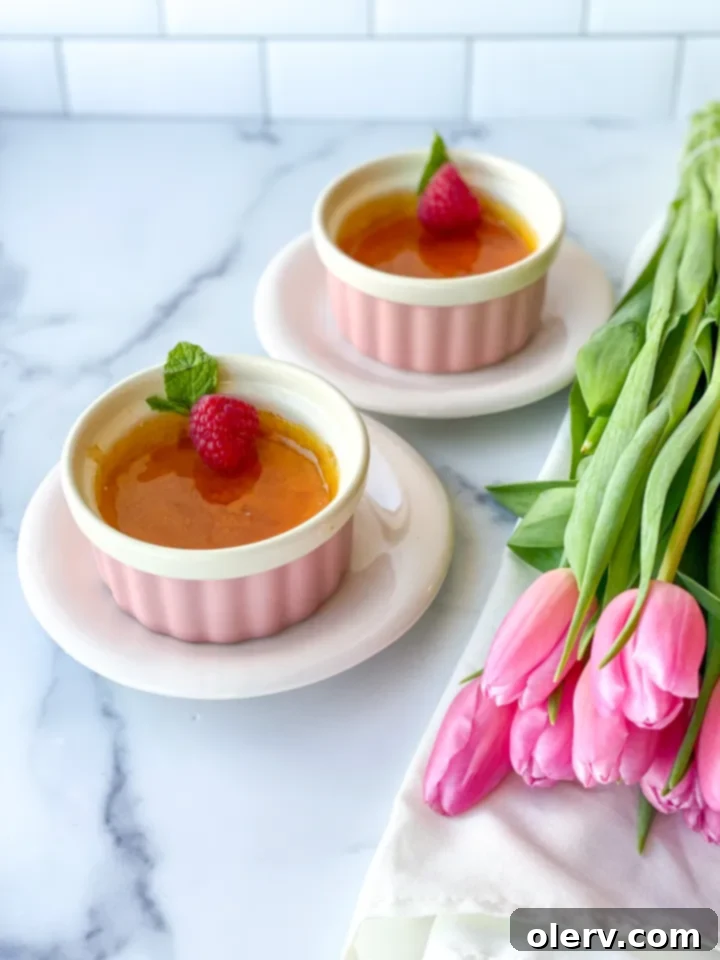
Imagine a dessert that’s both elegant and incredibly simple to make, yet tastes like it came straight from a gourmet restaurant kitchen. That’s exactly what you get with our **Easy 3-Ingredient Creme Brulee** recipe! This beloved French classic, known for its rich, velvety custard base and signature brittle caramelized sugar topping, has often been intimidating for home bakers. But what if we told you that achieving this culinary masterpiece could be as simple as combining just three core ingredients: creamy vanilla ice cream, fresh eggs, and granulated sugar?
Prepare to be amazed, because our recipe truly is that straightforward. The secret lies in a clever hack that streamlines the process without compromising on flavor or that iconic crackable sugar crust. Get ready to scoop up generous amounts of this dreamy, vanilla-infused custard. It’s the perfect sweet ending for a romantic date night in, a sophisticated dinner party, or simply a treat for yourself. Let’s dive into making this extraordinary dessert together!
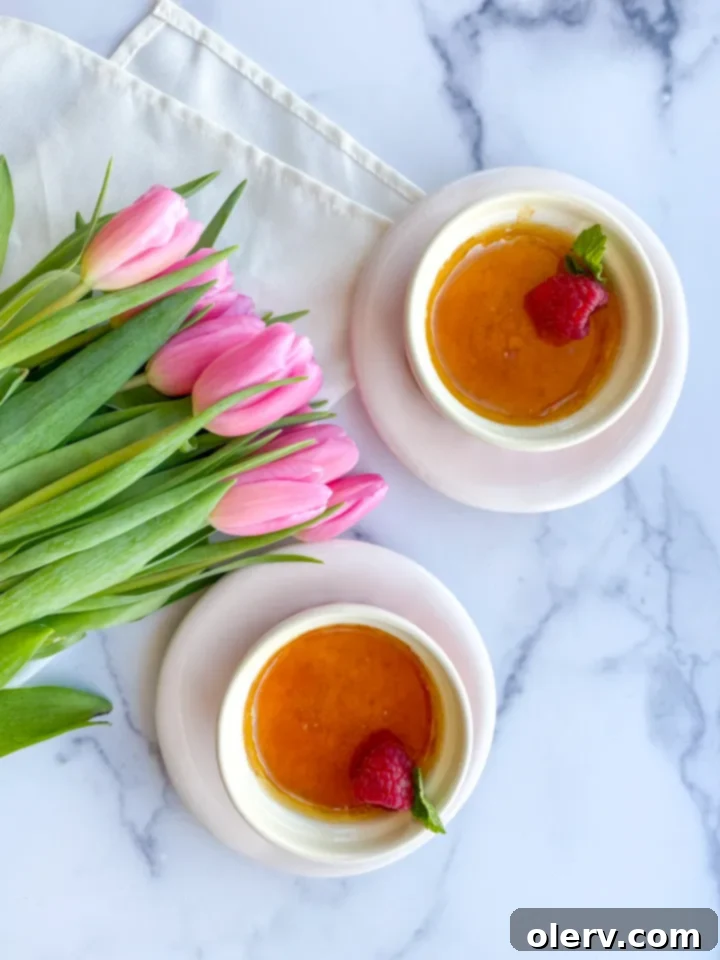
Vanilla Creme Brulee: The Classic Dessert Demystified
At its heart, “Creme Brulee” literally translates from French to “burnt cream.” This name perfectly describes its two defining characteristics: a luscious, creamy custard base, and a crisp, caramelized sugar topping that creates that satisfying “crack” when tapped with a spoon. Traditionally, this caramelized layer is achieved by sprinkling granulated sugar over the chilled custard and then heating it with a small propane torch until it melts and turns into a golden, brittle sheet.
For many home cooks, the idea of using a kitchen torch can be daunting, or perhaps you simply don’t own one. But don’t let that deter you! We’ve got an ingenious, torch-free hack that delivers that exact same irresistible, crunchy topping. This method ensures you get all the fun and textural delight of cracking through the sugar to reach the smooth cream beneath, without any need for an open flame. Trust us, the result is so exquisitely delicious, it will leave you speechless – except for perhaps a few contented sighs and happy murmurs!
Beyond its traditional appeal, our goal was to make this luxurious dessert accessible to everyone. That’s why this particular recipe shines with its incredible simplicity, requiring only three fundamental ingredients, with vanilla ice cream playing a starring role in both flavor and ease. Prepare for your new favorite dessert to impress with minimal effort!
The Magic Trio: Ingredients for Your Easy Creme Brulee with Ice Cream
The beauty of this recipe lies in its minimalist approach to ingredients. You truly only need a handful of items to create a dessert that will impress even the most discerning palates. Let’s break down the essential components:
- Vanilla Ice Cream: This is our secret weapon! Instead of heavy cream, which is traditional for Creme Brulee, we leverage the richness and vanilla flavor already present in good quality vanilla ice cream. This not only simplifies the ingredient list but also adds a unique depth of flavor and a wonderfully smooth texture to your custard. While any brand of vanilla ice cream works, opting for a vanilla bean variety will elevate the taste even further, giving you those beautiful specks of vanilla throughout the custard.
- Eggs: Specifically, you’ll need egg yolks. Egg yolks are crucial for the custardy texture of Creme Brulee. They act as a natural thickener and provide the rich, silky consistency that makes this dessert so irresistible. We’ll be separating the yolks from the whites, as the whites aren’t needed for this recipe.
- Granulated Sugar: This ingredient plays a dual role. It provides the sweetness for the custard itself and, most importantly, forms that signature crackly top when caramelized. We’ll use a separate portion for the custard and another for the topping.
- And technically, water: While it’s used in the caramelization process for the sugar topping, it’s such a fundamental kitchen staple that we hardly count it as a “special” ingredient. Think of it more as a helpful agent in achieving that perfect caramel.
I am absolutely convinced that this innovative, three-ingredient approach will make this classic dish your new go-to dessert. Its simplicity doesn’t detract from its luxurious taste or elegant presentation. Give it a try, and I’d love to hear your thoughts!
This recipe is designed to yield two individual servings, perfect for a cozy dessert for two. However, it’s incredibly versatile and easy to scale up. You can effortlessly double or triple the ingredients to accommodate more guests or to prepare a larger batch for future enjoyment. Just remember to adjust your ramekin count accordingly!
Creme Brulee Ramekins: The Perfect Serving Dish
Creme Brulee is inherently an individual serving dessert, and the vessel of choice for this culinary delight is the ramekin dish. Ramekins are small, oven-safe ceramic bowls, typically round, that are perfect for baking and serving single portions of various dishes, from savory soufflés to sweet custards.
You might be surprised at how easily accessible ramekins are! They are not a specialty item reserved only for professional kitchens. You can frequently find them in general home goods stores, department stores like Target, or kitchenware sections of larger supermarkets. Of course, the convenience of online shopping means you can also order them from a wide array of retailers and have them delivered right to your door.
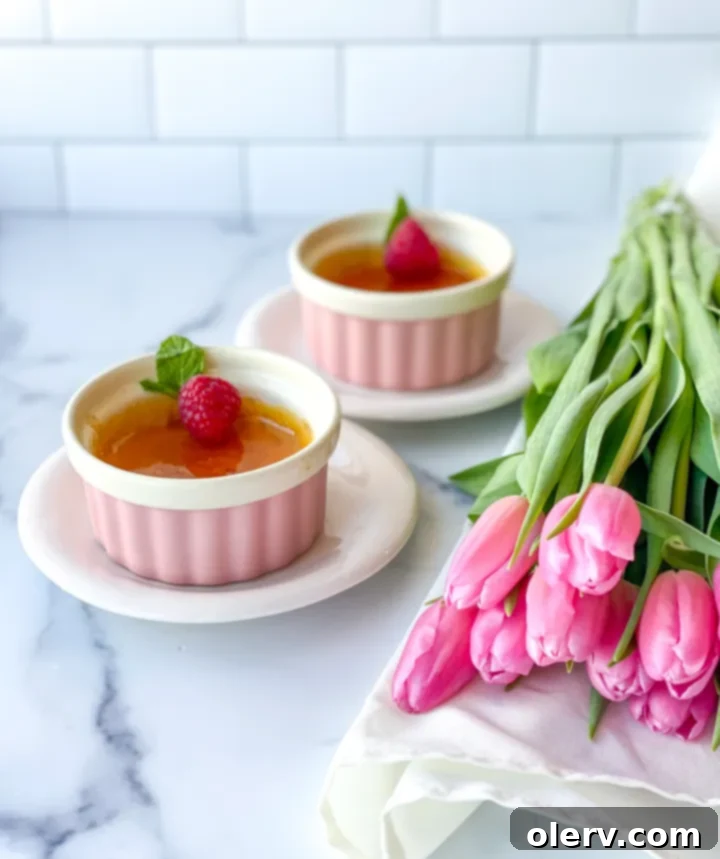
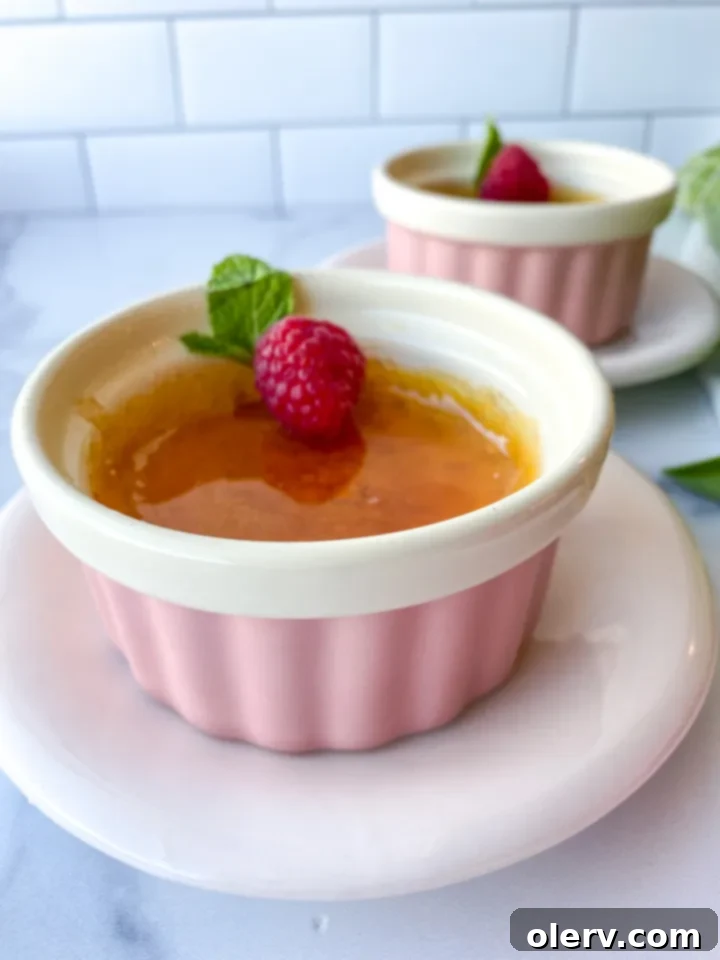
I personally have a versatile set of classic white ramekins that are perfect for any occasion. For a touch of festive fun, especially around holidays like Valentine’s Day, I also enjoy using a cute set of pink ones. You can find a similar pink set here if you’re looking to add a pop of color to your dessert presentation!
When selecting ramekins, consider their capacity; typical creme brulee ramekins hold around 4-6 ounces (120-180ml). Having a few on hand will open up a world of individual dessert possibilities, making them a worthwhile addition to your kitchen arsenal.
How to Bake Creme Brulee: The Gentle Water Bath Method
Baking Creme Brulee requires a gentle touch to achieve its signature silky-smooth texture, free from cracks or curdling. This is where the “water bath” method, also known as a bain-marie, comes into play. It’s a simple yet highly effective technique that provides even, moist heat to the custards as they bake in the oven.
To create a water bath, you’ll place your filled ramekins into a larger baking dish. Then, carefully pour hot water into the larger dish, ensuring it comes roughly halfway up the sides of your ramekins. This surrounding water acts as a buffer, preventing the custard from baking too quickly or unevenly, and keeps the oven’s dry heat from creating a rubbery texture. It essentially creates a mini-steam oven for your custards.
After baking, the Creme Brulee will need to chill in the refrigerator for at least two hours. This crucial step allows the custard to fully set and firm up, developing that perfect, spoonable consistency. One of the best aspects of this recipe is its make-ahead potential! The baked and chilled custard, without its caramelized topping, can be stored in the refrigerator for up to three days. This makes it an ideal dessert for entertaining, as you can prepare most of it in advance and simply finish it off just before serving.
A vital tip for storage and serving: Always add the sugar for caramelization right before you plan to serve the Creme Brulee. If you caramelize the sugar and then store the desserts in the fridge, the moisture in the refrigerator will cause the brittle sugar crust to soften and become sticky. You want that satisfying crunch when your guests (or you!) crack through the topping, so save that final step for the last moment!
The Secret to a Perfect Caramelized Topping: No Torch Required!
The hallmark of a truly great Creme Brulee is that satisfying, brittle, glass-like sugar topping. While a kitchen torch is the traditional tool, our recipe offers an ingenious “no-torch” hack that delivers the same spectacular results. This method is not only safer for those who are hesitant to use an open flame but also incredibly simple, utilizing basic kitchen equipment.
Instead of torching sugar directly on the custard, we’ll create a golden caramel in a small saucepan. By gently heating granulated sugar with a tiny bit of water over medium heat, and stirring continuously, the sugar crystals will dissolve, melt, and then transform into a beautiful, amber-colored liquid caramel. The key is patience and continuous stirring to prevent burning and ensure even melting.
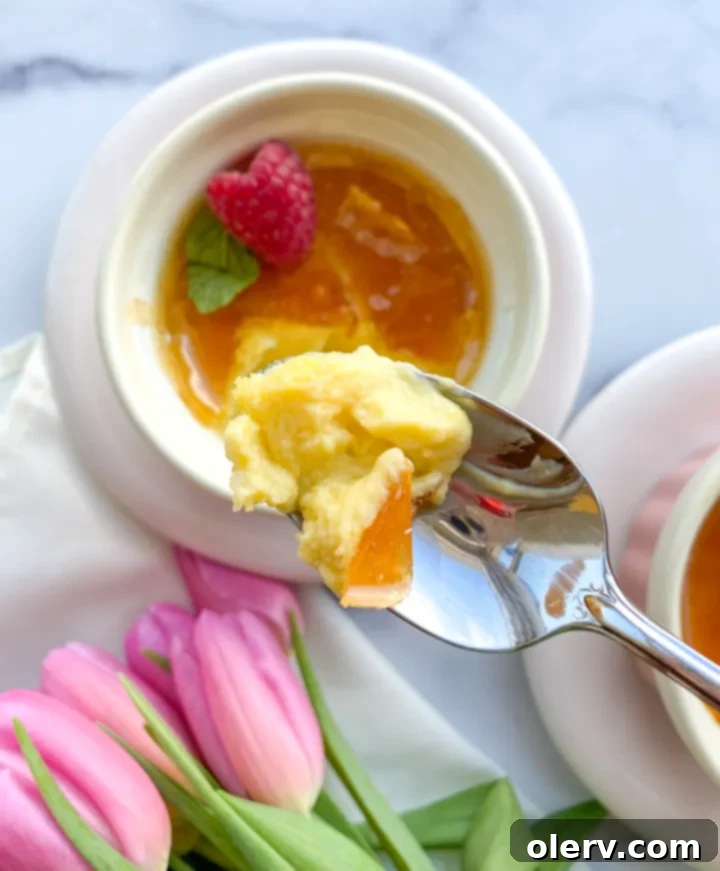
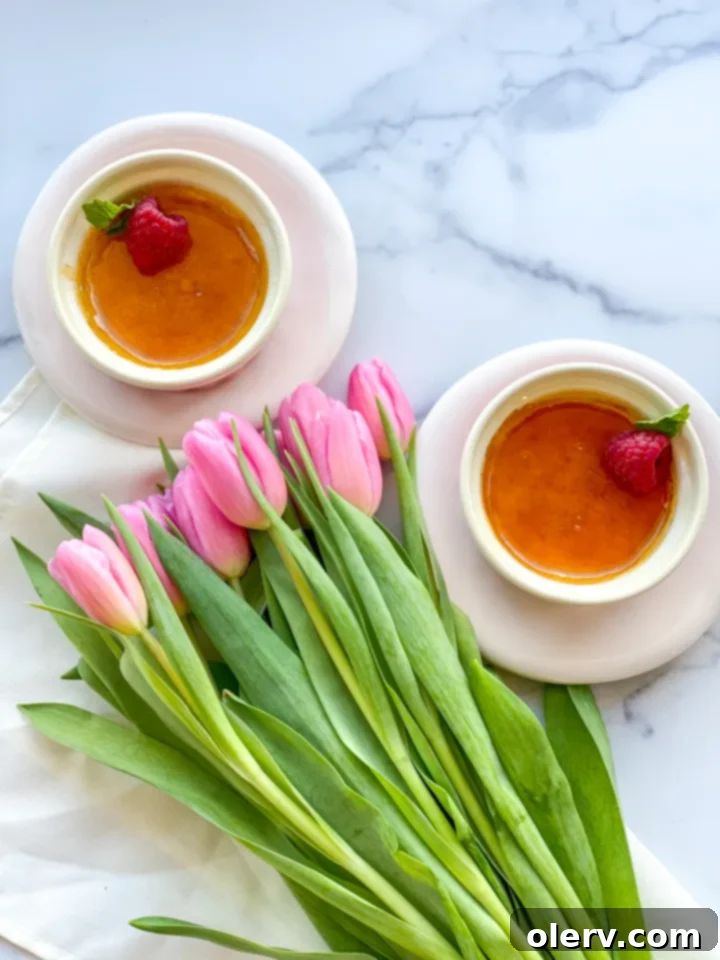
Once your caramel reaches that perfect golden hue, quickly pour it over the chilled Creme Brulee custards. The cold surface of the custard will cause the hot caramel to rapidly cool and harden, creating that distinct, brittle layer we all crave. Allow it to sit for a few minutes to fully set and solidify. The resulting topping will be just as wonderfully crisp and delicious as one made with a torch, providing that delightful textural contrast to the smooth custard beneath.
This technique is a game-changer for homemade Creme Brulee, eliminating the need for specialized equipment and making this elegant dessert more accessible to every home cook. Get ready to impress with this simple yet sophisticated finish!
Tips for the Best 3-Ingredient Creme Brulee
- Choose Quality Vanilla Ice Cream: Since vanilla ice cream is a primary flavor component, a good quality brand with rich vanilla flavor (like vanilla bean ice cream) will significantly enhance the final taste.
- Don’t Overbake the Custard: The Creme Brulee should still have a slight jiggle in the center when removed from the oven. It will continue to set as it cools and chills. Overbaking can lead to a rubbery texture.
- Chill Thoroughly: Adequate chilling time (at least 2 hours, ideally more) is crucial for the custard to set properly and achieve its creamy consistency. Don’t rush this step!
- Master the Caramel: When making the sugar topping in the saucepan, watch it carefully. Caramel can go from perfect to burnt in a matter of seconds. Keep it moving and remove it from the heat as soon as it reaches a golden amber color.
- Serve Immediately After Caramelizing: As mentioned, caramelizing the sugar just before serving is key to maintaining that crisp, crunchy topping. Humidity from the refrigerator will soften it.
- Grease Ramekins: Lightly greasing your ramekins ensures the custards don’t stick and makes for easier serving and cleaning.
- Use Egg Yolks at Room Temperature: While not strictly necessary, using room temperature egg yolks can help them incorporate more smoothly into the melted ice cream mixture, preventing lumps.
Serving Suggestions for Your Homemade Delight
Once your easy 3-ingredient Creme Brulee is perfectly chilled and adorned with its glistening, caramelized sugar topping, it’s ready to be the star of your dessert course. This dessert is a showstopper on its own, but a few simple garnishes can elevate its presentation even further:
- Fresh Berries: A scattering of fresh raspberries, blueberries, or sliced strawberries adds a beautiful pop of color and a refreshing tartness that beautifully contrasts the rich sweetness of the custard.
- Mint Sprigs: A small sprig of fresh mint placed on top provides an elegant touch and a subtle aromatic lift.
- Dusting of Cocoa Powder: For a hint of chocolatey sophistication, lightly dust the plate around the ramekin with cocoa powder before placing the Creme Brulee.
- Coffee Pairing: Serve alongside a freshly brewed espresso or a rich coffee to complement the vanilla notes and creamy texture.
- Dessert Wine: A sweet dessert wine, such as a Sauternes or a Late Harvest Riesling, would be an exquisite pairing for a truly gourmet experience.
However you choose to serve it, remember the most important step is to gently tap the caramelized sugar with your spoon, breaking through to reveal the smooth, creamy custard beneath. That satisfying crack is half the experience!
If you give this incredibly easy 3-ingredient Creme Brulee recipe a try, I’d absolutely love to hear from you! Please leave a comment below, rate it, or even better, snap a photo and tag it with @TheAlexDaynes on Instagram or Pinterest! I always get so much joy from seeing what you’ve been cooking up in your kitchen. Your feedback truly makes my day!
LOVE THIS RECIPE AND WANT TO SAVE IT FOR LATER? PIN IT TO PINTEREST HERE!
Easy Creme Brulee (3-Ingredients)
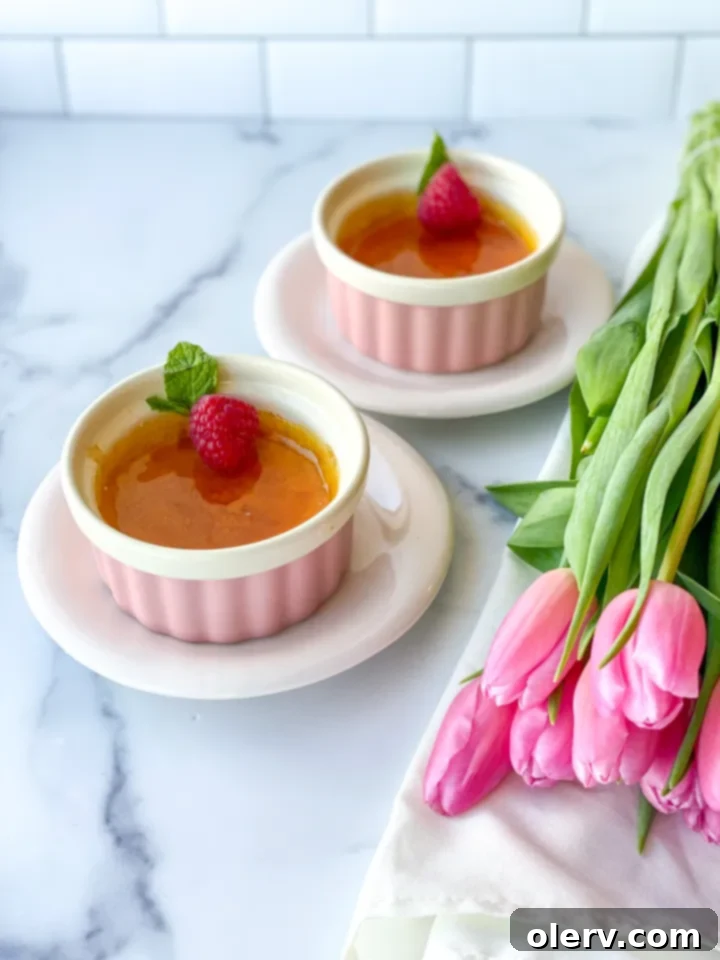
This incredibly Easy 3-Ingredient Creme Brulee recipe transforms simple vanilla ice cream, eggs, and sugar into a silky, restaurant-quality dessert with a perfect caramelized topping, all without needing a kitchen torch.
5 minutes
35 minutes
2 hours
2 hours 40 minutes
Ingredients
- 1 cup vanilla bean ice cream
- 2 egg yolks
- 2 Tablespoons granulated sugar (for custard)
- 2 Tablespoons granulated sugar (for topping)
- 2 Tablespoons water (for topping)
Instructions
- Preheat the oven to 325˚F (160˚C).
- Scoop the vanilla ice cream into a microwave-safe bowl. Microwave for 30 to 40 seconds, or until it is completely melted and smooth. Stir well.
- In a separate bowl, whisk the egg yolks. Gradually add the melted vanilla ice cream to the egg yolks, whisking constantly to temper the eggs and prevent scrambling. Continue whisking until the mixture is well combined and smooth.
- Lightly grease two individual ramekins (approx. 4-6 oz capacity) with butter or cooking spray. Divide the custard mixture evenly between the prepared ramekins. Place the ramekins in a larger baking dish. Carefully pour hot water into the baking dish, ensuring it comes roughly halfway up the sides of the ramekins. This creates a water bath.
- Bake for 35 minutes, or until the creme brulee is set around the edges but still slightly jiggly in the very center. Carefully remove the ramekins from the water bath (using tongs) and let them cool on a wire rack. Once cooled, cover each ramekin with plastic wrap and refrigerate for at least 2 hours, or up to 3 days, to allow the custard to fully set.
- Just before serving, remove the chilled crème brûlée from the refrigerator.
- For the caramelized sugar topping (no torch method): In a small saucepan, combine 2 tablespoons of granulated sugar and 2 tablespoons of water. Place over medium heat and stir continuously until the sugar dissolves, melts, and begins to bubble and turn golden brown. Watch carefully, as it can burn quickly. Once it reaches a beautiful amber color, immediately remove from heat and carefully pour the hot caramel evenly over the top of each chilled creme brulee. Let it sit for a few minutes to cool and harden into a brittle crust. Serve immediately and enjoy!
Notes
For 4-6 servings, simply double or triple all the ingredients in this recipe. Remember to use appropriate sized ramekins and adjust baking time slightly if using much larger or smaller dishes.
Nutrition Information:
Yield:
2
Serving Size:
1
Amount Per Serving:
Calories: 240
Total Fat: 12g
Saturated Fat: 6g
Trans Fat: 0g
Unsaturated Fat: 5g
Cholesterol: 213mg
Sodium: 62mg
Carbohydrates: 29g
Fiber: 0g
Sugar: 27g
Protein: 5g
