Master the Art of Gourmet Caramel Apples: Easy, Delicious, and Picture-Perfect Homemade Treats
The crisp air, vibrant foliage, and cozy evenings of fall bring with them a unique sense of warmth and the undeniable craving for comforting, delicious treats. Among the plethora of autumnal delights, homemade caramel apples stand out as a true classic, offering a perfect blend of sweet, tart, and satisfying crunch. There’s something truly special about crafting these gourmet caramel apples in your own kitchen – it’s an experience that’s both rewarding and incredibly fun!
Forget about store-bought versions that often disappoint in flavor and freshness. With just a few simple tips and tricks, you can create picture-perfect, extra-delicious caramel apples that rival any high-end confectionery. Not only will you achieve superior taste and texture, but you’ll also enjoy significant savings, making this a smart and delightful endeavor for the fall season. In this comprehensive guide, I’m sharing all my secrets for mastering the art of homemade gourmet caramel apples, from selecting the best ingredients to achieving that flawless finish. Let’s get cooking and transform ordinary apples into extraordinary treats!
Unlocking the Secret to Perfect Caramel Apples
These easy caramel apples are truly one of the ultimate fall treats, bringing smiles and a touch of seasonal magic to any gathering. What makes this method truly exceptional is its foolproof nature – it’s designed to be nearly impossible to mess up, even for novice bakers. The result? Perfectly tempting and irresistibly tasty caramel apples that are ideal for holiday celebrations, festive parties, or as thoughtful, homemade gifts for friends and family.
You’ll quickly discover that crafting these caramel apples is so straightforward, it barely feels like you’re following a complex recipe. Instead, think of this as a quick, intuitive “how-to” guide that teaches you the essential method and the specific, high-quality ingredients that guarantee success. We’ll focus on techniques that ensure your caramel adheres beautifully, sets perfectly, and creates a delightful contrast with the crisp, fresh apples. Get ready to impress everyone with your gourmet creations!
Essential Caramel Apple Ingredients for a Gourmet Finish
The foundation of any truly exceptional caramel apple lies in the quality of its ingredients. By choosing wisely, you set yourself up for an undeniably delicious and visually stunning treat. Here’s a breakdown of the key components you’ll need, along with some insider tips for selection:
- Peter’s Caramel: The Unbeatable Choice. This is, without a doubt, a MUST-HAVE for anyone serious about making incredible caramel apples! Peter’s Caramel is widely regarded as the gold standard in the confectionery world for its superior flavor, incredibly smooth texture, and perfect dipping consistency. Unlike many other caramels, it coats apples beautifully without being too sticky or prone to cracking once set. You can typically find a 5-pound loaf at specialty chef food stores, restaurant supply stores, or conveniently online. I personally stock up on mine locally from Orson Gygi or at the Chef Food Store in Salt Lake. Trust me, investing in this caramel makes all the difference for that authentic gourmet experience.
- Apples: Crisp, Tart, and Uniform. The apple is the heart of this treat, so choose wisely! For the best results, aim for apples that are round, uniform in size, and blemish-free, especially if you’re preparing a larger batch. Granny Smith apples are a popular classic choice, offering a wonderfully tart contrast that perfectly balances the sweetness of the rich caramel. However, don’t limit yourself! I’m a huge fan of Honeycrisp apples for their incredible crispness and sweet-tart flavor profile, making them another fantastic option. Fuji and Gala apples also work well for a slightly sweeter caramel apple. Regardless of your choice, ensure your apples are firm and at room temperature for optimal caramel adhesion.
- Melting Chocolate: For Smooth Dipping and Drizzling. When it comes to chocolate, quality truly matters for both taste and appearance. Opt for good quality chocolate snaps, melting wafers, or couverture chocolate specifically designed for melting and dipping. These types of chocolates contain cocoa butter or other fats that allow them to melt down smoothly, providing a beautiful, even coating and a glossy finish. Avoid using standard chocolate chips, as their formulation is intended to hold their shape during baking, resulting in a thicker, often clumpy melt that won’t look as professional on your gourmet apples.
- Toppings: Unleash Your Creativity! This is where you can truly personalize your caramel apples and make them unique. The options for toppings are virtually endless, allowing for incredible customization. Below, I’ve compiled a whole list of fantastic topping ideas, but feel free to let your imagination run wild! From crunchy nuts to colorful sprinkles, the right topping elevates your caramel apple from delicious to truly unforgettable.

What are the Best Gourmet Caramel Apple Toppings?
The beauty of homemade caramel apples truly shines when you get to the topping stage. This is where you can unleash your creativity and cater to every taste preference. Here are some of the most popular and delicious caramel apple toppings, designed to add texture, flavor, and visual appeal:
- White Chocolate, Milk Chocolate, or Dark Chocolate wafers melted for dipping, or high-quality chocolate melts for a smooth, rich finish. These provide a beautiful contrast to the caramel and serve as a base for other toppings.
- Cinnamon Sugar: A simple yet incredibly aromatic choice that evokes classic autumnal flavors.
- Crushed Pretzels: For a delightful sweet and salty crunch that’s surprisingly addictive.
- Crushed Oreos: Adds a beloved chocolatey cookie flavor and a satisfying textural contrast.
- Chopped Nuts: Almonds, peanuts, walnuts, or pecans offer an earthy flavor and satisfying crunch. Toast them lightly for an even richer taste.
- Mini M&M’s: Perfect for a burst of color and a familiar chocolate candy crunch, especially appealing to kids.
- Sprinkles: A fun and festive option for any occasion, adding immediate visual appeal and a slight sugary crunch.
- Flaky Sea Salt: A sophisticated choice that enhances the caramel’s sweetness and adds a beautiful textural element.
- Chopped Candy Bars: Get creative with your favorite candy bars like Snickers, Butterfingers, or Heath bars for an extra layer of indulgence.
- Crushed Graham Crackers with Ground Cinnamon: Ideal for creating a “pie crust” effect, especially when paired with chocolate.
- Shredded Coconut: Toasted or untoasted, it adds a tropical twist and a lovely chewiness.
- Toffee Bits: For a buttery, crunchy, and irresistible candy-shop flavor.
- Mini Marshmallows: If you’re going for a s’mores vibe, these are a must, perhaps even lightly toasted.
The list truly can go on and on! Don’t hesitate to experiment with your favorite flavors and textures. Comment below your absolute favorite caramel apple topping – I’d love to hear your creative ideas!
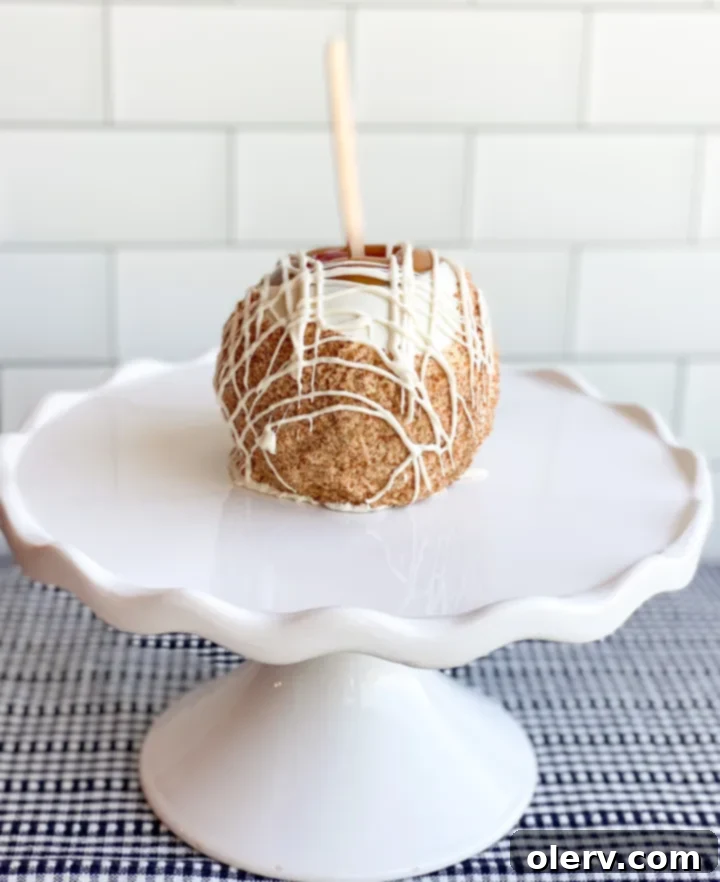
Feature Topping: The Apple Pie Apple
While all toppings are fantastic, one of my absolute favorites that transforms a simple caramel apple into a truly gourmet experience is what I affectionately call “The Apple Pie Apple.” This creation is a delightful ode to classic fall baking, combining the richness of caramel with the comforting spices of apple pie.
To craft this masterpiece, you’ll first dip your caramel-coated apple into melted white chocolate. This provides a creamy, sweet base. Immediately after, you’ll roll it generously in a special cinnamon sugar blend that mimics the delicious flavor of apple pie filling. The blend ensures a perfect balance of sweetness and spice that is simply irresistible.
- 1/2 cup brown sugar (adds depth and molasses notes)
- 1/2 cup granulated sugar (for sweetness and texture)
- 3 Tablespoons cinnamon (the star spice for that authentic apple pie aroma)
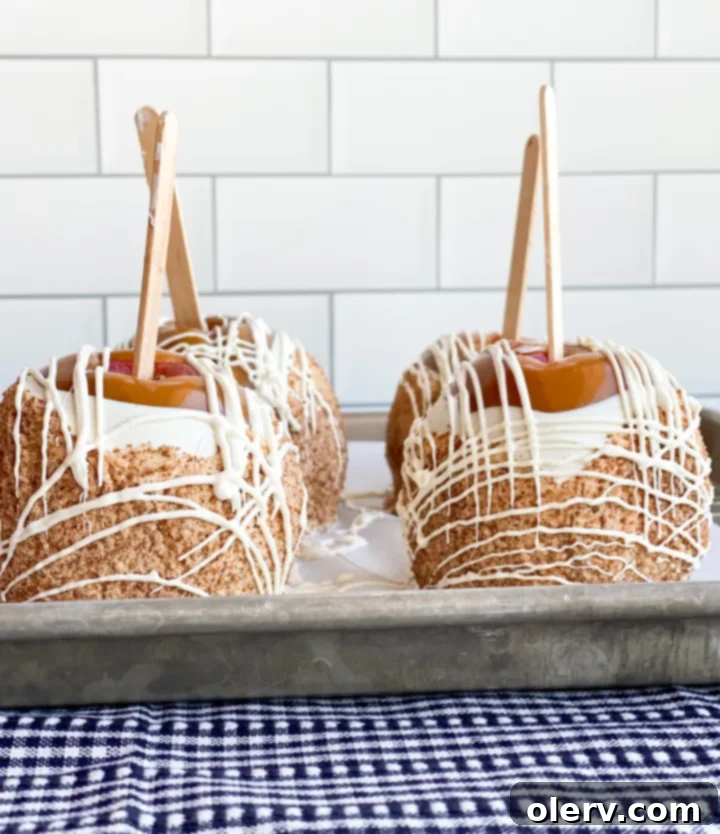
For a truly professional and gourmet finish, or to elegantly hide any minor imperfections from the dipping process, I recommend drizzling additional melted white chocolate over the finished apple pie apple. This adds another layer of flavor and visual appeal, making each bite an indulgence.
Essential Caramel Apple Supplies for Success
Having the right tools at hand can make all the difference in ensuring a smooth and enjoyable caramel apple making process. These key supplies will help you achieve perfectly coated, professional-looking treats every time:
- Dutch Oven: The Large-Batch Caramel Melting Solution. If you’re planning to make dozens of caramel apples at once, perhaps for a large party or a holiday event, the Dutch oven method is undeniably the very best way to melt your caramel. Simply place the entire block of Peter’s Caramel Loaf directly into your Dutch oven. Then, place it in a preheated oven at 200 degrees Fahrenheit for approximately 2 hours. The beauty of this method is its hands-off nature: there’s absolutely no need to check on the caramel or stir it. The low, even heat of the oven will melt the caramel to a perfect, smooth dipping consistency, and the Dutch oven will keep it warm throughout your dipping session.
- Silicone Bowls: Perfect for Smaller Batches and Melting Chocolate. For those occasions when you’re making a smaller quantity of caramel apples, or simply prefer a microwave-friendly approach, silicone bowls are an absolute game-changer. These silicone bowls are incredibly versatile, safe for both microwave and oven use, and their non-stick properties make cleanup a breeze. They’re also ideal for melting your chocolate snaps or wafers, ensuring a smooth, consistent chocolate for dipping and drizzling. I highly recommend a bundle set for convenience!
- Spoonula: Your Caramel Coating Companion. This hybrid spoon-spatula tool is surprisingly effective for coating your apples. I particularly like using this spoonula because its silicone head helps the warm caramel adhere to the apple without sticking excessively to the tool itself. Its shape allows you to generously scoop caramel onto the apple and gently guide it down, ensuring an even and thick coat.
- Parchment Paper: Non-Stick Setting Surface. Have a roll of parchment paper ready and spread out on a baking sheet or two. This provides an essential non-stick surface for setting your freshly dipped caramel apples. It prevents the caramel from sticking to your countertop or baking sheet as it cools and sets, making removal easy and mess-free.
- Wooden Sticks: For Enjoyment and Ease of Dipping. Wooden sticks are crucial for both the practical process of dipping and the delightful experience of eating a caramel apple. You have several options: traditional lollipop sticks, sturdy popsicle sticks, or even bamboo kabob skewers cut to size. Ensure they are strong enough to hold the weight of a caramel-coated apple. When inserting, push the stick firmly into the core of the apple, about halfway through, to ensure stability.
- Apples: The Foundation of Your Treat. As mentioned earlier, selecting the right apples is paramount. Choose firm, round apples that are uniform in size and free of any blemishes. It’s important that your chosen apples can sit upright on their own after the stick is inserted. I personally prefer to dip my caramel apples upside down, sticking the wooden stick into the bottom (stem end) of the apple. This allows the caramel to drip down evenly. Before you start, test that your apples can indeed stand stably on their own when inverted – this will make the setting process much easier!
Step-by-Step Guide: How to Dip Perfect Caramel Apples
Creating beautifully coated caramel apples is easier than you think when you follow these clear, detailed steps. Precision and technique will ensure your caramel adheres perfectly and looks professionally made.
- Prepare and Clean the Apples Thoroughly. This initial step is crucial for caramel adhesion. Apples often come with a waxy coating to preserve them, which can prevent caramel from sticking properly. Use warm water and a scrubbing brush or a clean cloth to meticulously remove this wax layer. You can also briefly dip them in boiling water for 10-15 seconds, then immediately into ice water to help. After cleaning, dry each apple completely with a clean towel. Any residual moisture will cause the caramel to slide off. Once dry, firmly insert your chosen wooden sticks into the apple. I personally find it easiest to stick the wooden stick into the bottom (blossom end) of the apple, allowing me to dip it upside down. This provides a more stable handle and a smoother coating.
- Melt the Peter’s Caramel to Perfection. Depending on the quantity of apples you’re making, choose your preferred melting method. If you are using an entire 5-pound loaf of Peter’s Caramel, the Dutch oven method is ideal: place the entire block into a Dutch oven and bake in a preheated oven at 200 degrees Fahrenheit for approximately 2 hours. This hands-off approach ensures a perfectly smooth, evenly melted caramel with no stirring required. For smaller batches or if using only a portion of the caramel loaf, use your silicone bowls. Microwave the caramel in one-minute intervals, stirring thoroughly in between each interval. Continue until the caramel is completely smooth and liquid, usually taking about 3-5 minutes total.
- Dip and Coat the Apples Evenly. Once your caramel is melted and at the ideal dipping consistency (warm but not scorching hot), it’s time to coat your apples. Hold the apple by its stick and dip it into the caramel. I find that spooning the caramel over the apple, allowing it to drip and run down the sides, helps achieve a beautiful, even coating. Rotate the apple gently as you spoon to ensure full coverage. Once coated, twist the caramel apple directly in the bowl to allow any excess caramel to drip back into the main bowl. This prevents too much caramel from pooling at the bottom and ensures a neat finish.
- Scrape Excess and Set for Cooling. After the initial dip and excess drip, use a rubber spatula or the edge of your silicone bowl to gently scrape any remaining excess caramel off the bottom of the apple while rotating it. This step helps create a clean, defined line and prevents a thick, sticky “foot” from forming as the caramel sets. Immediately place the coated apple onto your prepared parchment paper-lined baking sheet. Ensure there’s ample space between each apple to prevent them from sticking together. Allow the caramel apples to set at room temperature, which can take 30-60 minutes, or you can refrigerate them for 15-20 minutes to speed up the setting process if you’re in a hurry.
Enhancing Your Creation: Adding Chocolate and Toppings
Once your caramel apples have cooled and set, the real artistry begins with adding chocolate and other delicious toppings. This step allows you to customize each apple and elevate it to gourmet status.
- Ensure Caramel is Fully Cooled Before Adding Chocolate. This is a critical step for success. The caramel must be completely cooled and firm before it touches melted chocolate; otherwise, the chocolate will not adhere properly and may slide off or create a messy finish. If needed, refrigerate your caramel apples for 15-20 minutes to ensure they are fully set. Once cooled, dip your caramel apple into your chosen melted chocolate (white, milk, or dark). Allow any extra chocolate to drizzle off the bottom of the apple, gently tapping the stick if necessary to remove excess. If you’re adding toppings directly to the chocolate, quickly lift and tap the apple repeatedly, twisting it to expose all sides, directly over a bowl of your desired toppings while the chocolate is still wet and tacky. This ensures good adhesion.
- Drizzle Chocolate for a Gourmet Touch. To add an extra layer of texture, visual appeal, and that coveted gourmet finish, consider drizzling chocolate over your apples. Melt your chocolate in a microwave-safe bowl or in a ziplock bag. If using a ziplock bag, snip a tiny corner off the tip. Hold the apple firmly and, in a back-and-forth or circular motion, drizzle the melted chocolate over the surface. This technique helps hide any imperfections and adds a professional touch that will make your apples look like they came from a high-end candy shop.
- *Important Note for Direct Topping Application to Caramel:* If you plan to add larger, heavier toppings directly onto the caramel itself (such as chopped nuts, crushed pretzels, or toffee bits), it is essential to apply them immediately after dipping the apple in the warm caramel, before it has fully cooled and set. The warmth and stickiness of the fresh caramel are necessary to properly secure these larger, more substantial toppings. For lighter toppings like sprinkles or fine cinnamon sugar, you can still apply them to the slightly cooled caramel, but for maximum adhesion of bulkier items, act fast!
LIKE THIS RECIPE? WANT TO SAVE IT FOR LATER? PIN IT TO PINTEREST HERE!
How to Make Caramel Apples
How to make delicious, gourmet caramel apples at home!
Ingredients
- Peters Caramel Loaf – cut off as much as you’ll need for how many apples you want. An entire 5-pound loaf will make between 20-25 medium-sized apples.
- Apples (Granny Smith, Honeycrisp, Fuji, or Gala are great choices)
- Wooden Sticks (lollipop sticks, popsicle sticks, or kabob skewers)
- Parchment Paper
- Milk, Dark, and/or White Chocolate Snaps (good quality melting wafers)
- Desired Toppings (see list above for inspiration!)
Instructions
- Prep and Clean Apples: Use warm water to meticulously remove the waxy coating from the apples, then dry them completely. Firmly insert your wooden sticks into either the top or, as preferred, the bottom (blossom end) of the apple.
- Melt the Caramel: If using a whole Peter’s Caramel loaf for many apples, melt it in a Dutch oven at 200°F (93°C) for 2 hours (no stirring needed). For fewer apples, cut a portion of the loaf and melt in silicone bowls in the microwave at one-minute intervals, stirring well between each until smooth.
- Dip the Apples: Hold an apple by its stick and dip it into the warm, melted caramel. Spoon caramel over the apple, ensuring it’s fully coated. Gently twist the apple in the bowl to shake off excess caramel, allowing it to drip back into the bowl to avoid waste.
- Scrape and Set: Use a rubber spatula to carefully scrape any remaining excess caramel from the bottom of the apple, rotating it to clean off the extra. Immediately place the coated apple onto a parchment paper-lined baking sheet to set.
- Add Chocolate & Toppings (Post-Cooling): Once the caramel is completely cooled and firm (refrigerate if needed to speed this up), dip the apple into melted chocolate. Allow excess chocolate to drizzle off. If adding toppings to the chocolate, quickly lift and tap the apple repeatedly, twisting it over a bowl of desired toppings while the chocolate is still wet.
- Drizzle for Gourmet Finish: For an elevated look, fill a ziplock baggie with melted chocolate, snip off a tiny tip, and drizzle decorative patterns over the outside of your apple. This adds texture, layers, and a gourmet appearance.
- *Pro Tip for Caramel-Direct Toppings:* If applying larger toppings like nuts or pretzels directly to the caramel (without chocolate), do so immediately after dipping the apple, while the caramel is still warm and very tacky. This ensures they adhere properly.
Notes
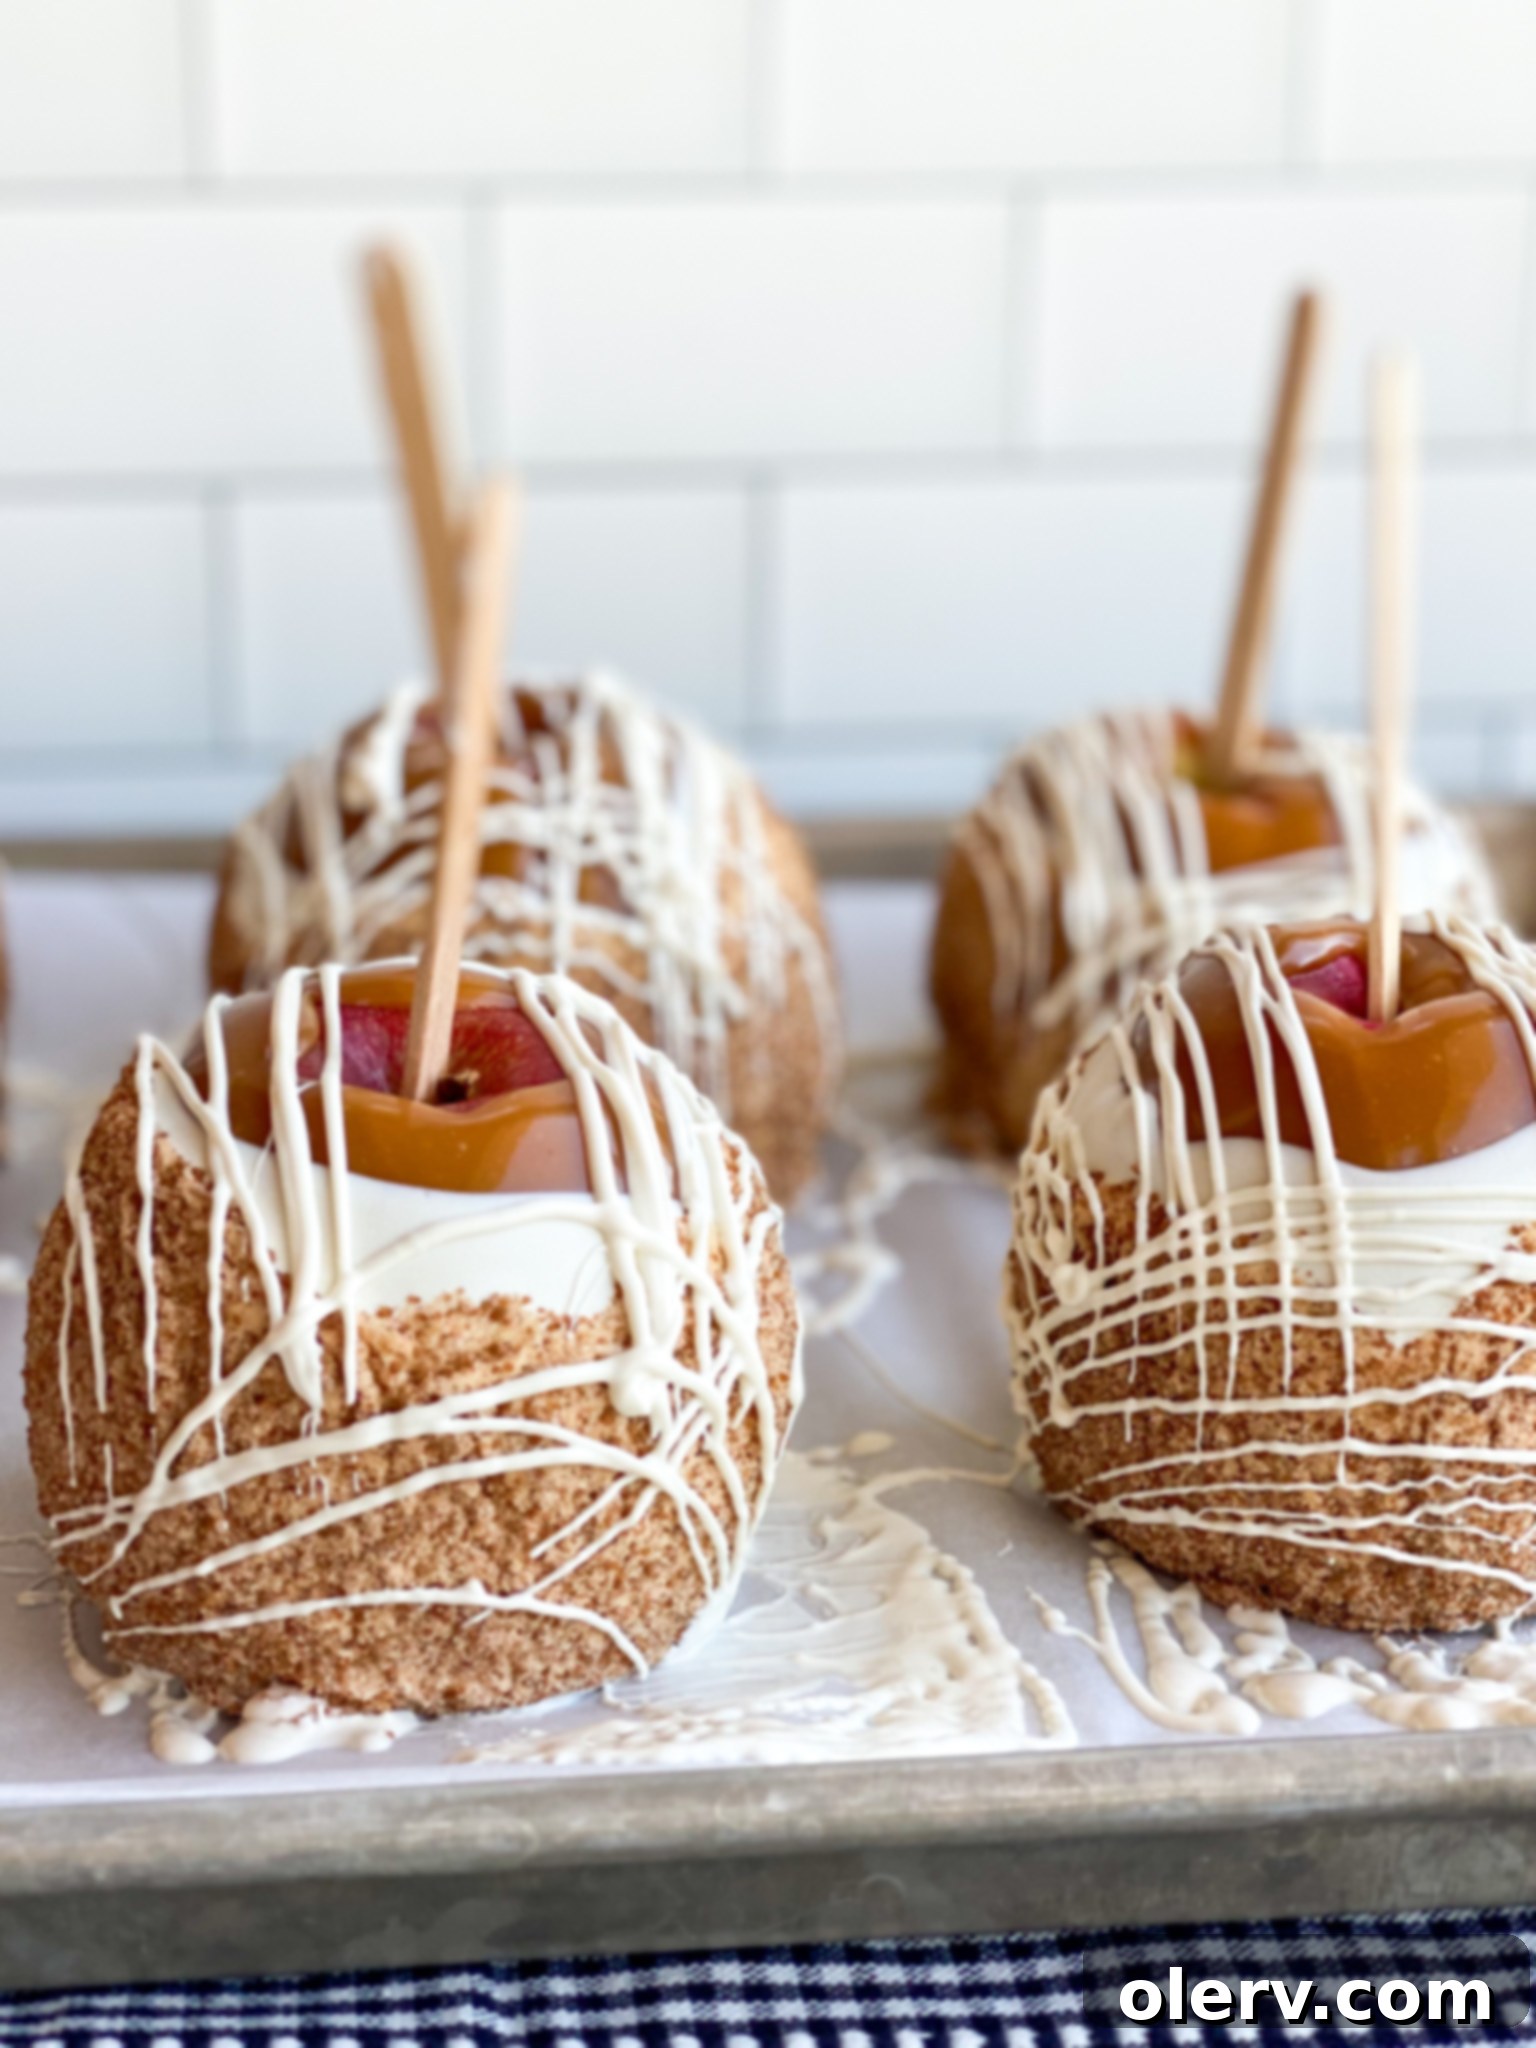
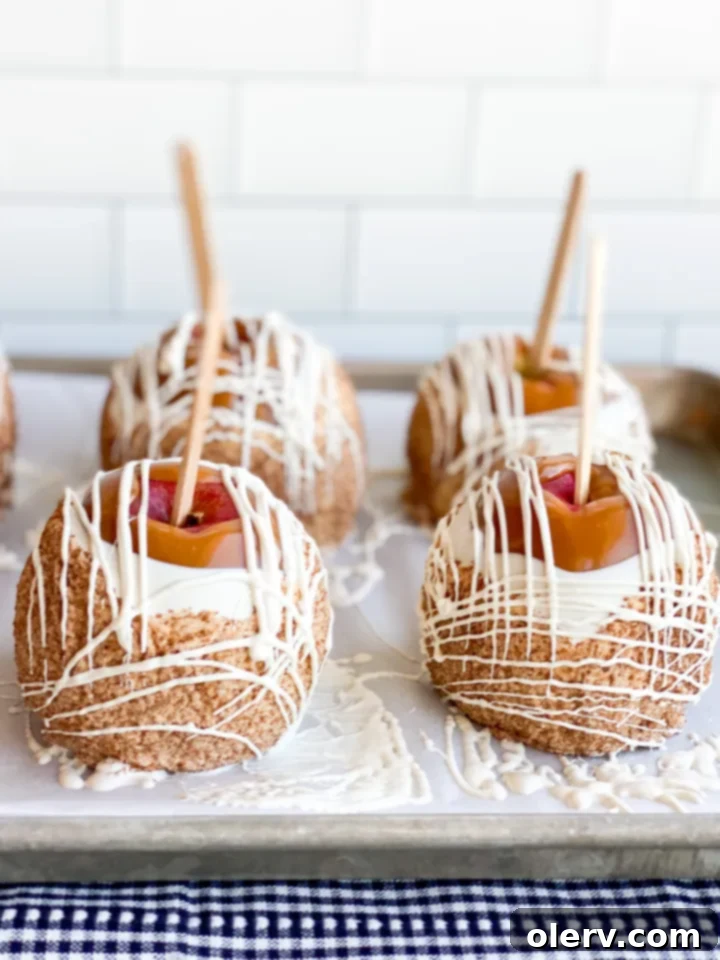
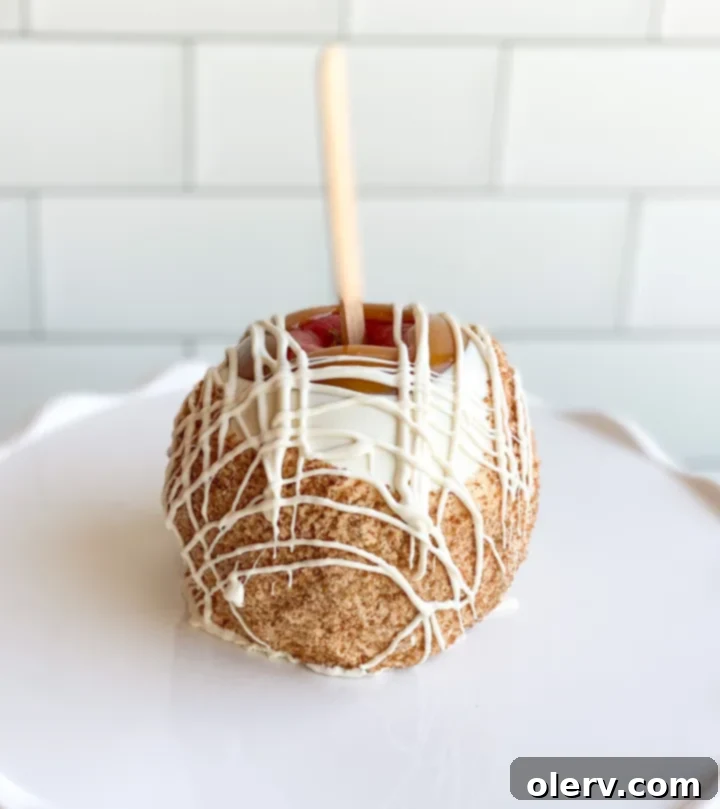
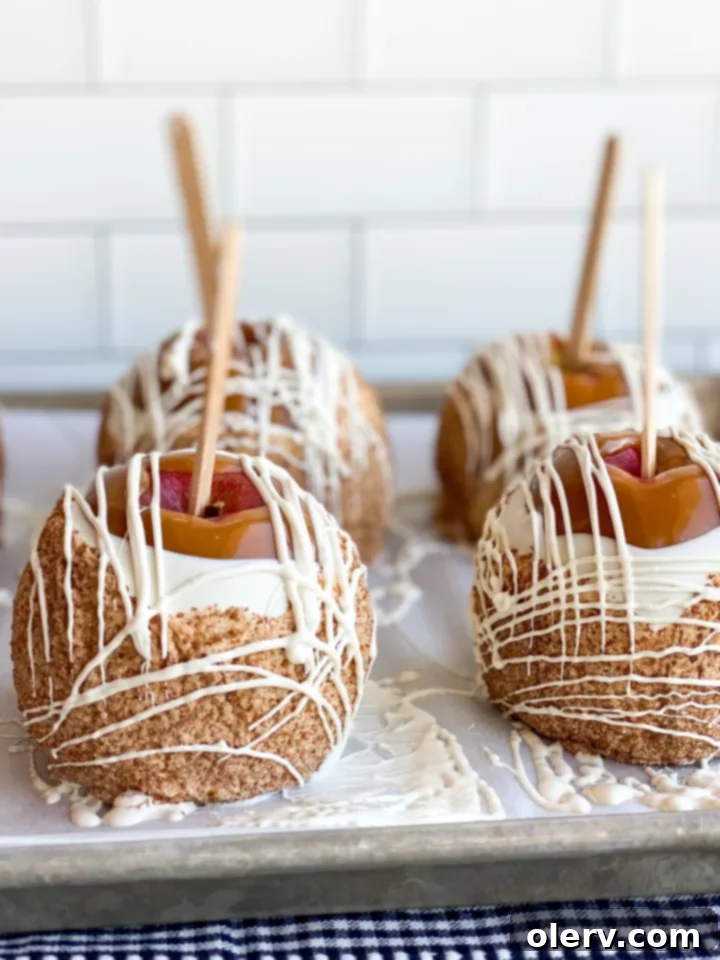
Apple Pie Apple *pictured here*
For this gourmet variation, once the caramel has set, dip the apple into melted-down white chocolate. Immediately after dipping, roll it generously in the cinnamon sugar blend below:
- 1/2 cup brown sugar
- 1/2 cup granulated sugar
- 3 Tablespoons cinnamon
For an extra gourmet touch or to hide any minor imperfections, drizzle more white chocolate over the finished apple pie apple.
