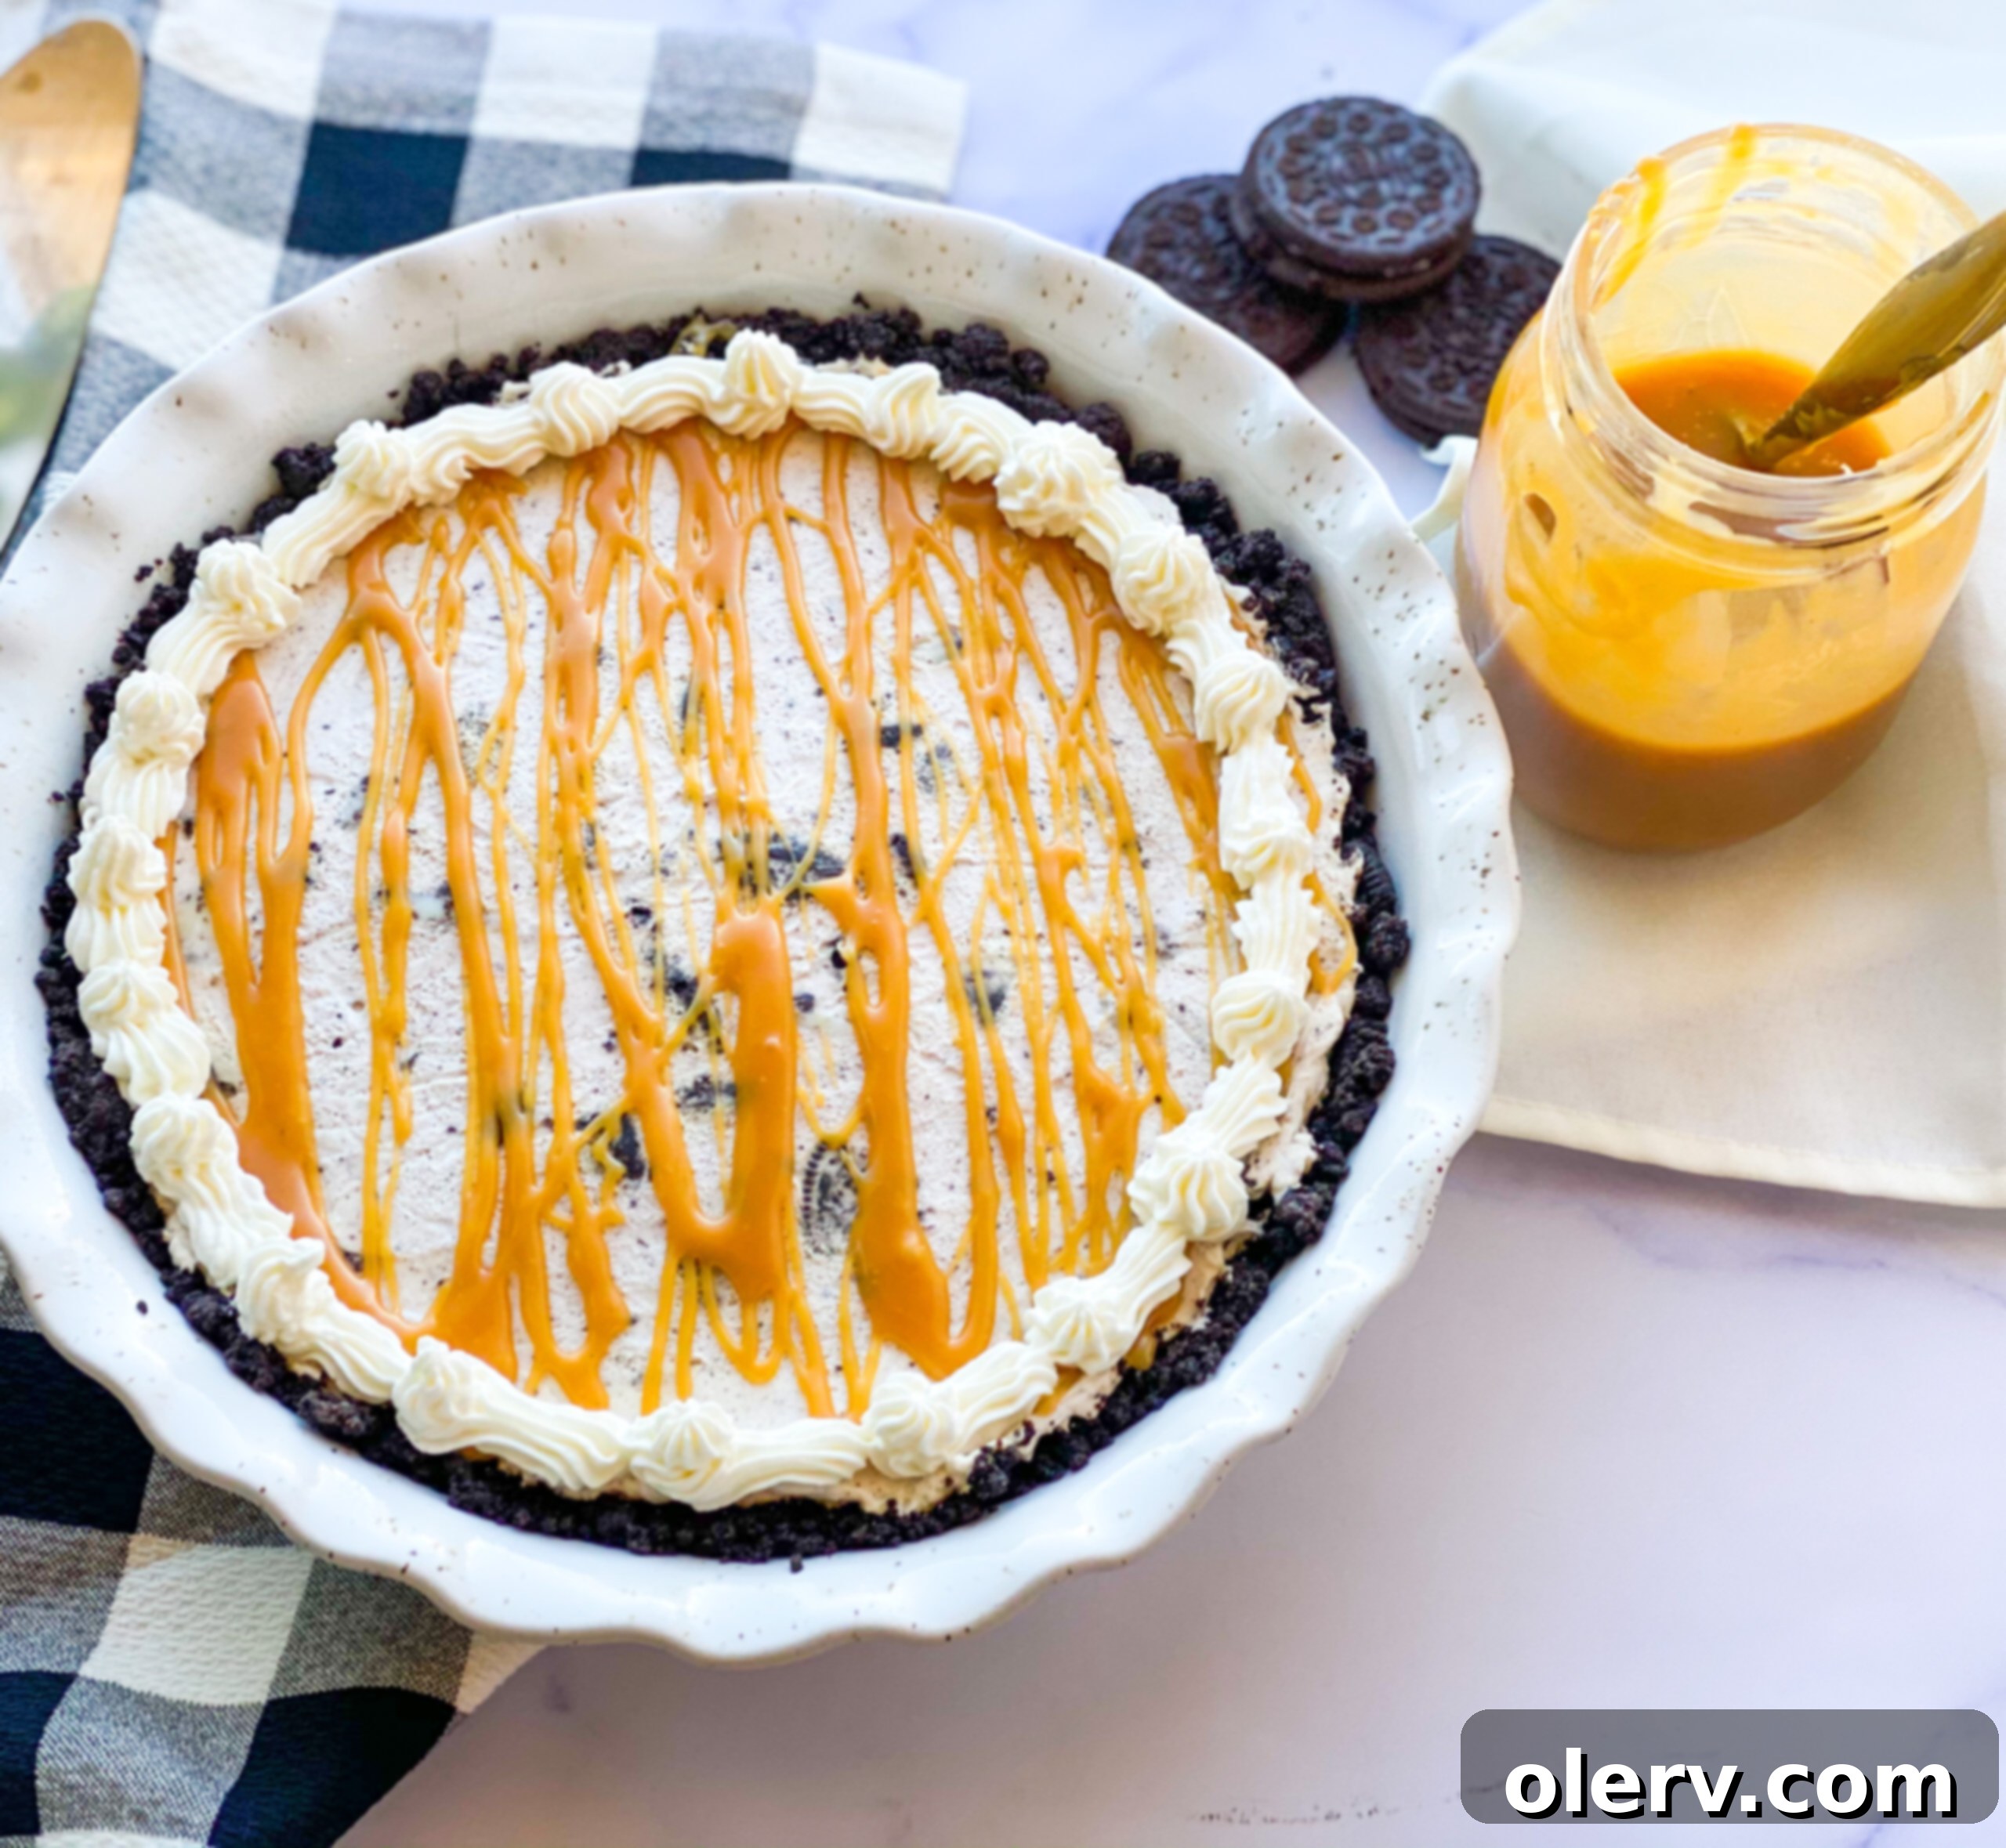
The Ultimate No-Bake Salted Caramel Oreo Pie: A Decadent & Easy Dessert

As pie season makes its joyous return, it’s the perfect time to introduce a show-stopping dessert that promises both ease and incredible flavor. This year, we’re embracing the convenience of a no-bake (or mostly no-bake!) creation that saves precious oven space, especially during busy holiday gatherings. Get ready to fall in love with our No-Bake Salted Caramel Oreo Pie – a truly decadent treat that brings together an irresistible Oreo cookie crust, a luscious cookies and cream filling, and a generous topping of rich, homemade salted caramel sauce. This pie isn’t just a dessert; it’s an experience. Let’s dive in and create some sweet magic!
Why Choose a No-Bake Pie? Ultimate Convenience for Dessert Lovers
The holidays, or any celebratory occasion, often mean a bustling kitchen and an oven working overtime. That’s precisely why no-bake desserts are a game-changer. Our Salted Caramel Oreo Pie offers the ideal solution, allowing you to create an impressive dessert without monopolizing your oven. While the recipe for the homemade Oreo crust traditionally calls for a brief bake to achieve optimal crispness, you have the option to make this truly “no-bake” by simply chilling the crust until firm, or even by opting for a store-bought Oreo crust. This flexibility ensures that you can enjoy this spectacular cookies and cream pie, regardless of your schedule or available oven space.
Beyond saving oven real estate, no-bake pies are incredibly simple to assemble. They’re perfect for beginner bakers or anyone looking for a stress-free dessert solution. The chilling time allows the flavors to meld beautifully, resulting in a perfectly set and refreshingly cool treat that’s ideal for any time of year.

The Foundation: A Perfect Oreo Cookie Crust
Every great pie starts with an exceptional crust, and for this Salted Caramel Oreo Pie, nothing beats a classic Oreo cookie crust. Who doesn’t adore the rich, chocolatey goodness of Oreo cookies? This crust forms the ideal base for our creamy filling, providing a delightful textural contrast and an extra layer of flavor that complements the entire dessert.
To create your homemade Oreo crust, you’ll need approximately 24 whole Oreo cookies, including their delightful cream filling. A standard 14.3-ounce package of Oreos typically contains enough cookies for both the crust and the filling. Simply pulse the cookies in a food processor or blender until they form fine crumbs. Then, mix these crumbs with melted unsalted butter. This mixture is then pressed firmly into the bottom and up the sides of a 9-inch pie dish. For a sturdier, crispier crust, a quick 10-minute bake in a preheated oven is recommended. However, if you’re aiming for a truly no-bake Oreo pie, simply chill the pressed crust in the refrigerator for at least 30 minutes (or until firm) before adding the filling. Alternatively, a store-bought Oreo crust works wonderfully if you’re short on time and want to skip this step entirely.

Creamy Dreamy Filling: The Cookies and Cream Heart
The star of this no-bake pie is undoubtedly its velvety smooth cookies and cream filling. This isn’t just any filling; it’s a luscious blend designed to deliver maximum flavor and an incredibly satisfying texture. You’ll need cold heavy whipping cream, softened cream cheese, powdered sugar, vanilla extract, and an additional 12 chopped Oreos for this delightful mixture.
The process begins by whipping the cold heavy cream until it forms stiff peaks. This step is crucial for achieving that light, airy consistency that makes the filling so irresistible. In a separate bowl, beat the room-temperature cream cheese until it’s perfectly smooth and creamy, ensuring no lumps remain. Gradually incorporate the powdered sugar and vanilla extract, beating until everything is well combined and the mixture is fluffy. Finally, gently fold in the whipped cream and the chopped Oreos. The key here is to fold slowly and carefully, preserving the air in the whipped cream, which contributes to the filling’s delightful texture. The chopped Oreos add pockets of crunchy, chocolatey goodness throughout the creamy base, making every bite an explosion of flavor.
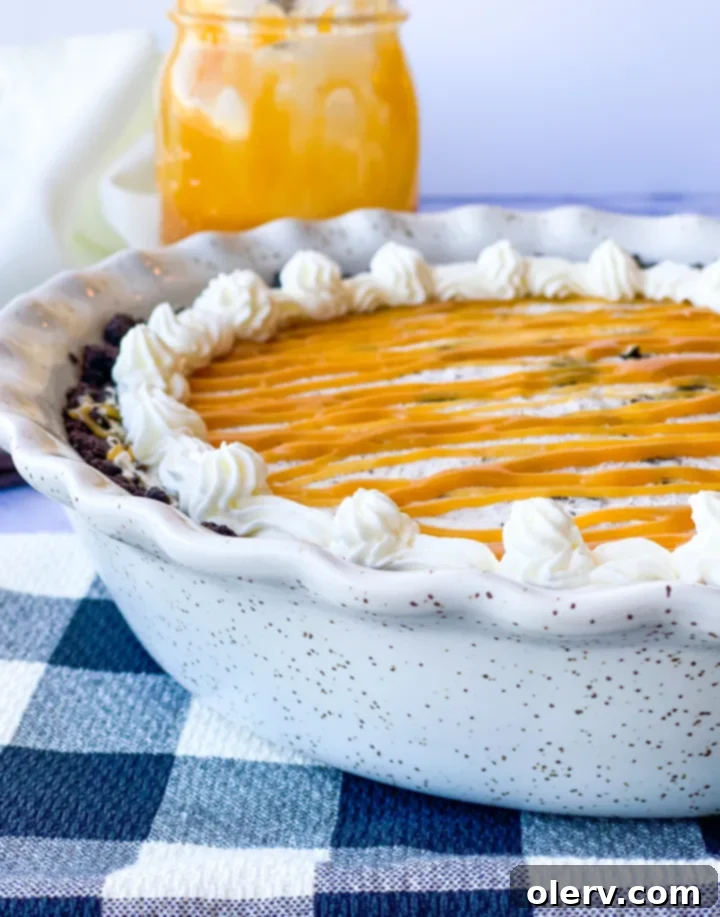
The Golden Touch: Irresistible Homemade Salted Caramel Sauce
To truly elevate this dessert and give it a sophisticated edge, we’re adding a generous drizzle of homemade salted caramel sauce. The combination of sweet caramel with a hint of salt creates a flavor profile that is simply divine and perfectly complements the chocolate and creaminess of the Oreo pie. Caramel and Oreo are a match made in heaven, and this addition transforms the pie from delicious to utterly unforgettable.
While you can use a high-quality store-bought salted caramel sauce, making your own homemade salted caramel sauce is incredibly rewarding and surprisingly straightforward. The depth of flavor in a homemade sauce is unmatched, providing that extra dimension that truly sets this pie apart. You can find the full recipe for my easy and delicious homemade salted caramel sauce right here: https://alexdaynes.com/salted-caramel-sauce. Preparing it ahead of time will make assembling your pie even quicker and easier.

Assembling Your Masterpiece: Tips for Success
Putting together this Salted Caramel Oreo Pie is straightforward, but a few tips will ensure your pie turns out perfectly every time. First, always make sure your cream cheese is at room temperature. This is essential for a smooth, lump-free filling. Cold cream cheese will result in a clumpy texture that’s difficult to incorporate evenly.
When whipping your heavy cream, ensure both the cream and your mixing bowl are very cold. This helps the cream whip up faster and hold its peaks better. Avoid over-whipping, as it can turn granular. When folding the whipped cream and chopped Oreos into the cream cheese mixture, use a gentle hand. You want to combine them thoroughly without deflating the airy whipped cream, which is key to the filling’s light texture.
Once the filling is smoothly spread into your cooled crust, resist the urge to slice into it immediately! The pie needs ample time to set. Covering it tightly with plastic wrap or aluminum foil and refrigerating for at least 6 hours, or ideally overnight, allows the filling to firm up and the flavors to fully develop. This crucial chilling period ensures clean slices and a truly satisfying mouthfeel. This pie is a fantastic make-ahead dessert, as it can be prepared up to two days in advance, making it perfect for entertaining.
Serving & Storing Your Delicious Pie
Before serving your exquisite no-bake cookies and cream pie, give it the grand finale it deserves. A generous drizzle of your prepared salted caramel sauce is a must. For an extra touch of indulgence, add a dollop of fresh whipped cream on top of each slice. You can also sprinkle a few extra crushed Oreo crumbs or a pinch of flaky sea salt for added texture and visual appeal.
This pie is best served chilled. Any leftover slices should be stored in an airtight container in the refrigerator for up to 3-4 days. While it’s unlikely there will be many leftovers, you’ll be glad to know how to keep any remaining pieces fresh and delicious for another treat.
Customizing Your No-Bake Treat
While this Salted Caramel Oreo Pie recipe is a masterpiece on its own, feel free to get creative with variations. You could experiment with different flavored Oreos for the crust or the filling, such as Golden Oreos or mint-flavored ones, to create unique twists. Instead of salted caramel, try a chocolate ganache or a berry compote for a different flavor profile. The beauty of a no-bake pie is its adaptability!
Your Go-To Holiday Dessert Solution
Whether it’s for a festive holiday dinner, a casual potluck, or just a treat for your family, this No-Bake Salted Caramel Oreo Pie is guaranteed to be a crowd-pleaser. Its rich flavors, creamy texture, and the delightful crunch of Oreos, all crowned with that luscious salted caramel, make it truly irresistible. It’s the kind of dessert that gets rave reviews and disappears quickly.
If you give this recipe a try, please let me know your thoughts! Leave a comment below, rate it, or snap a photo and tag it with @TheAlexDaynes on Instagram! I absolutely love seeing your culinary creations and it always makes my day to know you’re enjoying my recipes.
Like this recipe and want to save it for later? Pin it to Pinterest here!
Salted Caramel Oreo Pie

Delicious no-bake cookies & cream pie with caramel sauce! A crowd favorite for the holiday season.
Ingredients
- 24 whole Oreos
- 5 Tablespoons unsalted butter, melted
For the Filling
- 1 cup heavy whipping cream
- 8 ounce block cream cheese, room temperature
- 3/4 cup powdered sugar
- 1 teaspoon vanilla extract
- 12 oreos, chopped
Additional Toppings
- Salted Caramel Sauce
- Whipping Cream
Instructions
- Preheat to 350°F. (For a truly no-bake pie, skip this step and refrigerate the crust for 30 mins instead of baking, or use a store-bought crust.)
- In a food processor or blender, pulse the whole Oreos (cream filling and cookie) into a fine crumb. Stir the Oreo crumbs and melted butter together. Press tightly into the bottom and up the sides of a 9-inch pie dish. Bake for 10 minutes. Allow to cool as you prepare the filling. (Alternatively, for a no-bake crust, chill for 30 minutes until firm.)
- Using a hand mixer or a stand mixer fitted with a whisk attachment, whip the cold heavy cream into stiff peaks on medium-high speed, about 4 minutes. Set aside.
- Using a hand mixer or a stand mixer fitted with a whisk or paddle attachment beat the cream cheese on medium speed until smooth and creamy. Scrape down the sides as needed. Add the powdered sugar and vanilla extract and beat on medium-high speed until combined. Make sure there are no large lumps of cream cheese. If there are lumps, keep beating until smooth.
- Fold the whipped cream and chopped Oreos into the cream cheese mixture until combined. Combine slowly so you don’t deflate all the air in the whipped cream.
- Spread filling into cooled crust. Use an offset spatula to smooth down the top.
- Cover tightly with plastic wrap or aluminum foil and refrigerate for at least 6 hours and up to 2 days.
- Prepare the Salted Caramel Sauce.
- Before serving, drizzle with caramel sauce and top with additional whipping cream
Notes
You can make the homemade salted caramel sauce ahead of time to drizzle this pie before serving.
