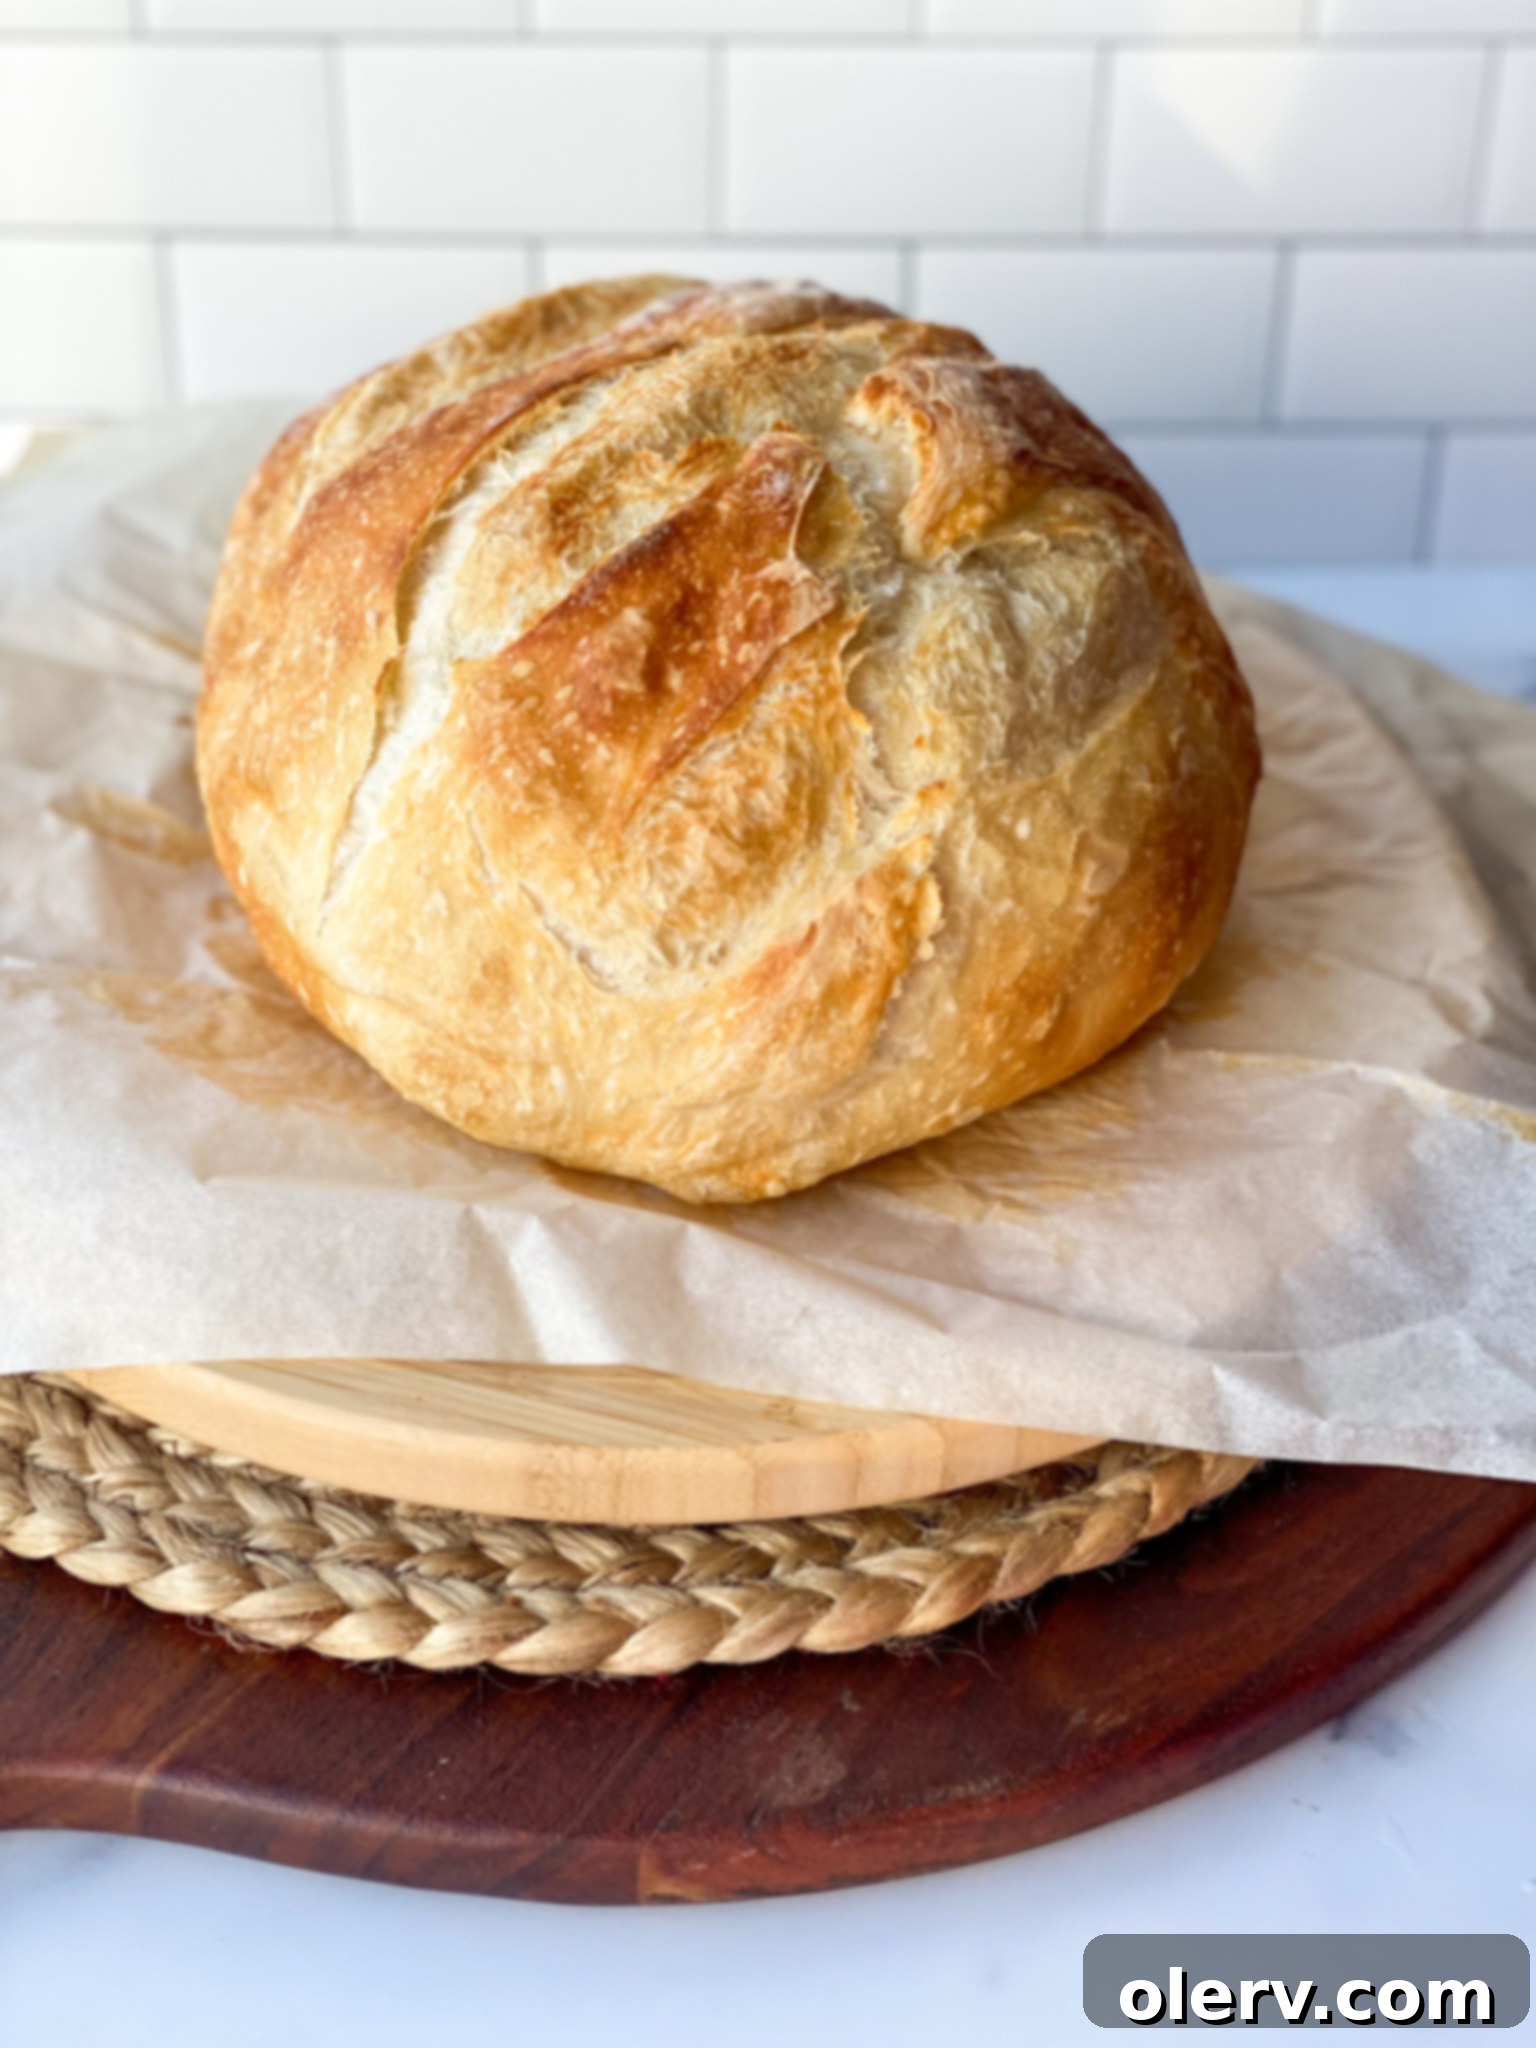
Easy Homemade Sourdough Dutch Oven Bread: A Beginner’s Guide to Perfect Loaves
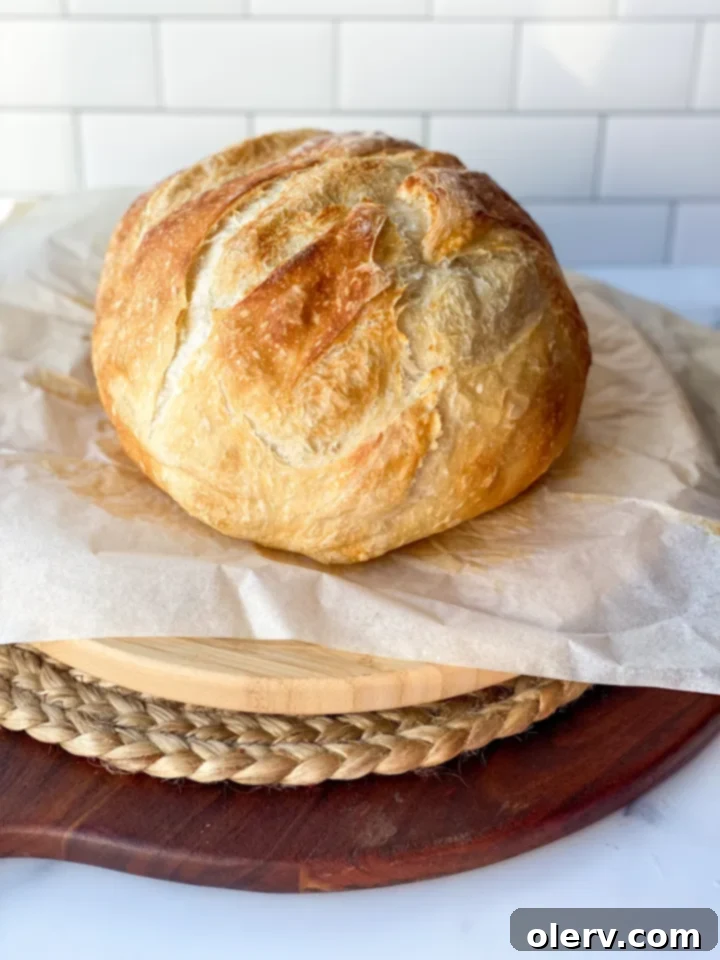
Welcome to the ultimate guide for baking the best sourdough Dutch oven bread right in your own kitchen! This recipe is specifically designed for home bakers, especially those new to the world of sourdough, who desire a simple, hearty loaf without overly complicated steps or precise measurements. Forget the intimidation often associated with sourdough; this easy version promises a delicious, golden-brown crust and a wonderfully chewy interior every single time. Get ready to impress yourself and your loved ones with an amazing homemade sourdough loaf!
Demystifying Sourdough: Beyond the Intimidation
The term “sourdough” can sometimes evoke images of complex baking techniques and hours of effort. Indeed, sourdough refers to both the unique bread itself and the active starter used to create it. If you’ve felt daunted by the idea of making sourdough bread, you are definitely not alone! Many aspiring bakers find the process intimidating, but it absolutely doesn’t have to be. My own journey into baking often resulted in flat, lifeless loaves when I tried using regular instant yeast. It wasn’t until I began experimenting with sourdough starter that I experienced a remarkable transformation in my baking results. The success was incredibly encouraging and, honestly, a lot of fun!
This positive experience sparked a passion within me, leading me to delve deeper into the process and eventually develop my own reliable sourdough recipes. The beauty of sourdough lies in its natural leavening power, which can be surprisingly forgiving once you understand the basics. This guide aims to strip away the complexity, offering you a straightforward path to consistently perfect sourdough Dutch oven bread.
Understanding the Essence of Sourdough: A Historical Perspective
Sourdough is far more than just a type of bread; it’s a testament to ancient culinary wisdom and one of the oldest forms of grain fermentation known to humankind. For centuries, long before the advent of commercial yeast, sourdough was the primary method for leavening bread. It’s a natural process that harnesses the power of microbiology.
The magic begins when flour and water are combined. In this simple mixture, naturally occurring friendly bacteria (primarily lactobacilli) and wild yeast, present in both the flour and the ambient air, begin to interact and thrive. This flour-and-water slurry, affectionately known as a sourdough starter, becomes a vibrant ecosystem of microscopic life. As these tiny organisms ferment the carbohydrates in the flour, they produce byproducts—chief among them carbon dioxide gas and organic acids. The gas causes the bread to rise, giving it its characteristic airy texture, while the organic acids contribute to sourdough’s distinctive complex, tangy, and rich flavor profile.
The history and cultural significance surrounding sourdough are truly fascinating. It sustained pioneers on their arduous journeys and cowboys on the open range. Many families have meticulously preserved their sourdough starters for generations, passing down not just recipes, but living traditions embodied in the very essence of their active starter. This enduring legacy highlights sourdough’s role as a fundamental and beloved staple across various cultures and historical periods, making each loaf you bake a connection to a rich past.
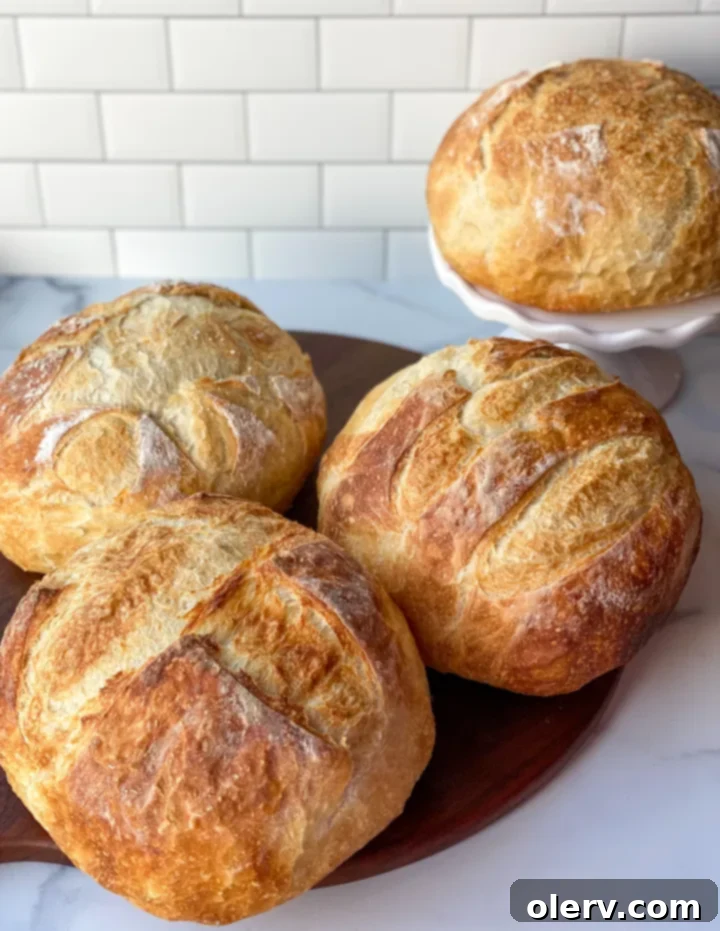
Unlocking the Health Benefits of Sourdough Bread
Beyond its incredible flavor and satisfying texture, sourdough bread offers a host of remarkable health benefits that make it a truly amazing food choice. These advantages stem primarily from the unique fermentation process, which transforms simple ingredients into a nutritionally enhanced and more digestible product. Here are some of the key reasons why sourdough is so good for you:
- Supports Gut Health with Probiotics: While most of the active cultures in sourdough starter are diminished during baking, the fermentation process itself creates an environment rich in prebiotics, which feed beneficial gut bacteria. It also produces some postbiotic compounds beneficial for gut health.
- Aids Digestion by Breaking Down Gluten: The long fermentation process helps to break down complex carbohydrates and gluten proteins in the flour. This pre-digestion makes sourdough bread often easier to digest for individuals with mild gluten sensitivities, compared to breads made with commercial yeast.
- Boosts Antioxidant Levels: The beneficial bacteria in sourdough can release antioxidants, which are crucial compounds that help combat free radicals in the body and protect against disease.
- Rich in Essential Vitamins and Nutrients: Sourdough bread contains a variety of important vitamins and minerals, including B vitamins, iron, zinc, and magnesium. The fermentation process also increases the bioavailability of these nutrients, meaning your body can absorb and utilize them more effectively.
- Stabilizes Blood Sugar Levels: Compared to conventional bread, sourdough has a lower glycemic index. This means it’s less likely to cause rapid spikes in blood sugar levels, making it a better choice for maintaining stable energy and managing blood glucose.
The core of sourdough’s magic (or rather, its scientific brilliance) lies in the wild yeast and bacteria that spontaneously appear when flour and water are combined and allowed to ferment. This natural process, given a few days, culminates in a robust and active sourdough starter.
Creating your own sourdough starter from scratch is a rewarding experience. While it requires a bit of time and patience, the effort is truly worthwhile. You can find comprehensive guides on how to make your own starter online, such as this helpful resource from King Arthur Baking. Alternatively, if you know an experienced sourdough baker, you might be able to get a portion of their established starter. It’s a common and cherished tradition in the sourdough community to share starters, and once you have one, you can easily feed it, use it for your baking, and even share it with others!
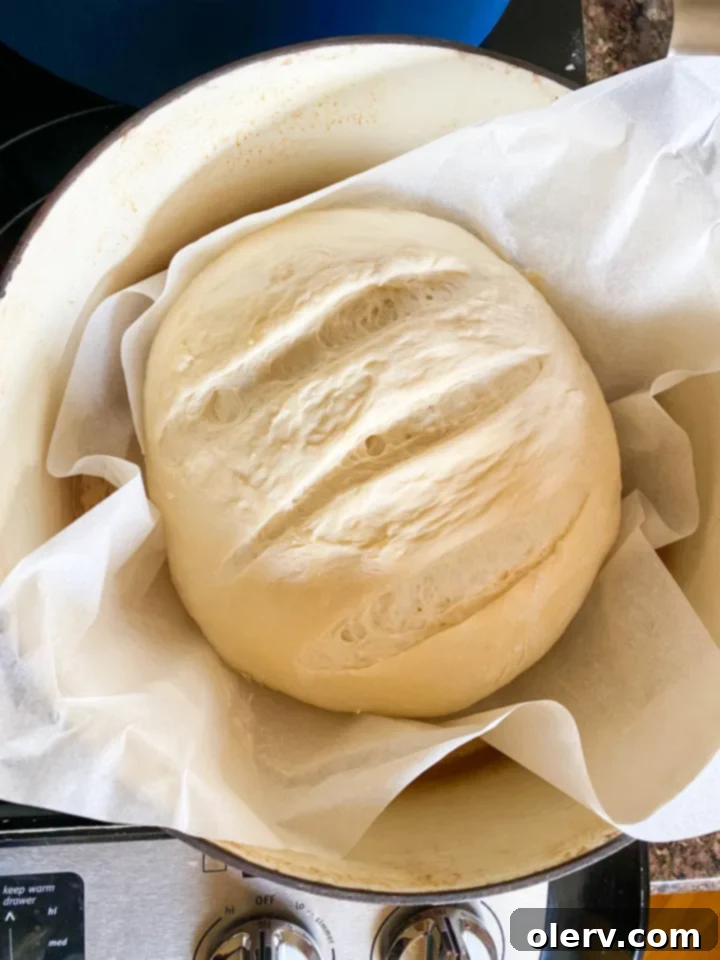
Maintaining Your Sourdough Starter: Feeding and Care
Once you have a thriving sourdough starter, whether you created it yourself or received it from a friend, the next crucial step is learning how to keep it healthy and active through regular feedings. The frequency of feeding largely depends on your baking habits and where you store your starter.
If you’re a frequent sourdough baker, making delicious treats multiple times a week, keeping your starter on the counter at room temperature is ideal. This setup requires feeding it twice a day, ensuring your starter is always vigorous and ready for action whenever inspiration strikes. For those who bake more casually, a more relaxed approach is possible. You can store your starter in the refrigerator, which significantly slows down its activity. In this scenario, you’ll only need to feed it anywhere from once a week to once a month, depending on how dormant it becomes. Remember to bring it to room temperature and give it a couple of consistent feedings before you plan to bake with it.
Don’t panic if you accidentally neglect to feed your starter for a while and it seems sluggish or inactive. Sourdough starters are remarkably resilient! You can almost always revive it by repeating the regular feeding process for a few consecutive days until it shows signs of bubbling activity again. Consistency is key when reviving a sleepy starter.
To feed your starter, simply combine the following ingredients with a portion of your existing starter. Place the mixture in a clean glass container, cover it loosely with plastic wrap or a lid (to allow for gas exchange), and let it sit at room temperature for a few hours until it becomes bubbly and active:
- 100 grams active bubbly starter
- 1 cup (113g) All-Purpose Flour
- 1/2 cup (113g) water, lukewarm
Always aim for a consistency similar to thick pancake batter after feeding. This balance of ingredients ensures your starter stays strong and ready to leaven your next perfect loaf of sourdough Dutch oven bread.
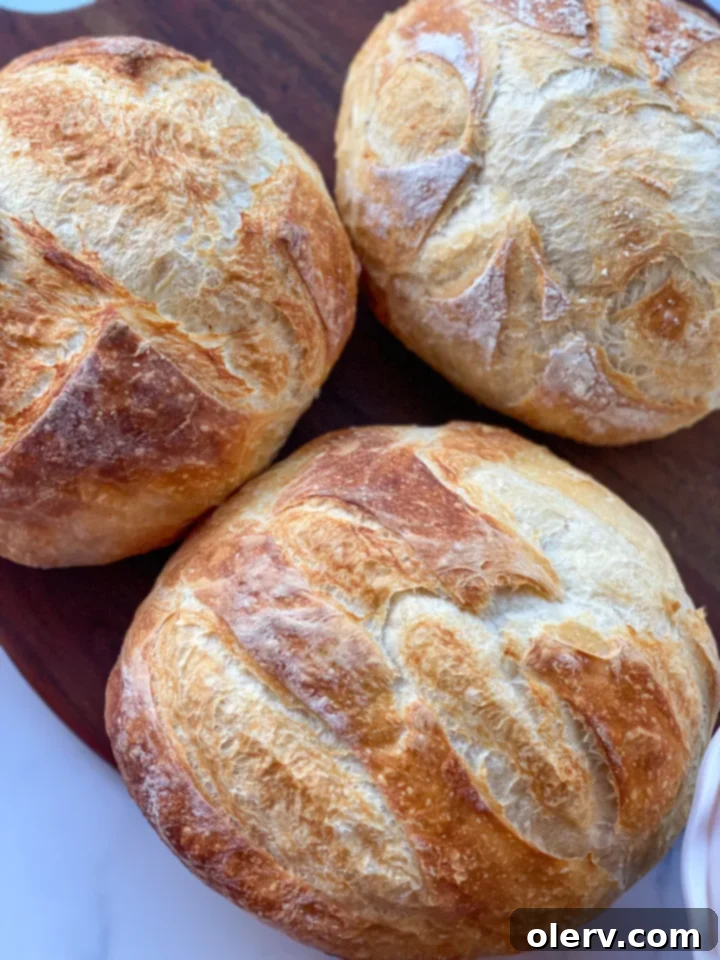
Essential Tools for Baking Sourdough Dutch Oven Bread
To embark on your sourdough Dutch oven bread journey, having the right tools can make all the difference, simplifying the process and ensuring excellent results. Here’s a comprehensive list of what you’ll need:
- Active Sourdough Starter: This is the heart of your bread, active and bubbly.
- Flour: Good quality all-purpose or bread flour is essential.
- Water: Lukewarm water helps activate the yeast in your starter.
- Salt: Essential for flavor and controlling fermentation.
- Food Scale: For precise measurements of ingredients, which is crucial for sourdough success.
- Large Mixing Bowl or Stand Mixer: For combining and working the dough. A stand mixer can save effort.
- Glass Clear Container: Ideal for storing and observing your starter as it ferments (large mason jars or bowls work perfectly).
- Proofing Basket (Banneton) or a Bowl: Used for the final rise of your dough, helping it maintain its shape. Line a regular bowl with parchment paper if you don’t have a banneton.
- Scoring Tool (Lame) or Sharp Knife: For creating decorative and functional cuts on the dough surface before baking, allowing for proper oven spring.
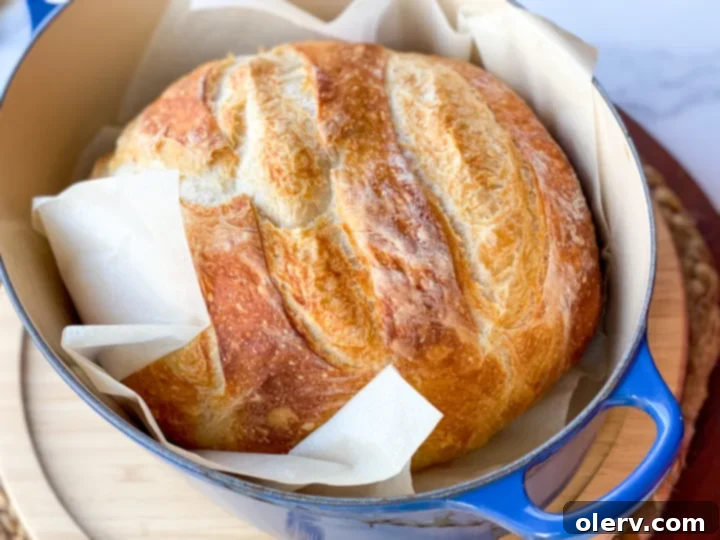
- Cast Iron Dutch Oven Pot: This is key for achieving that perfect crust and moist interior. The Dutch oven creates a steamy environment that mimics a professional bread oven. As an alternative, the heavy-bottomed black inner pot from your crockpot can also work; just cover it tightly with tin foil for the same effect.
- Parchment Paper: Makes transferring the dough into the hot Dutch oven much easier and prevents sticking.
- Big Plastic Bags or Plastic Wrap: For covering your dough during bulk fermentation and proofing to prevent it from drying out.
Gathering these items will set you up for a smooth and enjoyable sourdough baking experience, leading to truly delicious homemade bread.
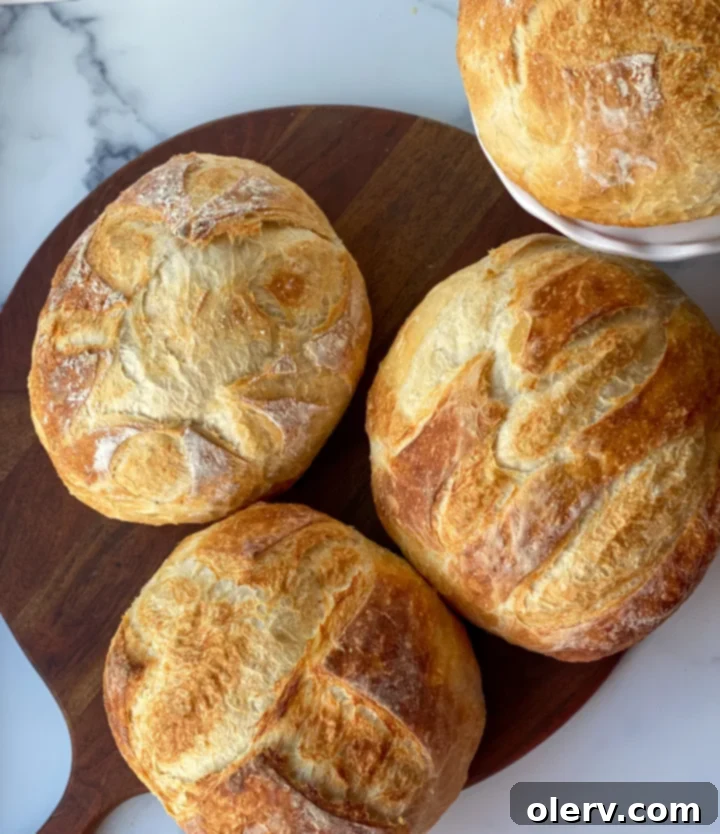
We hope this comprehensive guide inspires you to bake your very own sourdough Dutch oven bread. There’s truly nothing quite like the aroma and taste of freshly baked homemade bread, especially when it’s made with the natural goodness of sourdough. Don’t be afraid to experiment and make this recipe your own!
If you give this simple and delicious recipe a try, we’d absolutely love to hear about it! Please leave a comment below, rate the recipe, or even better, snap a photo of your beautiful loaf and tag it with @TheAlexDaynes on Instagram! Seeing your culinary creations always makes our day and helps other aspiring bakers.
LIKE THIS RECIPE AND WANT TO SAVE IT FOR LATER? PIN IT TO PINTEREST HERE!
Sourdough Dutch Oven Bread
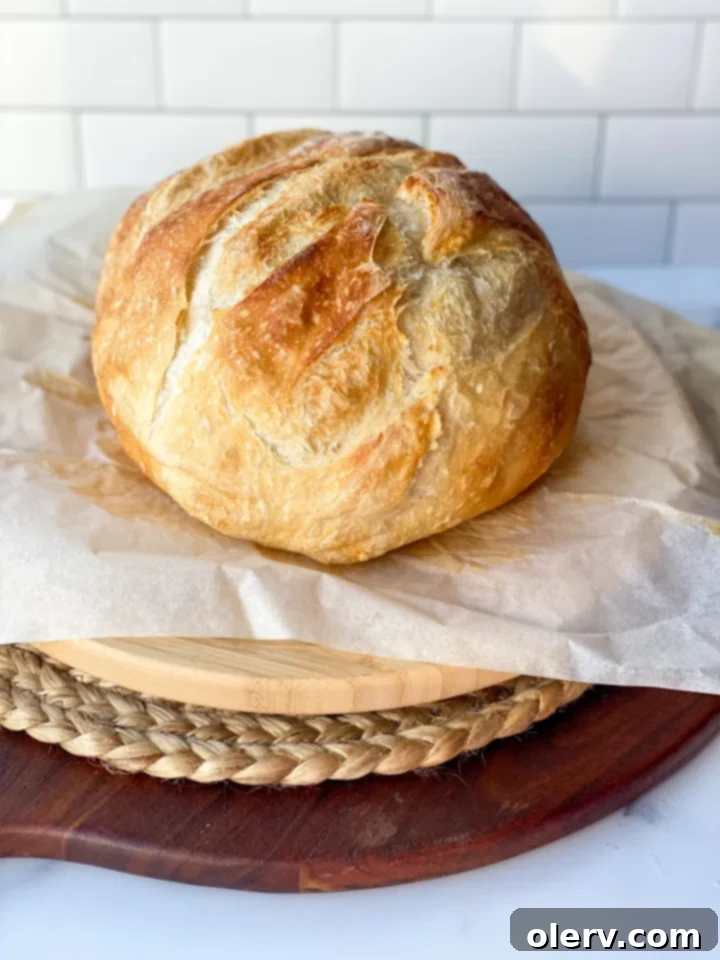
A basic, beginner-friendly Sourdough Dutch Oven Bread recipe! This tried-and-true method consistently delivers delicious results, making homemade sourdough accessible to everyone.
5 minutes
40 minutes
5 hours 40 minutes
6 hours 25 minutes
Ingredients
- 125 grams active bubbly sourdough starter (about ½ cup)
- 390 grams warm water (about 1 ¾ cups)
- 500 grams all-purpose or bread flour (about 4 cups)
- 12 grams fine sea salt (½ Tablespoon)
Instructions
- Combine Water and Starter: In a stand mixer bowl or a large mixing bowl, combine the warm water and your active, bubbly sourdough starter. Mix gently with a spoon or your mixer’s paddle attachment until the starter is mostly dissolved in the water.
- Add Flour and Autolyse: Add the flour to the wet mixture. Mix just until a sticky, shaggy dough forms and no dry flour remains. Do not overmix. Cover the bowl with a clean towel or plastic wrap and let it rest at room temperature for 30 minutes. This resting period, known as autolyse, helps the flour fully hydrate.
- Incorporate Salt and Perform Stretch & Folds: After the autolyse, sprinkle the salt over the dough. Using damp hands, gently toss and squeeze the dough a few times within the bowl to thoroughly combine the salt. Re-cover the bowl and let it rest for two hours. During this period, you will perform ‘stretch and folds’ every 20 minutes. To do a stretch and fold, simply grab a portion of the dough from the edge, stretch it upwards, and fold it back over itself towards the center of the bowl. Rotate the bowl and repeat this motion about 4-6 times, effectively folding the dough onto itself from all sides.
- Bulk Rise (First Fermentation): Once all the stretch and folds are completed, cover the bowl again, making sure it’s well-sealed (plastic wrap works great). Allow the dough to bulk rise (first fermentation) for 5-12 hours at room temperature, or until it has noticeably doubled in size and feels very pillowy and soft. The exact time will depend on the strength of your starter and your room temperature.
- Shape and Final Proof: Gently turn the risen dough out onto a lightly floured surface. Flatten the dough ball slightly into a rough circle. Then, fold the dough in thirds, like a letter. Gently shape the dough into a tight ball. Place the shaped dough into a well-floured proofing basket (banneton) seam-side up, or into a bowl lined with parchment paper. Let it rest for its final proof at room temperature for 1-2 hours.*
- Preheat Oven and Dutch Oven: While your dough is undergoing its final proof, preheat your oven to a scorching 450°F (232°C). Place your empty Dutch oven with its lid inside the oven to preheat for at least 30 minutes. A super-hot Dutch oven is crucial for achieving an excellent crust and oven spring.
- Score and Bake: Carefully remove the super-hot Dutch oven from the oven. Gently transfer the parchment-lined dough from its proofing basket into the preheated Dutch oven. Using a sharp knife or razor blade (lame), score the top of your dough with your desired design (this allows for controlled expansion). Bake with the lid on for 30 minutes. After 30 minutes, remove the lid and continue baking for another 10-15 minutes, or until the crust is a beautiful, deep golden brown and the bread sounds hollow when tapped on the bottom.
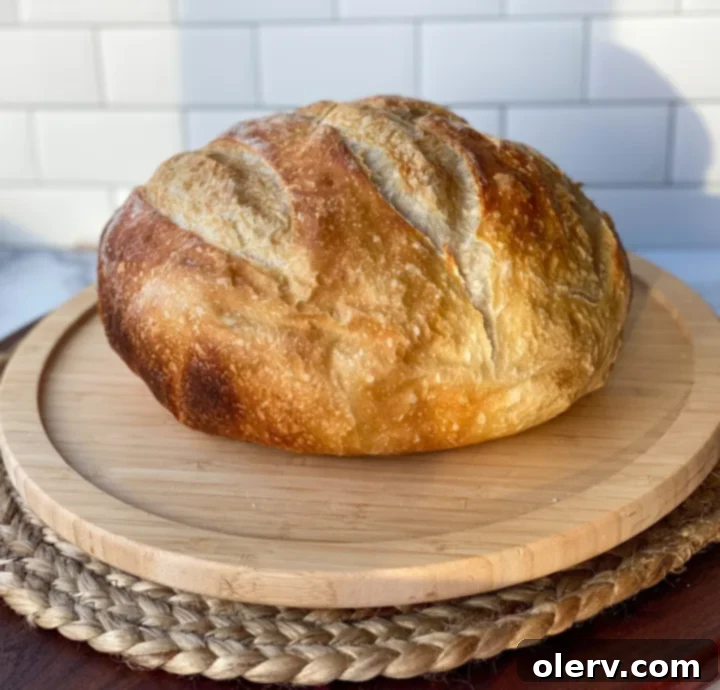
- Cool and Serve: Once baked to perfection, carefully remove the bread from the Dutch oven and transfer it to a wire rack to cool completely. This cooling period, ideally for at least one hour, is absolutely essential for the bread’s internal structure to set and for the flavors to fully develop. Resist the urge to slice it too soon! Serve your magnificent homemade sourdough as is, or store any leftovers wrapped in plastic wrap or a bread bag to keep it fresh. Enjoy!
Notes
*You have the option to refrigerate your dough at this point (after shaping and placing in the proofing basket/bowl) for a cold proof. This can be done for 12-24 hours. A cold proof can enhance the flavor and make the dough easier to handle. When you are ready to bake, allow the dough to come to room temperature for 2-3 hours (or until it passes the poke test) before preheating the oven and baking.
