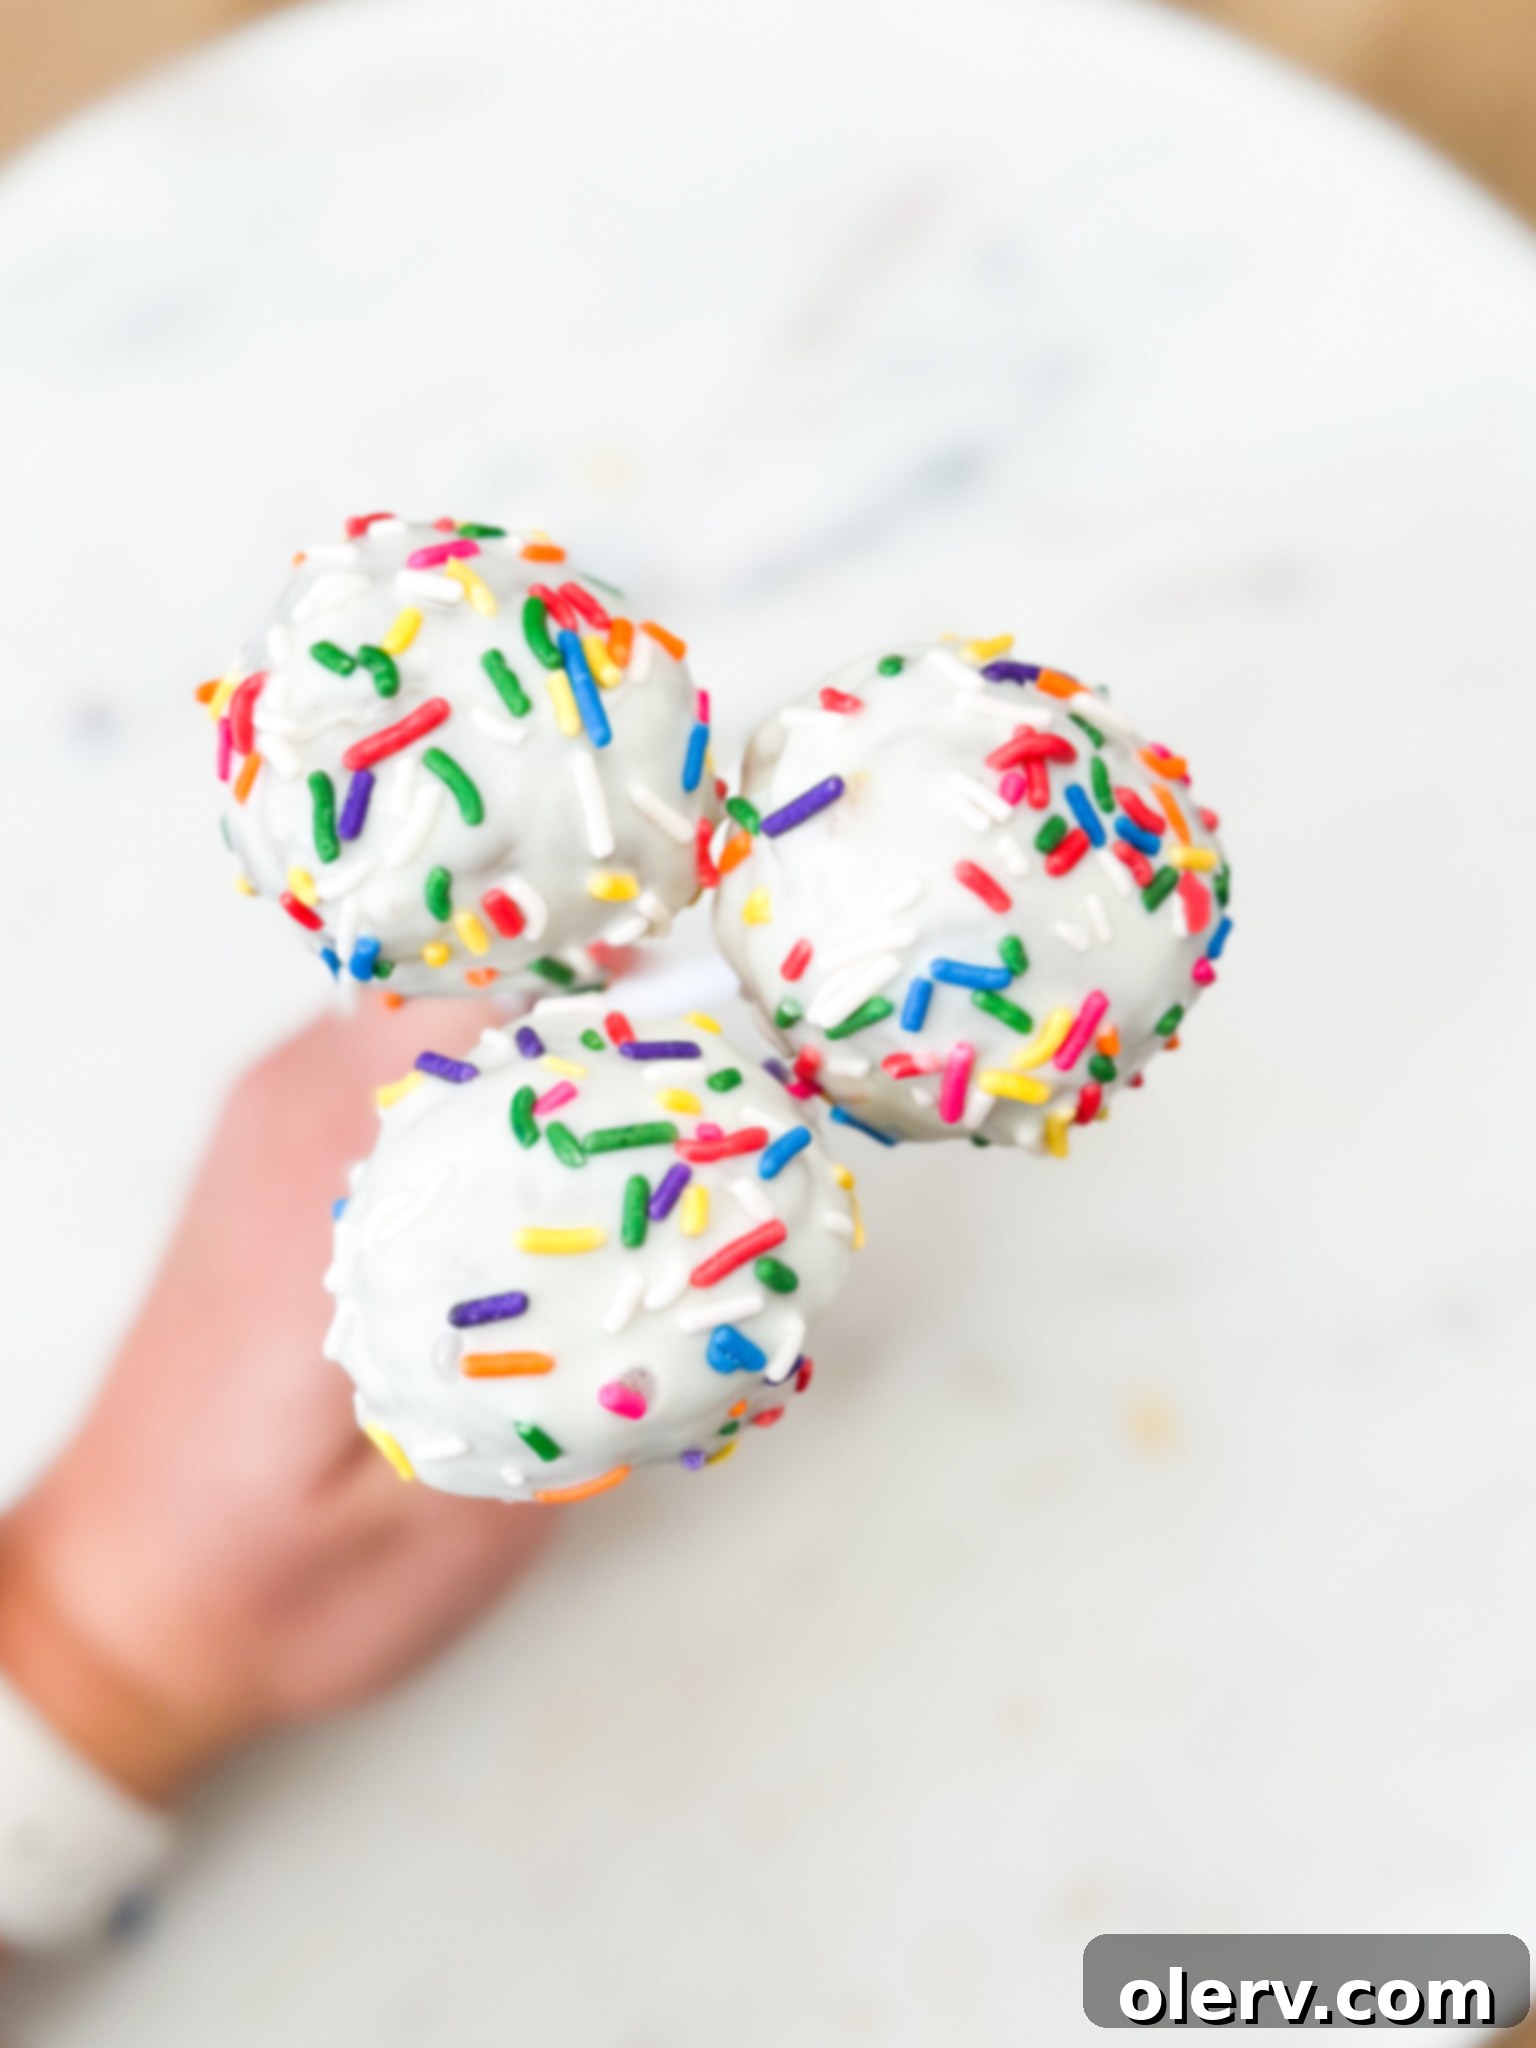
The Ultimate Guide to Effortlessly Delicious Easy Cake Pops
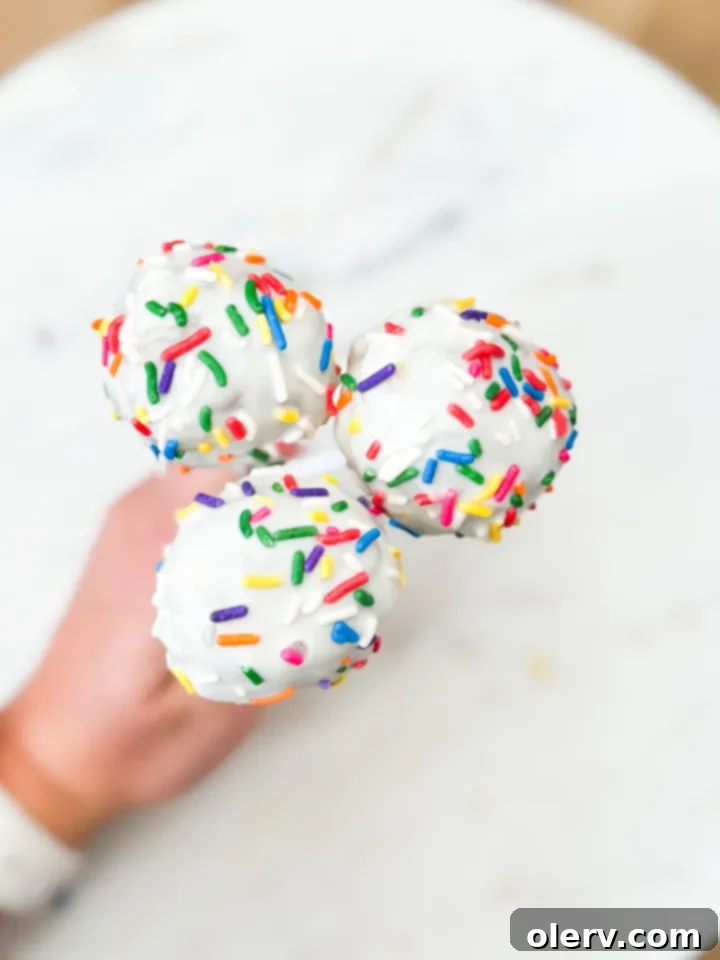
Get ready to discover the secret to making the most delightful and undeniably easy cake pops right in your own kitchen! These little treats are a celebration in every bite – perfectly moist cake, rolled into charming spheres, and coated in a smooth, vibrant chocolate shell. Forget the stress often associated with traditional cake pop methods; this revolutionary recipe takes a simplified approach that will change the way you bake these festive delights forever.
What makes this recipe truly revolutionary is its clever simplicity: the cake base is created using just a boxed cake mix, cleverly bound without any additional frosting. This means you eliminate an entire step of preparing a separate frosting and reduce the overall sweetness, allowing the pure cake flavor to shine through. This innovative method also opens up a world of customization, allowing you to choose any cake flavor you desire and pair it with your favorite chocolate coating and festive sprinkles. Whether you’re a seasoned baker or a complete novice, this guide will walk you through each step, ensuring a fun, straightforward, and ultimately delicious baking experience. Let’s dive in and create some magic with these easy cake pops!
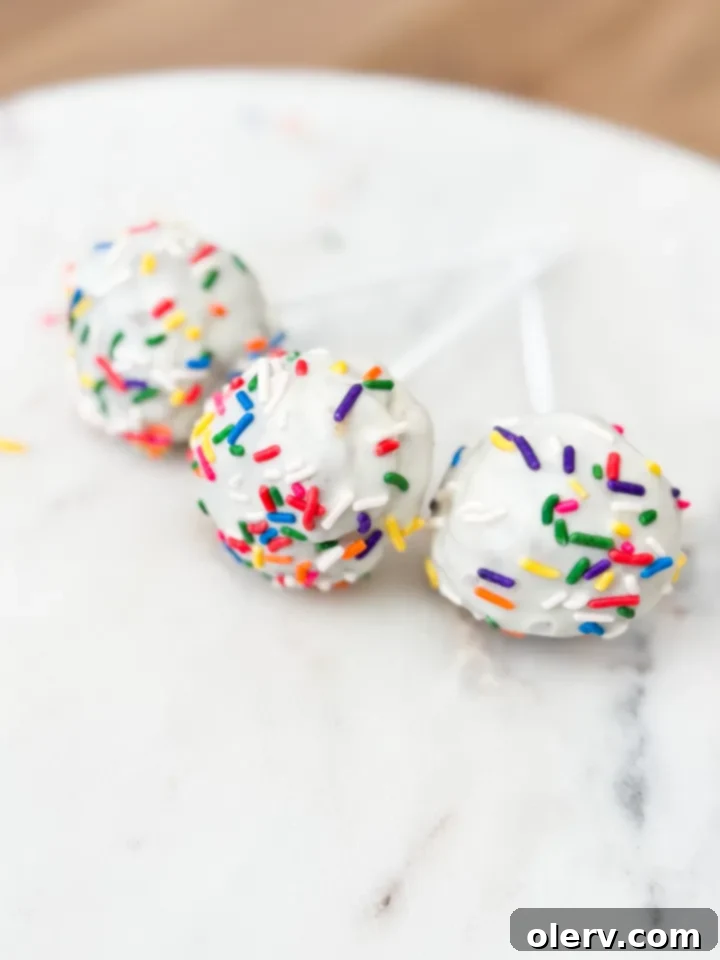
The Easiest Cake Pop Recipe: A Game-Changer in Baking
For too long, cake pops have carried a reputation for being complicated, temperamental, and frankly, a bit stressful to make. Many aspiring bakers, myself included, have avoided them due to the perceived demands of crumbling cake, mixing in just the right amount of frosting, and navigating the delicate dipping process. But I’m here to tell you that this perception is about to change! This recipe is engineered for simplicity and success, making homemade cake pops genuinely enjoyable to create.
The groundbreaking technique behind these incredibly easy cake pops is surprisingly simple yet brilliantly effective. Instead of letting your baked cake cool completely and then meticulously crumbling it to combine with frosting, this recipe directs you to take your *entire hot cake* directly from the oven and transfer it into the bowl of a stand mixer. With a paddle attachment firmly in place, the mixer does all the hard work. The residual heat and steam from the freshly baked cake are precisely what’s needed to bind the cake crumbs together. As the mixer gently works, it transforms the warm cake into a cohesive, pliable “dough” – the perfect consistency for shaping into cake pop balls. This innovative method eliminates the need for any added frosting as a binder, resulting in a less sweet, more purely cake-flavored treat that’s also much quicker to prepare.
Once your unique cake “dough” is formed, the rest of the process is straightforward and fun. You’ll roll the dough into uniform, tight spheres, which are then chilled to firm them up for optimal dipping. Next, you’ll prepare your chosen chocolate candy melts. A crucial step for sturdy cake pops is to first dip the tip of each lollipop stick into the melted chocolate before inserting it into the cake ball. This acts as an edible glue, securely anchoring the cake pop to its stick. Finally, each cake ball is completely coated in the luscious melted chocolate. This is the moment to get creative with sprinkles, if desired, adding a festive touch. Once decorated, the cake pops are allowed to set upright, hardening into beautiful, bite-sized delights. Get ready to impress with these professional-looking, incredibly delicious, and surprisingly simple homemade cake pops!
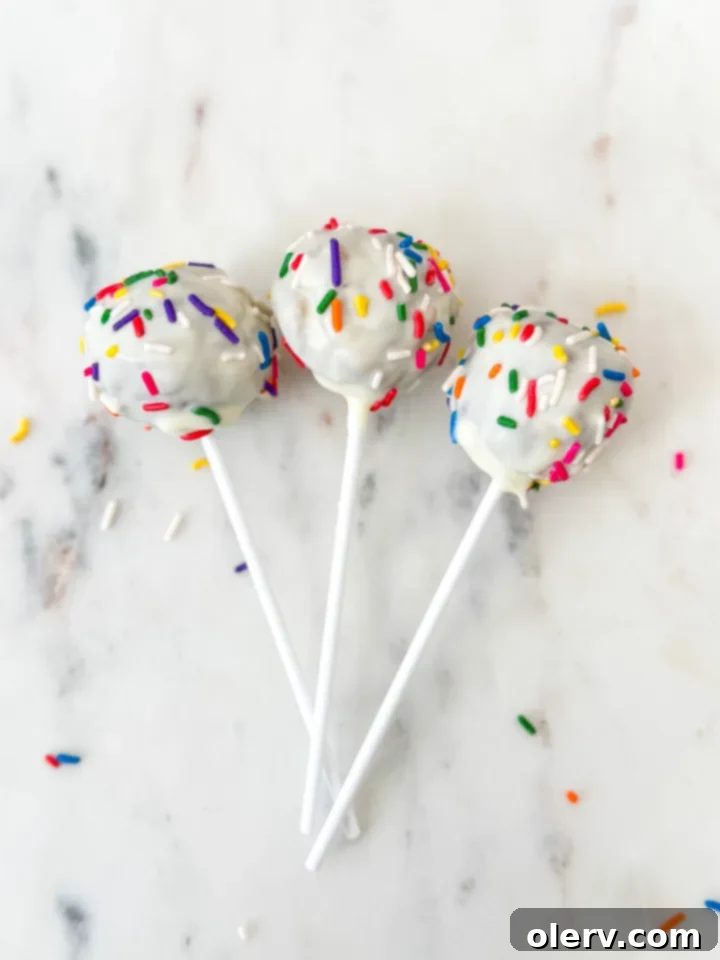
Essential Ingredients for Your Easy Cake Pops
The beauty of this easy cake pop recipe lies in its minimal, customizable ingredients. You have the freedom to truly make these treats your own, matching flavors and colors to any theme or personal preference!
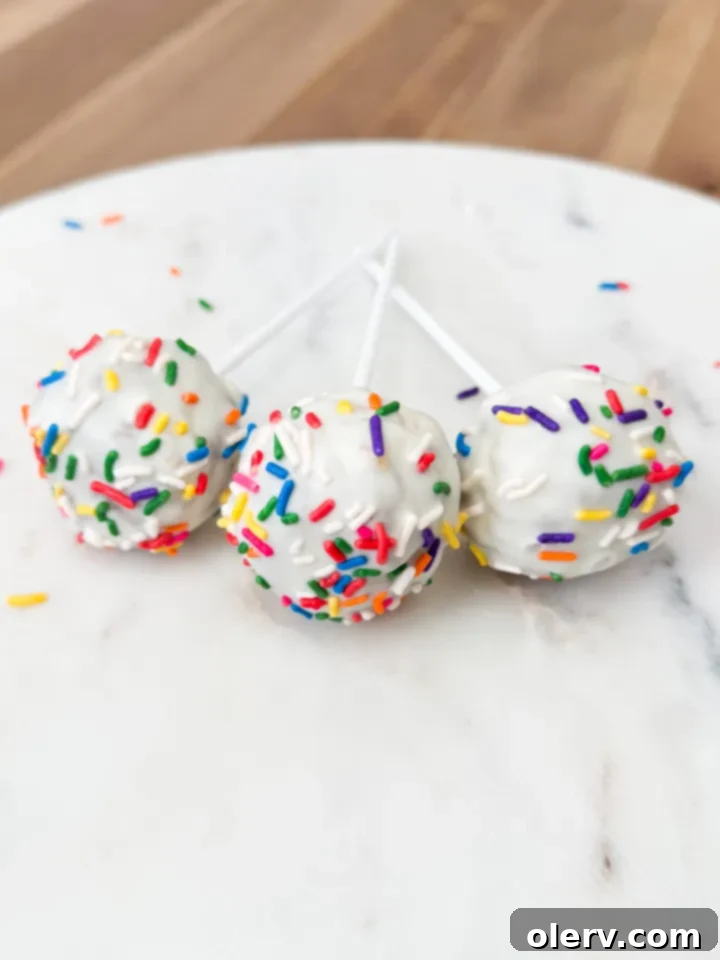
- Any cake mix + ingredients on the back (1 box of your favorite flavor): This is your foundation! For the delightful cake pops pictured, a funfetti mix was used, bringing a burst of color and classic birthday cake flavor. However, the possibilities are endless: opt for rich chocolate cake for a decadent treat, light vanilla for versatility, zesty lemon for a refreshing twist, or even a seasonal flavor like pumpkin spice. Remember to follow the specific box directions for additional ingredients like eggs, oil, and water.
- Chocolate candy melts (approximately 12 oz): The coating is where you can truly express your creativity. White chocolate candy melts are excellent for achieving vibrant colors when tinted or for allowing colorful sprinkles to pop, as showcased in this funfetti recipe. Don’t feel limited, though! Dark chocolate provides a sophisticated contrast, milk chocolate offers a classic sweetness, and a wide array of colored candy melts are available for specific holiday or party themes (think vibrant pink for Valentine’s, deep green for St. Patrick’s Day). Choose quality melts designed for easy melting and a smooth, flawless finish.
- Lollipop sticks (approximately 24 count): These are crucial for turning your cake balls into convenient, hand-held pops. They come in various lengths, so select a size that feels comfortable for handling and will adequately support your finished cake balls. You can typically find them in the baking aisle of larger supermarkets, craft stores, or party supply shops.
- Sprinkles: The ultimate customizable topping! Sprinkles add not only visual appeal but also a delightful textural crunch. From classic rainbow nonpareils and whimsical jimmies to elegant sanding sugars and shimmering edible glitter, your choice of sprinkles can instantly elevate your cake pops. Consider the occasion: spooky Halloween sprinkles, festive red and green for Christmas, or soft pastels for a baby shower. They truly are the icing on the… well, chocolate coating!
Essential Tools for Mastering Cake Pop Creation
While the ingredients for these easy cake pops are straightforward, having the right tools on hand will streamline your process and help ensure professional-looking results.
- Stand Mixer with Paddle Attachment: This is indispensable for our unique “hot cake” method. It efficiently breaks down the warm cake and forms a cohesive, frosting-free dough, saving you significant effort.
- 9×13 Inch Baking Pan: A standard size for most box cake mixes, ensuring even baking.
- Parchment Paper or Silicone Baking Mat: For lining your cookie sheet, this prevents your cake balls from sticking when chilling and makes transfer effortless.
- Cookie Scoop (about 1.5 tbsp): While optional, a cookie scoop is highly recommended for portioning out uniform cake dough balls. Consistency in size leads to even dipping and a polished final look.
- Large Microwave-Safe Bowl or Double Boiler: Essential for melting your chocolate candy melts to a smooth, dippable consistency without scorching.
- Deep, Narrow Container (e.g., a tall glass or mug): Using a container that is deep but not too wide for your melted chocolate allows for complete submergence of the cake pops, minimizing waste and ensuring an even coat.
- Styrofoam Block or Cardboard Box: Crucial for drying your cake pops. By poking holes, you can stand the pops upright, preventing flat spots and ensuring a perfectly round finish as the chocolate sets.
How to Make Easy Cake Pops: Step-by-Step Instructions for Success
Follow these detailed steps closely to create your own batch of irresistible and perfectly formed easy cake pops. Precision in each stage will lead to bakery-worthy results that taste as good as they look!
- Prepare and bake the cake mix according to the boxed directions. This is your initial and foundational step. Ensure your chosen baking pan (typically a 9×13 inch) is properly greased and floured, or lined with parchment paper, to prevent the cake from sticking. Bake until a toothpick inserted into the center comes out clean, indicating the cake is fully cooked and optimally warm for the next crucial stage.
- Immediately after taking the cake out of the oven, pour the hot cake into the bowl of a stand mixer. This is the game-changing secret! Do not allow the cake to cool down. Attach the paddle attachment and begin mixing at a low speed. The residual steam and intense warmth from the freshly baked cake will work their magic, breaking down the cake structure and binding it together. Continue mixing for about 2-3 minutes, or until a cohesive, slightly sticky “dough” forms that can be easily pressed together into a ball. Avoid overmixing, as you want a moist, dense dough, not a pasty texture.
- Portion out the dough and roll into a ball. Once your unique cake dough is ready, use a small cookie scoop (approximately 1.5 tablespoons) or your hands to portion out uniform amounts. Roll each portion firmly and smoothly between your palms to create tight, perfectly round balls. Uniform size is essential for ensuring even dipping, consistent cooking if you were baking, and a professional, appealing appearance. Aim for approximately 24 balls from a standard cake mix.
- Place the cake balls on a cookie sheet lined with parchment paper and then into the freezer to chill while melting the chocolate. Chilling is an absolutely vital step! It helps the cake balls firm up significantly, which is critical for preventing them from crumbling or falling apart during the delicate dipping process. It also ensures they are cold enough to quickly set the chocolate once dipped, providing a smooth finish. Freeze them for at least 15-20 minutes, or refrigerate for 30-60 minutes.
- Once the chocolate is melted, remove the cake balls from the freezer. Now, it’s time to prepare your luscious chocolate coating. You can melt your chocolate candy melts using a microwave (heating in 30-second intervals, stirring thoroughly after each to prevent scorching) or a double boiler for a more controlled and gentle melt. Stir continuously until the chocolate is completely smooth, free of any lumps, and has a consistent, fluid texture. It’s important to keep the chocolate warm and workable throughout the entire dipping process.
- Dip each lollipop stick into the chocolate and press it into the center of each cake ball. This step creates a strong, foundational bond between the stick and the cake ball, acting as an edible glue. Dip about half an inch of the stick into the melted chocolate, then carefully insert it roughly halfway into the center of each cake ball. Allow the small amount of chocolate on the stick to set and harden completely before moving on to the full dipping step. This crucial bond will help prevent your cake pops from falling off the stick.
- You are ready to dip once the chocolate is set on the sticks. Dip the cake pops one by one in the chocolate and gently shake the cake pop to remove any excess melted chocolate. Hold the cake pop upside down and fully submerge the cake ball into the melted chocolate. Gently tap and twirl the stick against the edge of your chocolate container (a deep, narrow glass works best) to allow any excess chocolate to drip off. Work quickly but carefully to achieve a thin, smooth, and even coating. Immediately after dipping, tip the cake pop right side up and add your chosen sprinkles while the chocolate is still wet and pliable, if desired.
- Allow the chocolate to set while the cake pop is right side up. If desired, poke holes into a cardboard box or use a Styrofoam block to help the cake pops stand up straight and dry. This crucial drying method ensures your cake pops set without developing unsightly flat spots or smudges, preserving their perfect spherical shape. The chocolate will harden relatively quickly, especially if your cake balls were well-chilled prior to dipping. Full setting can take anywhere from 15-30 minutes at room temperature, or you can accelerate the process by placing them in the refrigerator for 5-10 minutes.
- Serve as is or package up individually in bags with ribbon if desired. Enjoy! Once the chocolate coating is completely set and firm to the touch, your beautiful and delicious easy cake pops are ready to be enjoyed! They make perfect party favors, delightful additions to any dessert table, or simply a wonderful, satisfying treat for yourself, family, and friends.
Why This Easy Cake Pop Recipe is an Absolute Must-Try
If you’ve ever hesitated to make cake pops because of past frustrations or the perceived complexity, this recipe is specifically designed to change your perspective. Its genius “no frosting” binding method, which cleverly utilizes the steam from a hot cake, dramatically simplifies the entire process. This innovative approach means less mess in the kitchen, fewer ingredients to purchase, and ultimately, a lighter, more intensely cake-forward flavor profile. Traditional cake pop recipes often rely heavily on thick frosting to bind the cake crumbs, which can result in an overly sweet and sometimes greasy final product. By harnessing the cake’s natural moisture and warmth, we achieve a perfectly pliable and stable dough that is a joy to work with and delivers a truly delightful texture that tastes like pure cake. This method also significantly cuts down on overall prep time, making homemade cake pops accessible and enjoyable even for those with demanding schedules. It’s a game-changer for anyone looking for genuinely easy and impressive homemade treats.
Expert Tips for Perfect Cake Pops Every Single Time
Achieving bakery-quality cake pops is easier than you think with these expert tips and tricks:
- Don’t Rush the Chill: Ensure your cake balls are thoroughly chilled and firm before dipping. This is paramount for preventing them from crumbling into your warm chocolate or melting, which can lead to a messy, uneven coating.
- Optimize Chocolate Consistency: If your melted chocolate candy melts appear too thick or gloppy, they will be difficult to dip evenly. To thin them out, add a small amount of shortening or coconut oil (start with 1/2 to 1 teaspoon per 12 oz of melts) and stir until you reach a smooth, fluid consistency. Avoid adding water, as this will cause the chocolate to seize.
- Use a Deep Dipping Container: For the best results, pour your melted chocolate into a deep, narrow glass or mug. This allows you to fully submerge the entire cake pop in one swift motion without needing an excessive amount of chocolate, minimizing waste and ensuring a perfectly even coat.
- Gentle Tapping for a Flawless Finish: After dipping each cake pop, gently tap the stick against the side of your chocolate container. This helps to dislodge and remove any excess chocolate, preventing unsightly drips and creating a clean, smooth finish. Be patient but quick!
- Apply Sprinkles Immediately: If you plan to add sprinkles or other toppings, do so immediately after dipping each individual cake pop. The chocolate sets quickly, so applying them while the coating is still wet ensures they adhere properly and create a vibrant, well-decorated treat.
- Strategic Drying Method: Invest in a Styrofoam block or prepare a sturdy cardboard box by poking small holes in it. This allows your cake pops to stand upright while the chocolate sets and hardens, preserving their perfect spherical shape and preventing flat bottoms.
- Work in Batches: To maintain optimal temperature, especially for the cake balls and chocolate, it’s often helpful to work in small batches. Keep most of your cake balls in the freezer and only take out a few at a time for dipping.
Endless Customization and Delicious Flavor Variations
One of the most exciting and enjoyable aspects of mastering these easy cake pops is their incredible versatility. The base recipe provides a perfect canvas for your culinary imagination!
- Explore Diverse Cake Flavors: Beyond the cheerful funfetti, the possibilities are vast. Try a rich dark chocolate cake with a contrasting white chocolate coating for a sophisticated treat, a vibrant red velvet cake paired with cream cheese-flavored white candy melts, or a bright lemon cake covered in a sunny yellow shell. Seasonal flavors like gingerbread or pumpkin spice cake mixes can also create wonderfully festive cake pops.
- Experiment with Chocolate Coatings: Don’t limit yourself to just one type of chocolate! Use luxurious dark chocolate for a more intense flavor profile, classic milk chocolate for universal appeal, or a wide array of colorful candy melts to perfectly match any party theme or holiday. For an artistic touch, you can even drizzle contrasting chocolate colors over the set coating.
- Infuse with Flavor Extracts: Elevate your chocolate coating by adding a few drops of your favorite food-grade extract. Peppermint extract can turn white chocolate into a refreshing mint coating, almond extract adds a delicate nuttiness, or a hint of coffee extract can deepen the flavor of chocolate melts.
- Creative Toppings Galore: Beyond classic sprinkles, consider a variety of other delicious toppings. Finely chopped nuts (like pecans or almonds), toasted coconut flakes, mini chocolate chips, crushed cookies, or even a light dusting of cocoa powder or powdered sugar can add unique texture and flavor dimensions.
- Embrace Holiday Themes: Cake pops are perfect for seasonal celebrations! For Halloween, use orange or green melts with spooky ghost or pumpkin sprinkles. For Christmas, go with traditional red and green coatings, crushed candy canes, or edible glitter for a festive sparkle. The ability to customize makes them a hit for any occasion!
Storage Solutions and Thoughtful Gifting Ideas
Once your beautiful and delicious easy cake pops are complete, proper storage is key to ensuring they remain fresh and delightful for as long as possible. Store them in an airtight container at room temperature for up to 2-3 days. For extended freshness, they can be kept in the refrigerator for up to a week. If you’re planning ahead or making a large batch, cake pops also freeze beautifully for up to a month. Just be sure to thaw them in the refrigerator overnight before serving to maintain their texture and flavor.
These charming treats also make fantastic gifts or memorable party favors! To package them, individually wrap each cake pop in small cellophane bags, securing it with a festive ribbon. You can add a personalized tag with a sweet message or your event details. Their convenient, portable nature and visually appealing presentation make them a universally loved favor for birthdays, baby showers, holiday gatherings, bridal showers, or as a thoughtful homemade thank-you gift. They are guaranteed to bring smiles wherever they go!
Frequently Asked Questions About Easy Cake Pops
- Can I use homemade cake instead of a boxed mix?
- Absolutely! While this recipe highlights the ease of using a boxed mix, you can certainly use any homemade cake. The key is to crumble it while it’s still warm and then proceed with the stand mixer step to achieve that perfectly cohesive, frosting-free dough texture. You might need to adjust the mixing time slightly depending on the cake’s moisture content.
- My cake balls are crumbling and won’t hold together. What could be the problem?
- This is a common issue that typically arises if the cake wasn’t warm enough when it was initially mixed, or if it wasn’t mixed for a sufficient duration to allow the steam to fully bind the crumbs. Ensure you transfer the hot cake directly from the oven to the mixer. If you’re past that stage and your dough is too dry, you can try adding a tiny bit of melted butter (1-2 teaspoons) or a tablespoon of milk to the crumbled cake and mixing again until it achieves the desired consistency. As a last resort, a small amount of frosting can be added, though this recipe aims to avoid it.
- Why is my chocolate coating cracking or breaking after it sets?
- Cracking chocolate often occurs due to a sudden temperature shock. This happens if the cake ball is too cold when dipped into warm chocolate. While chilling is important, ensuring your cake balls aren’t frozen solid and that your chocolate isn’t excessively hot can help. Additionally, a thinner chocolate coating tends to be more flexible and less prone to cracking than a very thick one.
- How can I prevent my cake pops from falling off the stick during or after dipping?
- The pre-dip of the lollipop stick into melted chocolate is crucial and acts as your “glue.” Ensure this chocolate on the stick is fully set and hardened before you proceed to dip the entire cake pop. Also, make sure your cake balls are rolled very tightly and are adequately chilled. A firm, cold cake ball provides a much better anchor for the stick.
- Can I re-melt any leftover chocolate candy melts for later use?
- Yes, you can absolutely gently re-melt leftover candy melts. Store any unused, hardened chocolate in an airtight container at room temperature. When ready to use again, re-melt slowly and carefully, either in the microwave or over a double boiler, ensuring not to overheat it, which can cause it to seize or become grainy.
Love this Easy Cake Pop Recipe? Pin it to Pinterest here!
Easy Cake Pops
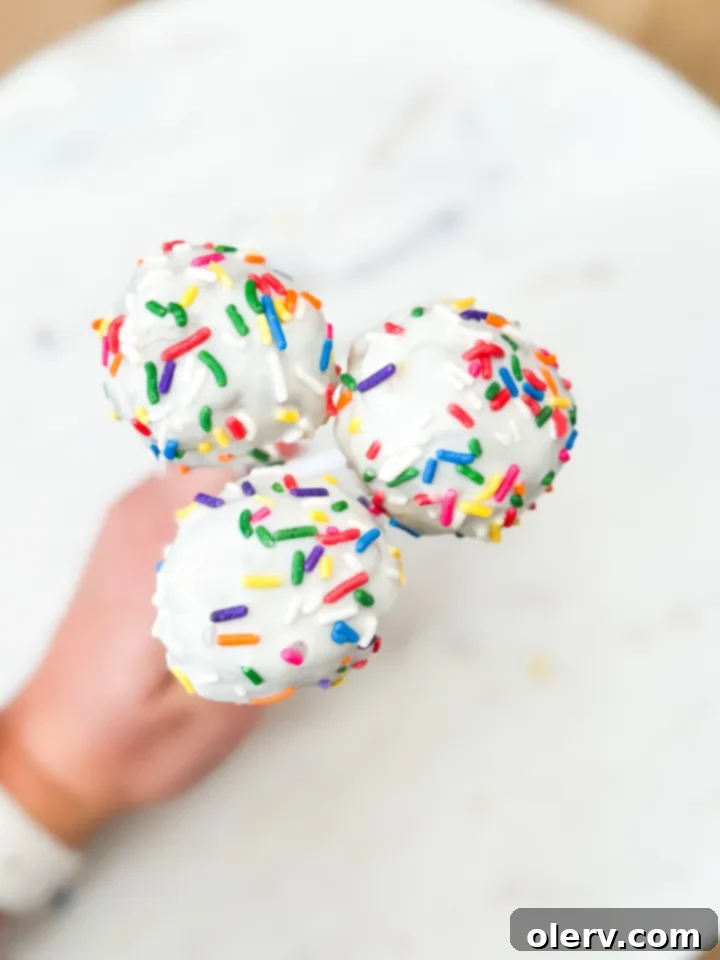
These easy cake pops are the most delightful little treats! They’re made with cake mixed without any additional frosting, rolled into little balls, and coated with chocolate—yum! This recipe simplifies the process for perfect homemade cake pops every time.
30 minutes
30 minutes
1 hour
Ingredients
- 1 box funfetti cake mix + ingredients on the back (e.g., eggs, oil, water)
- 12 oz white chocolate candy melts
- 24 lollipop sticks
- Rainbow sprinkles
Instructions
- Prepare and bake the cake mix according to the boxed directions, ensuring the cake is fully cooked.
- Immediately after taking the cake out of the oven, pour the entire hot cake into the bowl of a stand mixer. Using the paddle attachment, mix at low speed for 2-3 minutes until a cohesive dough forms that can be easily pressed into a ball. Do not let the cake cool.
- Portion out the dough and roll firmly into smooth, tight balls, aiming for uniform size.
- Place the cake balls on a parchment-lined cookie sheet and chill in the freezer for 15-20 minutes (or refrigerator for 30-60 minutes) while you melt the chocolate.
- Once the chocolate is melted and smooth, remove the chilled cake balls from the freezer. Keep the chocolate warm for dipping.
- Dip each lollipop stick about half an inch into the melted chocolate, then press it firmly into the center of each cake ball. Allow the chocolate on the sticks to set completely before proceeding (this acts as glue).
- Once the chocolate on the sticks is set, dip each cake pop one by one into the melted chocolate, fully submerging it. Gently tap and twirl the stick against the edge of the bowl to remove any excess chocolate for a smooth coat. Immediately add sprinkles if desired, while the chocolate is still wet.
- Allow the chocolate to set completely. To do this, stand the cake pops upright by poking the sticks into a Styrofoam block or a cardboard box with pre-made holes. Setting can take 15-30 minutes at room temperature, or 5-10 minutes in the refrigerator.
- Serve your delightful cake pops as is, or package them individually in bags with ribbon for gifting. Enjoy your homemade treats!
