Decadent Molten Chocolate Lava Cakes: Your Easy Guide to Gooey Perfection (Oven & Instant Pot)
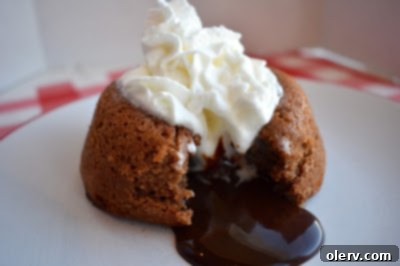
Indulge in the ultimate chocolate fantasy with these incredibly decadent **Molten Chocolate Lava Cakes**. Designed for a small batch of four, these individual desserts are surprisingly easy to make and can be ready to serve in less than 30 minutes, making them the perfect last-minute treat for a romantic dinner or a small gathering. What truly sets these lava cakes apart is their signature gooey, molten chocolate center that bursts forth with every spoonful – a truly captivating culinary experience.
Whether you’re a seasoned baker or a beginner, this recipe provides clear, simple instructions for crafting these restaurant-quality desserts right in your own kitchen. You can elevate these beauties with an array of toppings. My personal favorites include a generous scoop of creamy vanilla ice cream, a drizzle of rich chocolate sauce, or simply a delicate dusting of powdered sugar. Get ready to impress your taste buds and loved ones with these unbelievably rich and satisfying homemade molten chocolate lava cakes!
The Sweet Origin Story: Where This Molten Chocolate Lava Cake Recipe Began
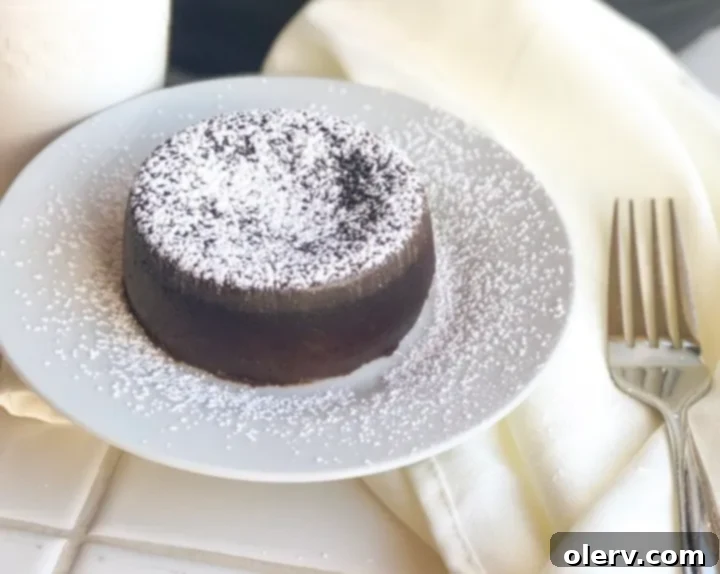
My journey to perfecting the **Molten Chocolate Lava Cake** started unexpectedly in a cooking class at Orson Gygi. Before then, these elegant desserts felt intimidating, reserved only for high-end restaurants. However, that class demystified the process, revealing just how accessible and fun they are to make at home. Ever since, crafting these luscious lava cakes has become a cherished culinary pastime. The secret? They are far simpler than they appear, requiring minimal ingredients and straightforward steps. I’ve refined the original technique and am thrilled to share both oven and Instant Pot baking instructions below, ensuring you can enjoy this decadent treat regardless of your preferred cooking method.
Unlocking Convenience: Molten Lava Cake in the Instant Pot!
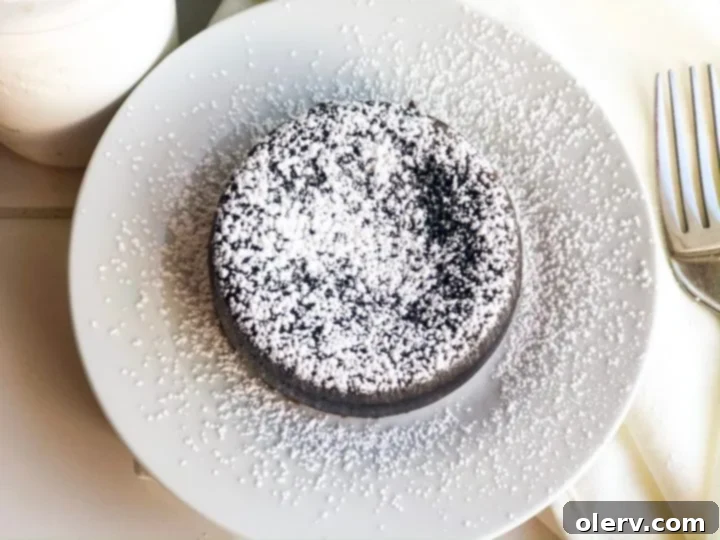
It might sound unconventional to bake a delicate dessert like a lava cake in an Instant Pot, but trust me, it’s a game-changer! In fact, the Instant Pot has become my absolute favorite method for preparing these cakes. The primary benefit is not having to turn on your oven, which is especially wonderful during warmer months or when you just want to conserve energy. All you need are your trusty ramekins, your Instant Pot, the trivet that typically comes with your appliance, and of course, all the delicious ingredients. The result is consistently moist, fudgy, and absolutely delicious molten lava cakes, with minimal effort and cleanup. This method truly simplifies the process without compromising on that coveted molten center.
Precision in Baking: The Importance of a Food Scale
While this **molten chocolate lava cake recipe** is designed to be user-friendly, precision in baking, especially with chocolate, can make all the difference. The recipe specifically calls for chocolate to be measured by weight in ounces. For consistent and perfect results every time, I highly recommend investing in a good quality food scale if you don’t already own one. A food scale ensures accuracy that volumetric measurements sometimes lack, particularly with ingredients like chocolate that can vary greatly in density depending on their form (chips, chunks, bars).
Although you can attempt a conversion – approximately 8 tablespoons of chocolate equals 4 ounces – this is not as precise as weighing it directly. Slight inaccuracies in chocolate measurement can alter the texture and molten quality of your cakes. A food scale is a small investment that will elevate your baking game, not just for lava cakes but for countless other recipes where exact measurements are key to success. It eliminates guesswork and helps you achieve that ideal balance of flavors and textures.
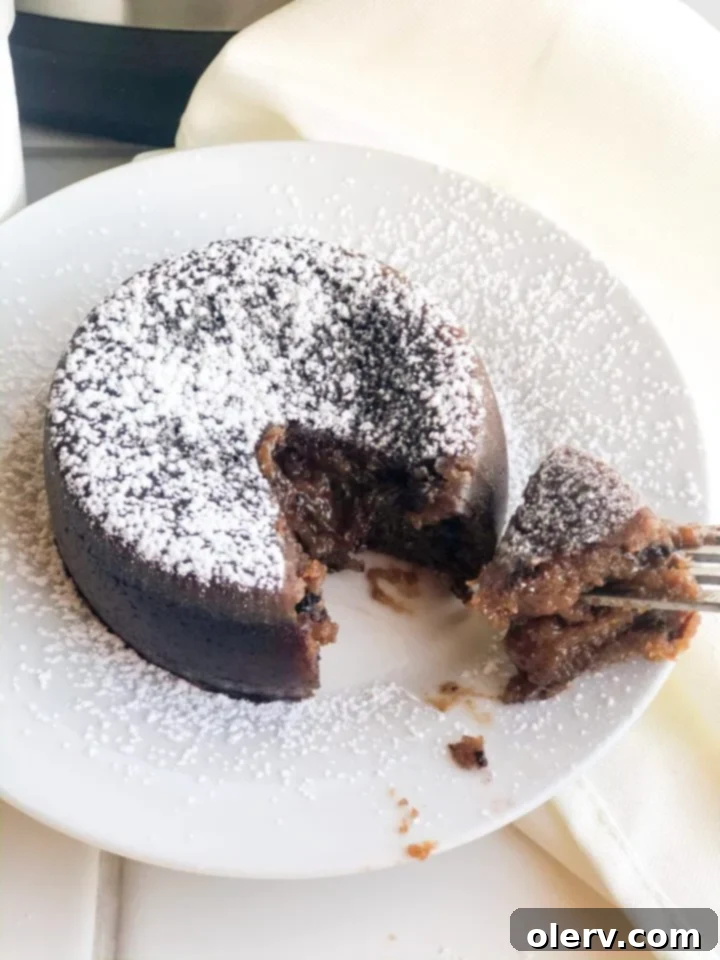
Expert Tips for Crafting Your Perfect Molten Chocolate Lava Cakes
To ensure your **homemade molten chocolate lava cakes** turn out perfectly every single time, here are a few essential tips that will guide you through the process, from preparation to serving:
- Grease, Grease, and Grease the Ramekins: This step cannot be overstated. Generously greasing your ramekins with butter and then dusting them with cocoa powder (for chocolate cakes) or flour (for lighter cakes) creates a non-stick barrier. This is crucial for the lava cakes to invert cleanly onto plates, preserving their beautiful shape and preventing any frustration. Don’t be shy with the grease – it’s your best friend for a flawless release!
- Mindful Microwaving of Chocolate: When melting butter and chocolate in the microwave, less is more. Start by heating for just 1 minute. After this initial burst, remove and stir thoroughly, even if it doesn’t look fully melted. The residual heat will continue to melt the chocolate. Overheating chocolate in the microwave can cause it to seize, burn, and become grainy or unusable, affecting the entire texture and flavor of your cakes. Patience and gentle stirring are key.
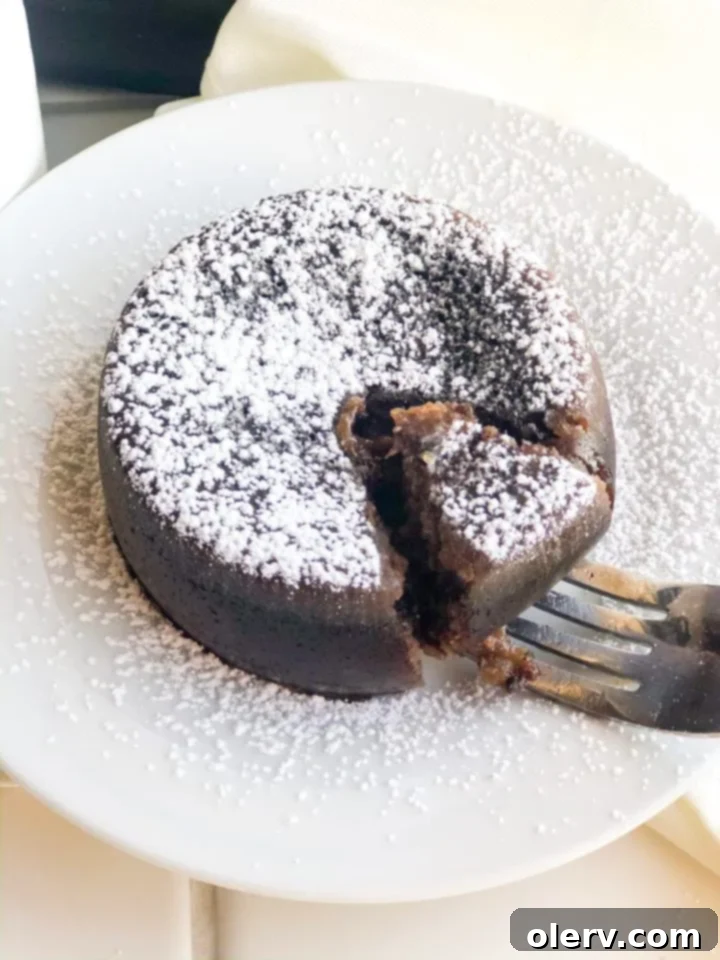
- Understanding the “Soft Center” Phenomenon: When your lava cakes finish cooking, their centers will look and feel soft, possibly even slightly jiggly. This is not a sign of being undercooked; rather, it’s exactly what you want! This soft, delicate center is what creates the iconic molten “lava” effect when you break into the cake. The edges should be set and pulling away from the ramekin, but the middle should remain wonderfully gooey and creamy. Trust the process!
- Perfect Pairings for a Balanced Flavor: The rich, intense chocolate flavor of these lava cakes is undeniably delicious, but it can be quite intense. To balance this richness and enhance the overall experience, serve them with a cool, contrasting topping. Freshly whipped cream adds an airy lightness, while a scoop of vanilla bean ice cream provides a delightful creamy contrast and a refreshing chill. Other great options include fresh berries (raspberries or strawberries offer a tart counterpoint) or a light fruit coulis.
- Embrace Chocolate Variety: The original recipe calls for a blend of bittersweet and semi-sweet chocolate chips for a complex flavor profile. However, feel free to experiment with your favorite types of chocolate! I’ve successfully used double milk chocolate chips, resulting in a sweeter, milder lava cake that was equally delicious. Dark chocolate lovers might opt for a higher percentage cacao. The key is to use good quality chocolate that you enjoy eating on its own, as its flavor will be central to your dessert. Don’t be afraid to personalize this aspect to suit your palate.
With these tips in mind, you’re well-equipped to create stunning and utterly delicious **molten chocolate lava cakes** that will undoubtedly become a favorite. Now, let’s stop talking and get straight to the exciting part – the cooking!
Molten Chocolate Lava Cake Recipe
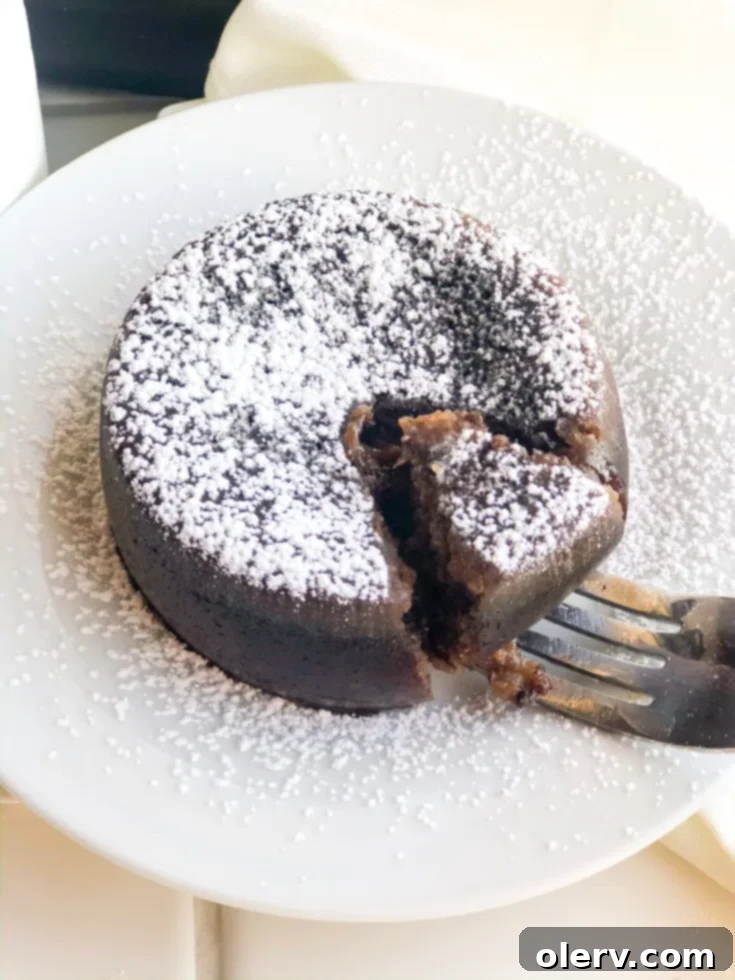
Molten Chocolate Lava Cake, often called “lava cake,” is a small individual chocolate cake with a gooey, liquid chocolate center. This recipe yields the best, most decadent small cakes perfect for any occasion!
5 minutes
15 minutes
20 minutes
Ingredients for Decadent Lava Cakes
- 1/2 cup butter
- 2 oz semisweet baking chocolate
- 2 oz bittersweet chocolate
- 1 1/4 cups powdered sugar
- 2 whole eggs
- 3 egg yolks
- 1 teaspoon vanilla extract
- 1/2 cup all-purpose flour
Step-by-Step Instructions
For the Cake Batter:
- Grease four ramekin cups generously with baking spray, then dust with cocoa powder or flour to prevent sticking. This ensures easy release.
- In a microwave-safe bowl, combine butter and chocolate. Microwave on high for 1 minute. Remove and stir until the chocolate is completely melted and smooth. Be careful not to overheat the chocolate, as it can burn easily.
- Stir in the powdered sugar until it is well blended into the chocolate mixture and no lumps remain. Ensure a smooth consistency.
- Whisk in the whole eggs and then the egg yolks one at a time until fully incorporated. Finally, add the vanilla extract and whisk until just combined.
- Gently fold in the flour until just combined. Avoid overmixing, as this can lead to a tough cake.
- Evenly divide the mixture between the four prepared ramekin cups.
For the Oven Method:
- Place the filled ramekins on a baking sheet. Bake in a preheated oven at 425°F (220°C) for 13-15 minutes, or until the edges are set and the center is still soft and slightly jiggly. This soft center is key to the “lava” effect.
- Let the cakes stand for a few minutes to set slightly. While still warm, carefully invert each cake onto individual dessert plates.
- Serve immediately with a dollop of whipping cream, a scoop of vanilla ice cream, or a dusting of powdered sugar for an unforgettable dessert experience!
For the Instant Pot Method:
- Place the trivet that came with your Instant Pot into the inner pot, and add 1 cup of water.
- Carefully place your filled ramekins onto the trivet. Depending on their size, you might fit 3 on the bottom and stack one on top if needed.
- Secure the lid, set the vent to sealing, and cook on MANUAL- HIGH PRESSURE for 15 minutes.
- Once cooking is complete, perform a quick release of the pressure valve.
- Carefully remove the ramekins from the Instant Pot. Let them cool for a few minutes, then invert onto a plate. Top with your favorite accompaniments like ice cream, powdered sugar, or fresh berries, and enjoy!
Chef’s Notes & Troubleshooting
If the batter doesn’t seem cooked enough in either method, simply place the cake back in the oven or the Instant Pot for an additional 1-2 minutes. Keep a close eye on it!
The cakes should be firm to the touch around the edges, pulling slightly away from the ramekin, but lightly soft and jiggly in the very center. This soft center is what creates the iconic molten “lava” effect – do not overbake!
The oven method typically creates a slightly more “cake-like” molten lava cake, with a firmer exterior. The Instant Pot method, due to the steaming environment, tends to produce a more “moist and fudgy” lava cake. Both are incredibly delicious, so choose the method that best suits your preference or kitchen setup.
For an extra touch of indulgence, try adding a small square of your favorite chocolate bar to the center of each ramekin before baking – it will melt into an even richer, more intense lava core!
