Homemade Coconut Syrup: Easy Tropical Sweetness for Your Breakfast & Beyond
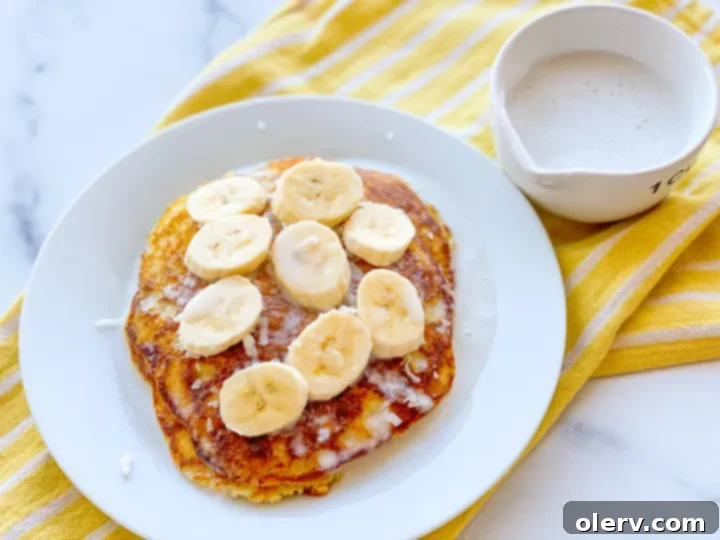
Bring the enchanting taste of a tropical paradise right into your own kitchen with this incredibly easy homemade Coconut Syrup! This delightful recipe demystifies making your own luscious syrup, requiring only a few simple ingredients and a quick 10-minute simmer on the stove. It’s an effortless way to elevate your everyday breakfast into an exotic culinary escape. Imagine drizzling this golden, creamy goodness over your favorite fluffy pancakes, crispy waffles, or rich French toast—you’re in for an absolute treat!
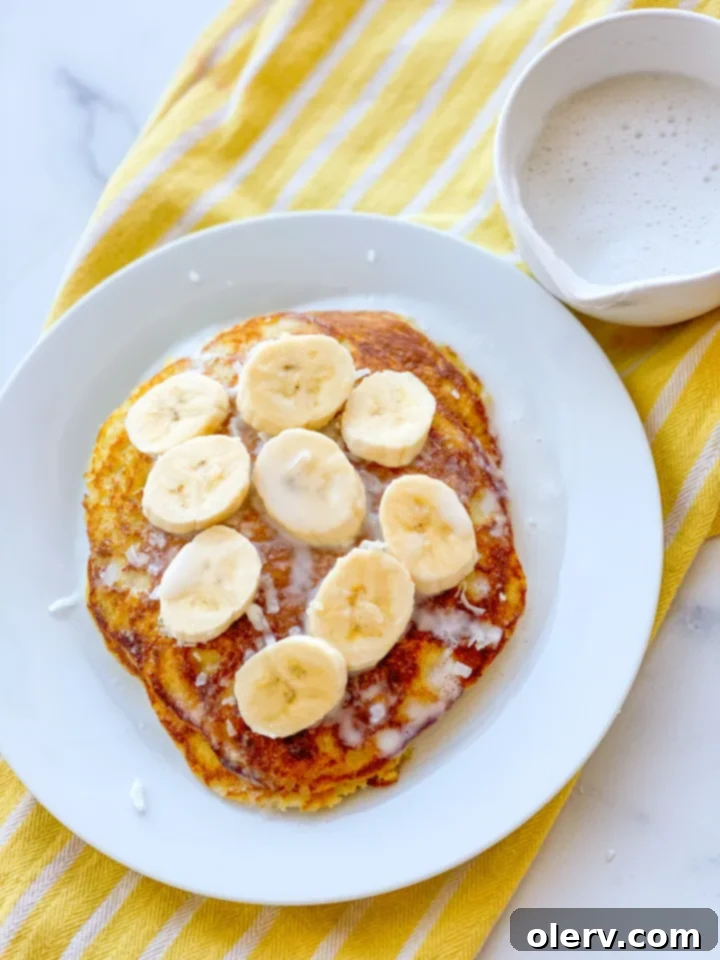
To truly embrace the full Hawaiian flavor experience, take your breakfast a step further. Garnish your coconut syrup-drenched delights with slices of ripe banana, a sprinkle of lightly toasted shredded coconut for added texture, and a handful of crunchy macadamia nuts. This combination doesn’t just complement the syrup; it creates a symphony of flavors and textures that will transport you straight to the islands. Ready to embark on this delicious journey? Let’s make it together!
Why Choose Homemade Coconut Syrup?
While store shelves offer various syrups, making your own coconut syrup at home comes with an array of benefits that truly set it apart. The most significant advantage is the superior, authentic flavor. Commercial syrups often rely on artificial flavors and excessive sweeteners, but our homemade version celebrates the pure, rich essence of coconut. You’ll taste the difference immediately – a creamy, naturally sweet, and incredibly aromatic syrup that feels genuinely tropical.
Beyond taste, you gain complete control over the ingredients. This means no unpronounceable additives, no artificial colors, and the ability to adjust sweetness to your personal preference. It’s a healthier, fresher alternative that you can feel good about serving to your family and friends. Furthermore, this recipe is surprisingly cost-effective, turning simple pantry staples into a gourmet topping. The quick preparation time means you can whip up a batch whenever a craving strikes, making it a convenient and rewarding addition to your recipe repertoire. It’s more than just a syrup; it’s a small slice of paradise, made with love in your kitchen.
What You’ll Need to Make Homemade Coconut Syrup: Understanding the Ingredients
This simple yet sensational coconut syrup relies on a small but mighty collection of ingredients, each contributing to its perfect flavor and texture. Here’s a detailed look at what you’ll need and the role each component plays:
- 13 ounces Coconut Milk: The heart and soul of our syrup. Opt for full-fat canned coconut milk, not the refrigerated beverage type. The higher fat content provides a richer, creamier texture and a much more intense, authentic coconut flavor. Make sure it’s unsweetened, as we’ll be adding our own sugar for precise sweetness control. Stir well before measuring, as the cream often separates to the top.
- 2 Tablespoons Cornstarch: This is our secret to achieving that luscious, thick, and pourable syrup consistency. Cornstarch acts as a thickening agent, preventing the syrup from being watery and allowing it to cling beautifully to your breakfast foods. It’s crucial to whisk it thoroughly into the *cold* coconut milk to avoid lumps before applying any heat.
- 1 cup White Sugar: Provides the essential sweetness and contributes to the syrup’s clear, glossy appearance. While white granulated sugar is standard, you can experiment with light brown sugar for a subtle caramel note, though it will alter the color. Adjust the amount to your personal taste, but remember the coconut milk itself adds a touch of natural sweetness.
- 1/2 teaspoon Salt: Don’t skip this! A pinch of salt doesn’t make the syrup taste salty; instead, it acts as a flavor enhancer. It brightens and balances the sweetness, making the coconut flavor pop and preventing the syrup from being cloyingly sweet.
- 2 Tablespoons Corn Syrup: This ingredient plays a vital role in preventing sugar crystallization, ensuring your homemade coconut syrup remains smooth and liquid even after cooling and storing. It also adds a desirable sheen and body to the syrup. If you prefer to avoid corn syrup, a small amount of liquid sweetener like honey or maple syrup can be a substitute, but be aware the texture might vary slightly, and crystallization could be a minor risk.
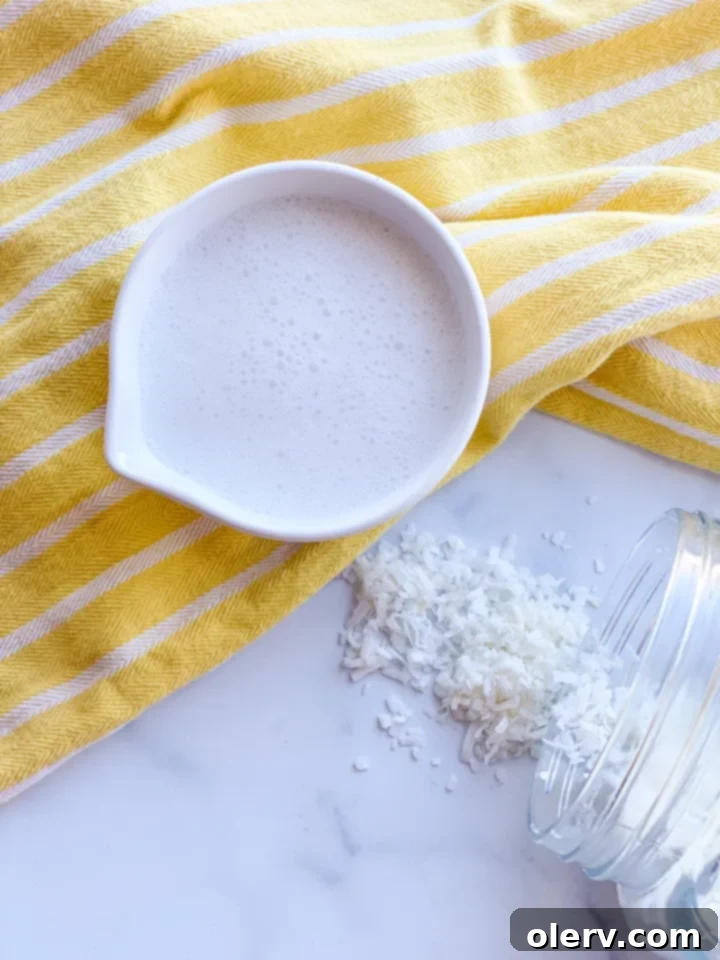
- 1 teaspoon Coconut Extract: To truly amplify the tropical aroma and robust coconut flavor. While coconut milk provides a great foundation, a touch of extract guarantees that vibrant, unmistakable coconut essence shines through. It’s like a concentrated boost of island flavor.
Mastering Your Homemade Coconut Syrup: Tips for Success
Making this homemade coconut syrup is quite simple, but a few expert tips will ensure your batch is flawlessly smooth, glossy, and perfectly delicious every single time. Pay attention to these details for the best possible results:
Preparing the Base for Perfection
- Whisk Cornstarch into Cold Milk: This is arguably the most critical step to avoid lumpy syrup. Always whisk the cornstarch thoroughly into the coconut milk when the milk is still cold and *before* turning on the heat. This allows the cornstarch granules to dissolve evenly, ensuring a silky-smooth syrup. Adding cornstarch to hot liquid will cause it to clump instantly.
- Choose the Right Pan: A heavy-bottomed saucepan or a non-stick pan is ideal. This prevents the syrup from scorching on the bottom and distributes heat more evenly, which is crucial for consistent thickening.
Cooking for Optimal Texture
- Maintain Medium Heat: Resist the temptation to crank up the heat to speed things along. Medium heat allows the cornstarch to activate gradually and the sugar to dissolve without burning, leading to a perfectly thickened syrup. High heat can cause the sugar to caramelize too quickly or burn the cornstarch.
- Stir Continuously: Once the heat is on, stir the mixture very frequently, or even constantly, especially as it begins to warm and thicken. This ensures the heat is evenly distributed, prevents sticking and scorching, and helps you monitor the consistency. Use a whisk for the best results to keep lumps at bay.
- Recognize the Right Thickness: The syrup will visibly thicken as it cooks. It won’t be as thick as maple syrup while it’s hot, but it should coat the back of a spoon. Remember, it will continue to thicken significantly as it cools. If it seems a little thinner than expected when hot, don’t worry – trust that it will reach its perfect consistency once it cools to room temperature.
Adding the Finishing Touches
- Incorporate Extract Off Heat: Always add the coconut extract *after* you remove the syrup from the heat. The delicate flavor compounds in extracts can evaporate when exposed to high temperatures, diminishing their potency and the overall flavor of your syrup.
- Cool Completely for Final Consistency: Patience is a virtue here! While tempting, avoid serving the syrup immediately. Allowing it to cool completely to room temperature will let it achieve its final, desired thick and glossy consistency.
Troubleshooting Common Issues
- Syrup Too Thin? If, after cooling, your syrup is thinner than you’d like, return it to the saucepan. Reheat it gently over medium-low heat, stirring constantly, for a few more minutes until it reaches your desired thickness. Be careful not to overheat.
- Syrup Too Thick? If your syrup becomes too thick after cooling, simply whisk in a tablespoon or two of warm water or additional coconut milk until it loosens up to your preferred consistency. Add gradually to avoid making it too thin.
- Sugar Crystallization? The corn syrup in the recipe is designed to prevent this. However, if you notice any sugar crystals forming, gently reheat the syrup over very low heat, stirring until the crystals dissolve. Then, allow it to cool completely again.
What to Serve Homemade Coconut Syrup On: Endless Possibilities
This luscious homemade coconut syrup is incredibly versatile and pairs beautifully with a wide variety of breakfast items and desserts. Its rich, tropical flavor can instantly elevate any dish, making it feel like a special treat straight from the islands.
- Banana Bread French Toast: This is my absolute favorite pairing! The warm, spiced, and sweet notes of banana bread French toast are perfectly complemented by the creamy, exotic sweetness of the coconut syrup. The flavors meld together for an incredibly indulgent and unforgettable breakfast or brunch experience.
- Sourdough Pancakes: The subtle tang and unbelievably fluffy texture of sourdough pancakes provide an excellent base for this sweet syrup. The delicate coconut flavor enhances the depth of the sourdough, creating a harmonious and utterly delicious combination. These overnight sourdough pancakes are already a family favorite, and topping them with coconut syrup truly takes them to the next level.
- Sourdough Waffles: Crispy on the outside, wonderfully fluffy within, and perfectly golden brown! Sourdough waffles are an ideal vehicle for this rich syrup. Their characteristic nooks and crannies are perfect for capturing every drop of the sweet coconut goodness, ensuring each bite is packed with flavor. You’ll find yourself wanting to make these delightful waffles again and again, especially when drizzled with this tropical topping!
- Classic Pancakes & Waffles: Don’t limit yourself to sourdough! This syrup is phenomenal on any classic buttermilk or whole wheat pancake and waffle recipe, instantly transforming a simple morning meal into something special and exotic.
- Any French Toast: Whether it’s challah, brioche, or a simple Texas toast style, any variety of French toast will benefit immensely from a generous drizzle of this homemade coconut syrup.
- Oatmeal & Hot Cereals: Stir a spoonful or two into your morning bowl of oatmeal, cream of wheat, or other hot cereals for a comforting and wonderfully flavorful start to your day. It’s an easy way to add natural sweetness and a delightful tropical twist.
- Yogurt & Fruit Parfaits: Layer this syrup with Greek yogurt, your favorite granola, and a medley of fresh tropical fruits like mango, pineapple, passion fruit, or berries for a refreshing and healthy breakfast or a light, satisfying snack.
- Ice Cream Topping: Elevate a scoop of vanilla bean ice cream, coconut ice cream, or even a sorbet with a luxurious drizzle of this syrup for a simple yet elegant dessert.
- Tropical Fruit Salad: Toss fresh-cut tropical fruits such as papaya, kiwi, lychee, and star fruit with a bit of this syrup for an extra layer of sweetness and a cohesive flavor profile that really pops.
- Baked Goods Glaze: Use it as a simple yet flavorful glaze for plain muffins, quick breads (like banana bread or zucchini bread), or a light pound cake to impart a subtle and alluring coconut essence.
- Coffee & Tea Sweetener: A small amount stirred into your morning coffee or a hot cup of tea can offer a delightful tropical twist, especially in iced beverages.
The possibilities are truly endless! Essentially, any breakfast item or dessert that typically calls for syrup can be wonderfully enhanced by the unique and delightful flavor of this homemade coconut syrup. Don’t be afraid to experiment and discover your new favorite ways to enjoy this tropical delight!
Storing Your Homemade Coconut Syrup
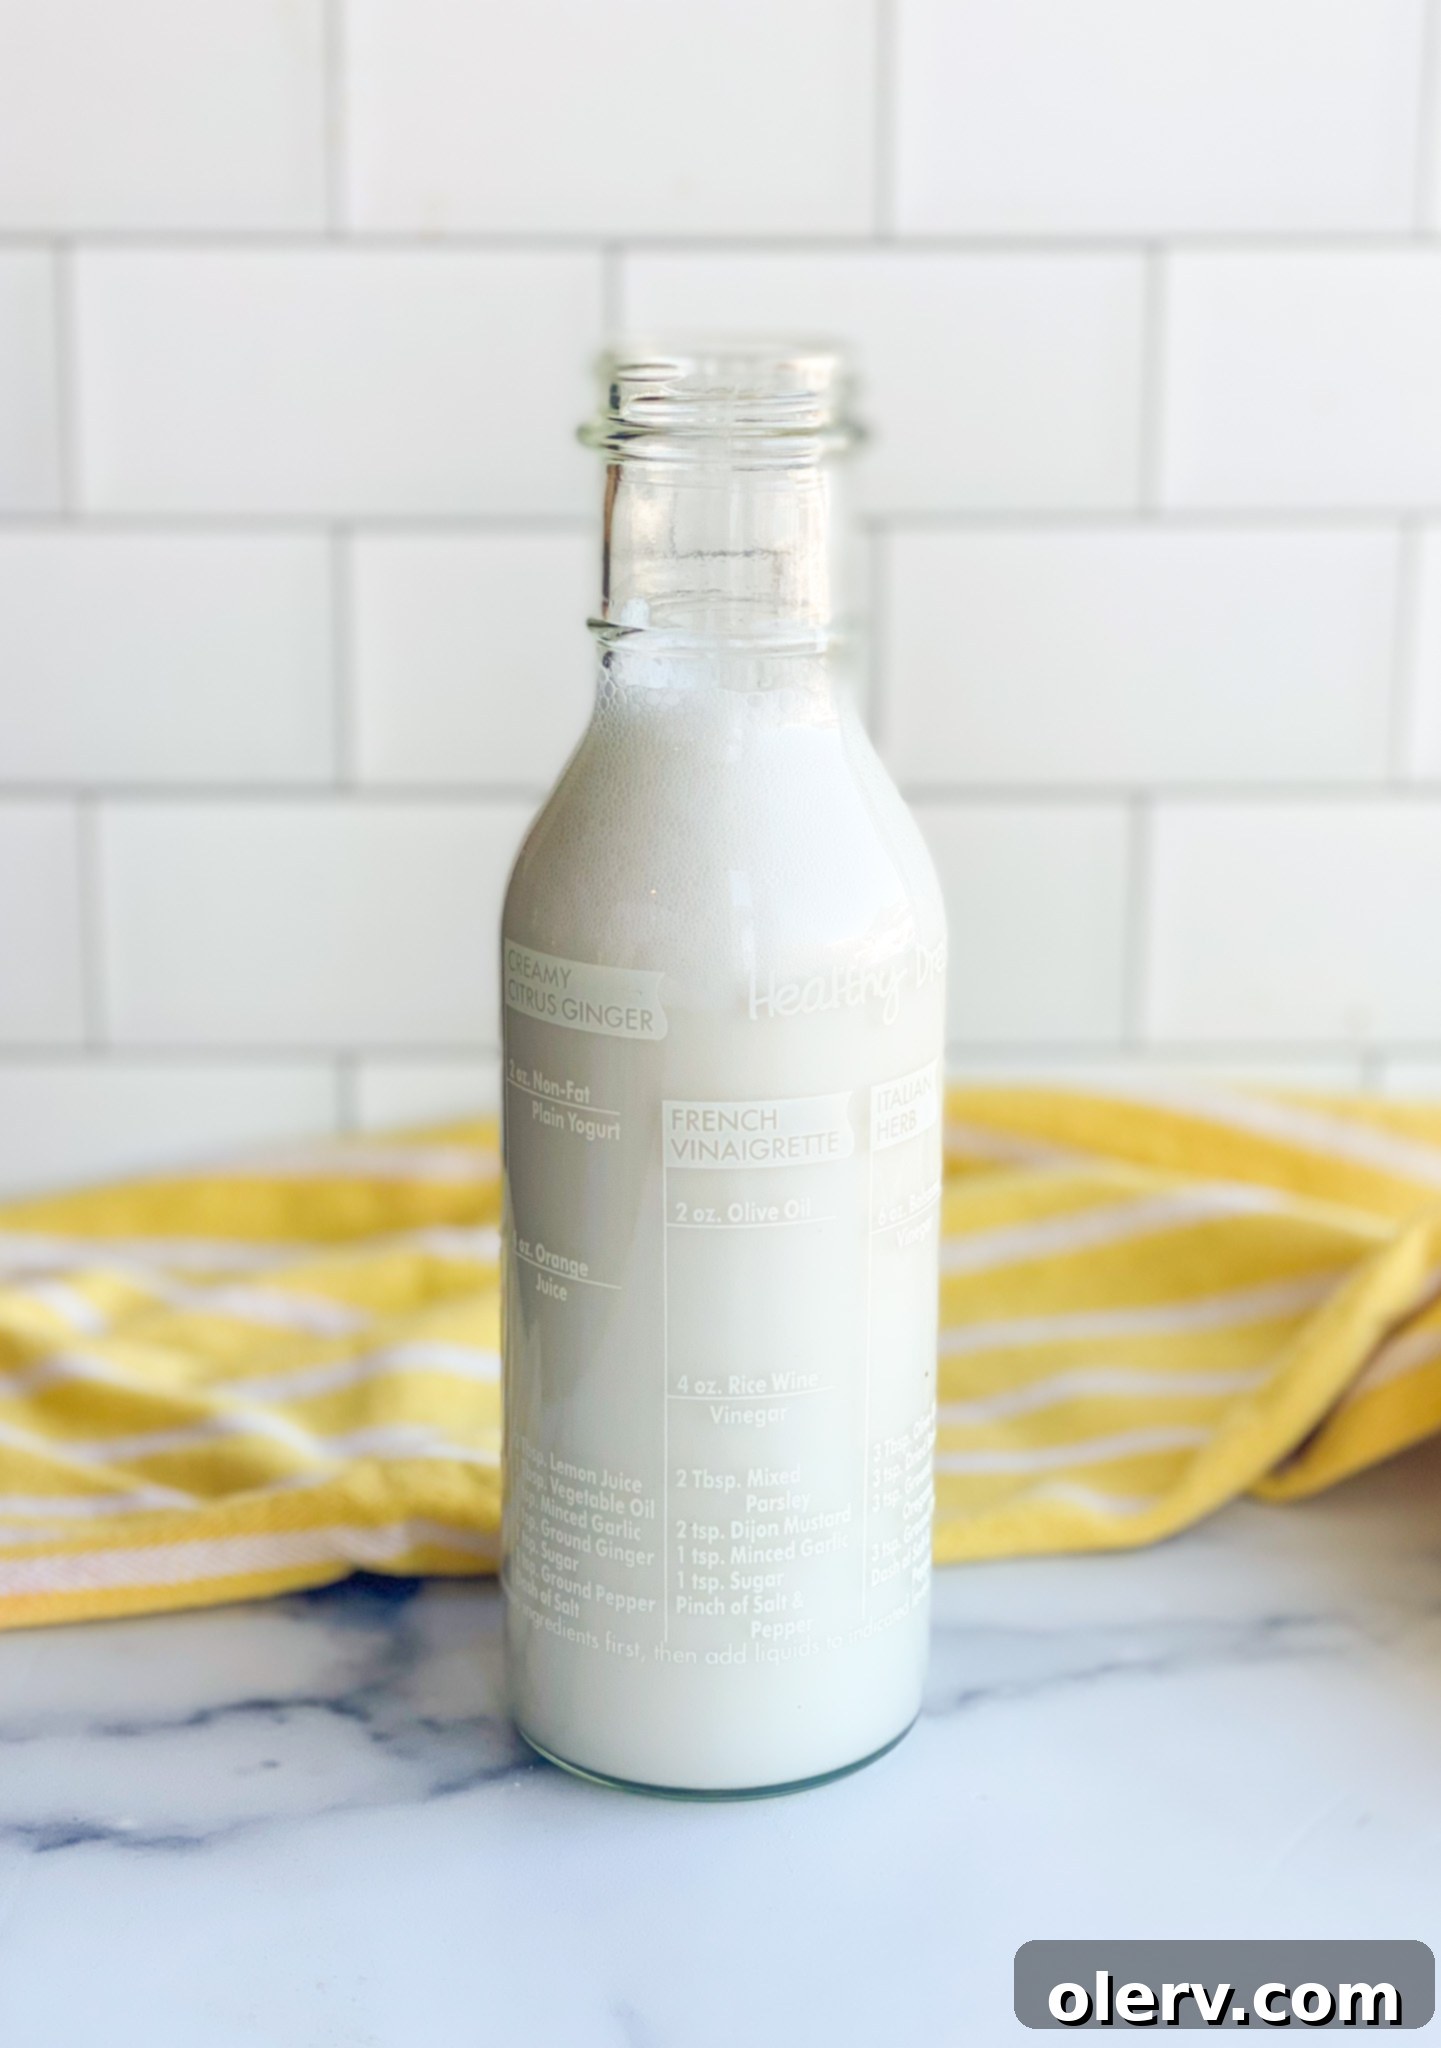
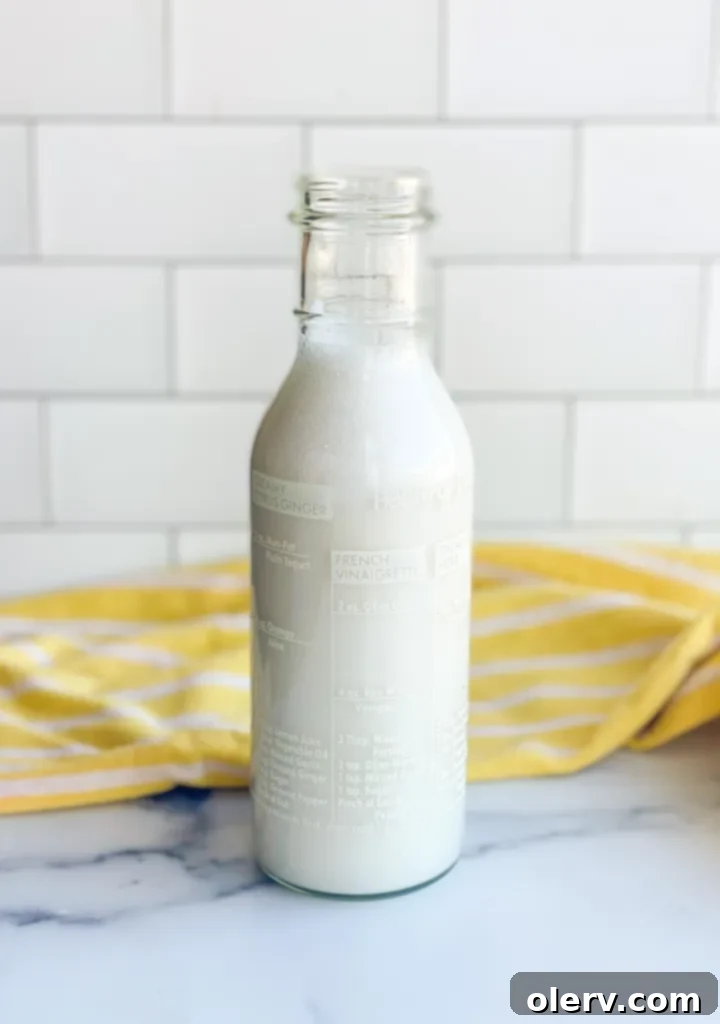
Once your delicious homemade coconut syrup has cooled completely to room temperature, transfer it to a clean, airtight container or a glass jar with a tight-fitting lid. Store it in the refrigerator. Properly stored, this coconut syrup will maintain its freshness and delightful flavor for up to 2-3 weeks. Always check for any signs of spoilage, such as an off smell, discoloration, or mold, before consuming. While it’s best enjoyed fresh, for longer storage, you can even freeze it in a freezer-safe container for up to 3 months. Thaw it in the refrigerator overnight before use, and gently reheat it on the stove or in the microwave if you prefer a warm syrup.
Love This Recipe? Pin It to Pinterest for Later!
Ready to infuse a little bit of island magic into your home? This homemade coconut syrup is an effortlessly delicious way to do just that. With its simple ingredients, quick preparation time, and incredible versatility, it’s bound to become a beloved staple in your kitchen. Whether you’re generously drizzling it over a stack of fluffy morning pancakes, enriching your favorite desserts, or simply adding a tropical twist to your coffee, the rich, sweet, and exotic flavor of this syrup is truly irresistible. Don’t just make breakfast; create an experience that feels like a mini-vacation with every bite!
If you give this amazing homemade coconut syrup recipe a try, please don’t hesitate to let me know your thoughts! Your feedback truly makes my day. Leave a comment below, rate the recipe with stars to share your experience, or snap a gorgeous photo of your tropical creation and tag it with @TheAlexDaynes on Instagram! I absolutely love seeing what delicious dishes you’ve been cooking up in your kitchen. Happy cooking!
Coconut Syrup
A taste of the island made easy and homemade!
10 minutes
10 minutes
Ingredients
- 13 ounces coconut milk
- 2 Tablespoons cornstarch
- 1 cup white sugar
- 1/2 teaspoon salt
- 2 Tablespoons corn syrup
- 1 teaspoon coconut extract
Instructions
- Open the can of coconut milk. Pour into a small saucepan with the heat turned off. Add the cornstarch and whisk thoroughly until completely smooth.
- Turn the heat to medium once the cornstarch is completely incorporated. Add the sugar, salt, and corn syrup to the saucepan.
- Stir very frequently over medium heat, using a whisk, until the liquid starts to thicken and coats the back of a spoon (about 5-8 minutes).
- Remove the saucepan from the heat and stir in the coconut extract. The syrup will continue to thicken to its ideal consistency as it cools. Serve warm with your favorite pancakes or waffles, or allow to cool completely before storing.
