Lunch Lady Peanut Butter Bars: The Ultimate Guide to a Classic Crowd-Pleasing Dessert

Prepare to embark on a nostalgic journey with the most irresistible treat you’ll ever bake: the classic Lunch Lady Peanut Butter Bars! These aren’t just any peanut butter bars; they’re a timeless dessert crafted with love, featuring a robust, buttery peanut butter crust, a luscious layer of creamy peanut butter spread while warm, and generously crowned with a rich, velvety chocolate frosting. Each bite promises a symphony of flavors and textures that will transport you straight back to your school days, or perhaps create new cherished memories. Incredibly simple to make, these bars are so undeniably good, they’re guaranteed to become your new go-to recipe for any occasion. Let’s dive in and bake up some pure peanut butter bliss!

The Irresistible Allure of Lunch Lady Peanut Butter Bars
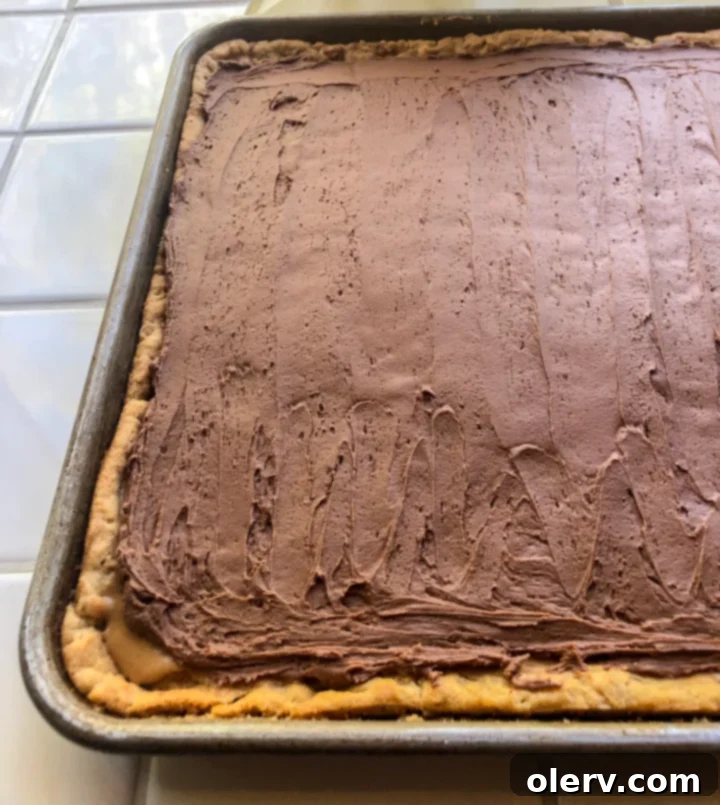
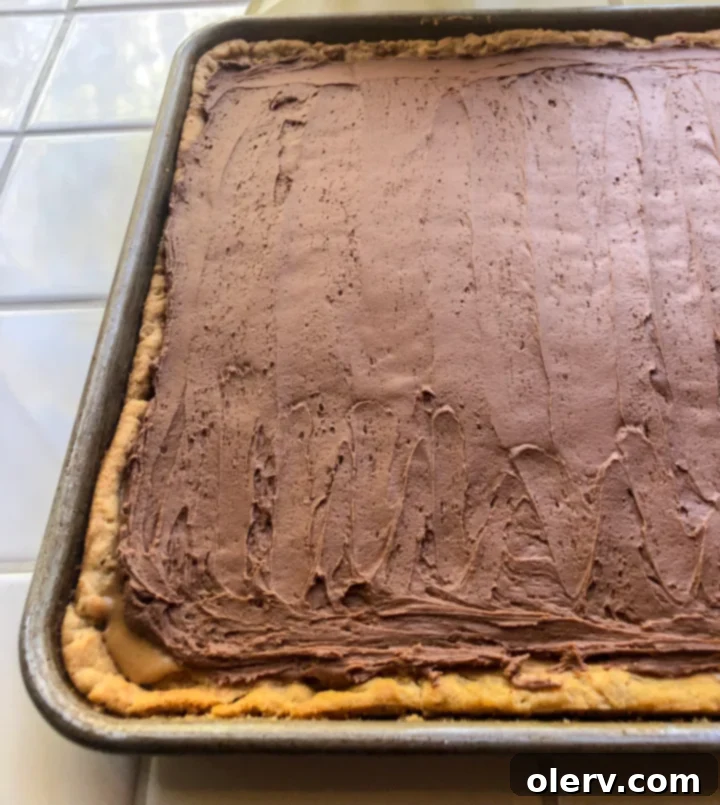
There’s a reason these delightful treats are affectionately known as “Lunch Lady” Peanut Butter Bars. They evoke that comforting, homemade goodness reminiscent of cafeteria classics, but elevated to pure perfection. What makes them so special? It’s the harmonious combination of a substantial, chewy peanut butter base, which gets a delightful boost from rolled oats, creating a unique texture. This foundational layer is then immediately topped with a smooth, warm layer of pure peanut butter, melting into the crust to create an even richer, more intense flavor profile. Finally, a thick, dreamy blanket of chocolate frosting completes this masterpiece, striking the perfect balance between sweet, salty, and utterly decadent.
The beauty of this recipe lies not just in its incredible taste, but also in its generous yield. These Peanut Butter Bars fill an entire half-sheet baking pan, providing up to 50 sizable servings. This means you’ll have plenty to go around, whether you’re sharing them with family, friends, or simply ensuring you have enough for yourself to enjoy throughout the week (we won’t judge!). The sheer volume is a testament to their popularity – once you taste one, you’ll understand why having so many is a very, very good thing!

Perfect for Entertaining a Crowd
When it comes to feeding a hungry crowd, whether at a lively party, a community event, or a cozy family gathering, these Lunch Lady Peanut Butter Bars are an absolute lifesaver. Their impressive yield makes them an ideal choice for any occasion where you need a dessert that’s both substantial and universally loved. Forget the stress of baking multiple small desserts; one batch of these bars goes a long, long way!
I can’t count how many times this recipe has come to my rescue. It’s my absolute go-to for potlucks, church functions, school events, or even as a thoughtful treat to bring to a sick neighbor or a new mom. The simple ingredient list and straightforward preparation mean you can whip up this impressive dessert without spending hours in the kitchen. Plus, they transport beautifully, making them a practical choice for sharing. The combination of peanut butter and chocolate is a timeless favorite, appealing to almost everyone, ensuring your contribution will be a guaranteed hit and leave everyone asking for the recipe!
The ease of preparation combined with the “wow” factor of a truly delicious, substantial dessert makes these bars an invaluable addition to any host’s repertoire. They require minimal fuss but deliver maximum flavor and satisfaction, truly embodying the spirit of effortless entertaining.

Baking Tips for Perfect Lunch Lady Peanut Butter Bars
Achieving the perfect Lunch Lady Peanut Butter Bar is easier than you think, especially with a few key tips:
- Quality Ingredients: While this recipe is forgiving, using good quality butter, creamy peanut butter (avoiding natural varieties with oil separation for best texture), and fresh eggs will make a noticeable difference in the final taste and consistency.
- Proper Mixing: When creaming the sugars, peanut butter, and butter for the crust, ensure it’s light and fluffy. This incorporates air and contributes to a tender crust. Don’t overmix once the dry ingredients are added; mix just until combined to prevent a tough texture.
- Even Spreading: The crust can be a bit thick, so take your time to spread it evenly into the greased half-sheet baking pan. A spatula or the back of a spoon can help, and slightly dampening your hands can prevent sticking. An even crust ensures uniform baking.
- Hot Crust, Creamy Peanut Butter: The step of spreading extra creamy peanut butter over the hot crust is crucial. The residual heat from the baked crust helps the peanut butter soften and melt slightly, creating that wonderful, integrated second layer that defines these bars.
- Patience with Cooling: Resist the urge to frost the bars before they are completely cool. A warm crust will melt the chocolate frosting, resulting in a messy (though still delicious) bar. Cooling completely allows the layers to set properly, ensuring clean cuts and a beautiful finish.
- Frosting Consistency: If your chocolate frosting seems too thick, add milk a tiny bit at a time (half a teaspoon) until it reaches a smooth, spreadable consistency. If it’s too thin, a little more powdered sugar can help.
- Cutting Cleanly: Once frosted and fully set (you can chill them for 30 minutes to an hour to speed this up), use a sharp, warm knife to cut the bars. Wiping the knife clean between cuts will give you the neatest edges.
Serving and Storage Suggestions
These peanut butter bars are delightful served at room temperature, making them excellent for gatherings where refrigeration might be limited. For an extra special treat, consider serving them slightly chilled, which firms up the chocolate frosting beautifully. They pair wonderfully with a cold glass of milk, a hot cup of coffee, or as a decadent topping for vanilla ice cream.
Storage: Store the bars in an airtight container at room temperature for up to 3-4 days. If you want them to last longer, or if your kitchen is particularly warm, you can refriger refrigerate them for up to a week. For longer storage, these bars freeze exceptionally well! Cut them into individual portions, wrap each tightly in plastic wrap, and then place them in a freezer-safe bag or container. They can be frozen for up to 2-3 months. Thaw at room temperature for an hour or two before serving.
Other Crowd-Pleasing Recipes
My blog is dedicated to sharing recipes that bring joy to many, and I have a true passion for entertaining and feeding large groups. Crafting dishes that are both delicious and manageable for a crowd is one of my specialties! If you love the idea of simple, impactful recipes like these Peanut Butter Bars, you’ll be thrilled with some of my other tried-and-true favorites. I’ve curated a list of additional recipes below that are perfect for feeding a large gathering, ensuring your next event is a culinary success:
- Loaded S’more Brownies: An irresistible twist on classic brownies, packed with all the campfire flavors.
- Magnolia Bakery Peanut Butter Banana Pudding: A rich, creamy, and decadent pudding that’s surprisingly easy to make.
- Brownies for a Crowd: Another large-batch classic that’s perfect for any chocolate lover.
- Famous Caramel Popcorn: A sweet and crunchy snack that disappears fast at any party.

Pin This Recipe for Later!
Don’t let this incredible recipe get lost in the shuffle! If you love the sound of these classic Lunch Lady Peanut Butter Bars and want to save it for your next baking adventure, be sure to pin it to your favorite Pinterest board. It’s the perfect way to keep this crowd-pleasing dessert handy for parties, potlucks, or just a special homemade treat.
Pin this recipe to Pinterest here!

Lunch Lady Peanut Butter Bars

The most irresistible Lunch Lady Peanut Butter Bars! Made with a thick layer of peanut butter crust, a layer of creamy peanut butter, and topped with delicious chocolate frosting!
10 minutes
12 minutes
1 hour
1 hour 22 minutes
Ingredients (for the Peanut Butter Crust)
- 3/4 cup sugar
- 3/4 cup brown sugar
- 3/4 cup creamy peanut butter
- 3/4 cup butter
- 2 eggs
- 1 1/2 cup flour
- 1 1/2 cup oatmeal
- 1/2 teaspoon salt
- 1/2 teaspoon vanilla
- 3/4 teaspoon baking soda
- 1 1/2 cup peanut butter, melted (for the peanut butter layer)
For the Chocolate Frosting
- 3 cups powdered sugar
- 1/4 cup cocoa powder
- 1/2 cup melted butter
- 1/4 cup milk
- 1 teaspoon salt
- 1 teaspoon vanilla extract
Instructions
Prepare the Crust
- Preheat oven to 350°F (175°C).
- In a large mixing bowl, cream together the granulated sugar, brown sugar, 3/4 cup creamy peanut butter, and 3/4 cup butter until light and fluffy.
- Next, beat in the eggs one at a time, ensuring each is fully incorporated before adding the next.
- In a separate bowl, whisk together the dry ingredients: flour, oatmeal, 1/2 teaspoon salt, 1/2 teaspoon vanilla, and baking soda.
- Gradually add the dry ingredients to the wet ingredients. Turn the mixer on low speed and mix until just incorporated, being careful not to overmix.
- Grease a half-sheet baking pan (approximately 13×18 inches). Spread the peanut butter crust dough evenly into the prepared pan. You may find it helpful to use damp hands or a greased spatula to press the dough into place.
- Bake for 10-12 minutes, or until the crust is lightly golden brown around the edges and set in the center.
Peanut Butter Layer
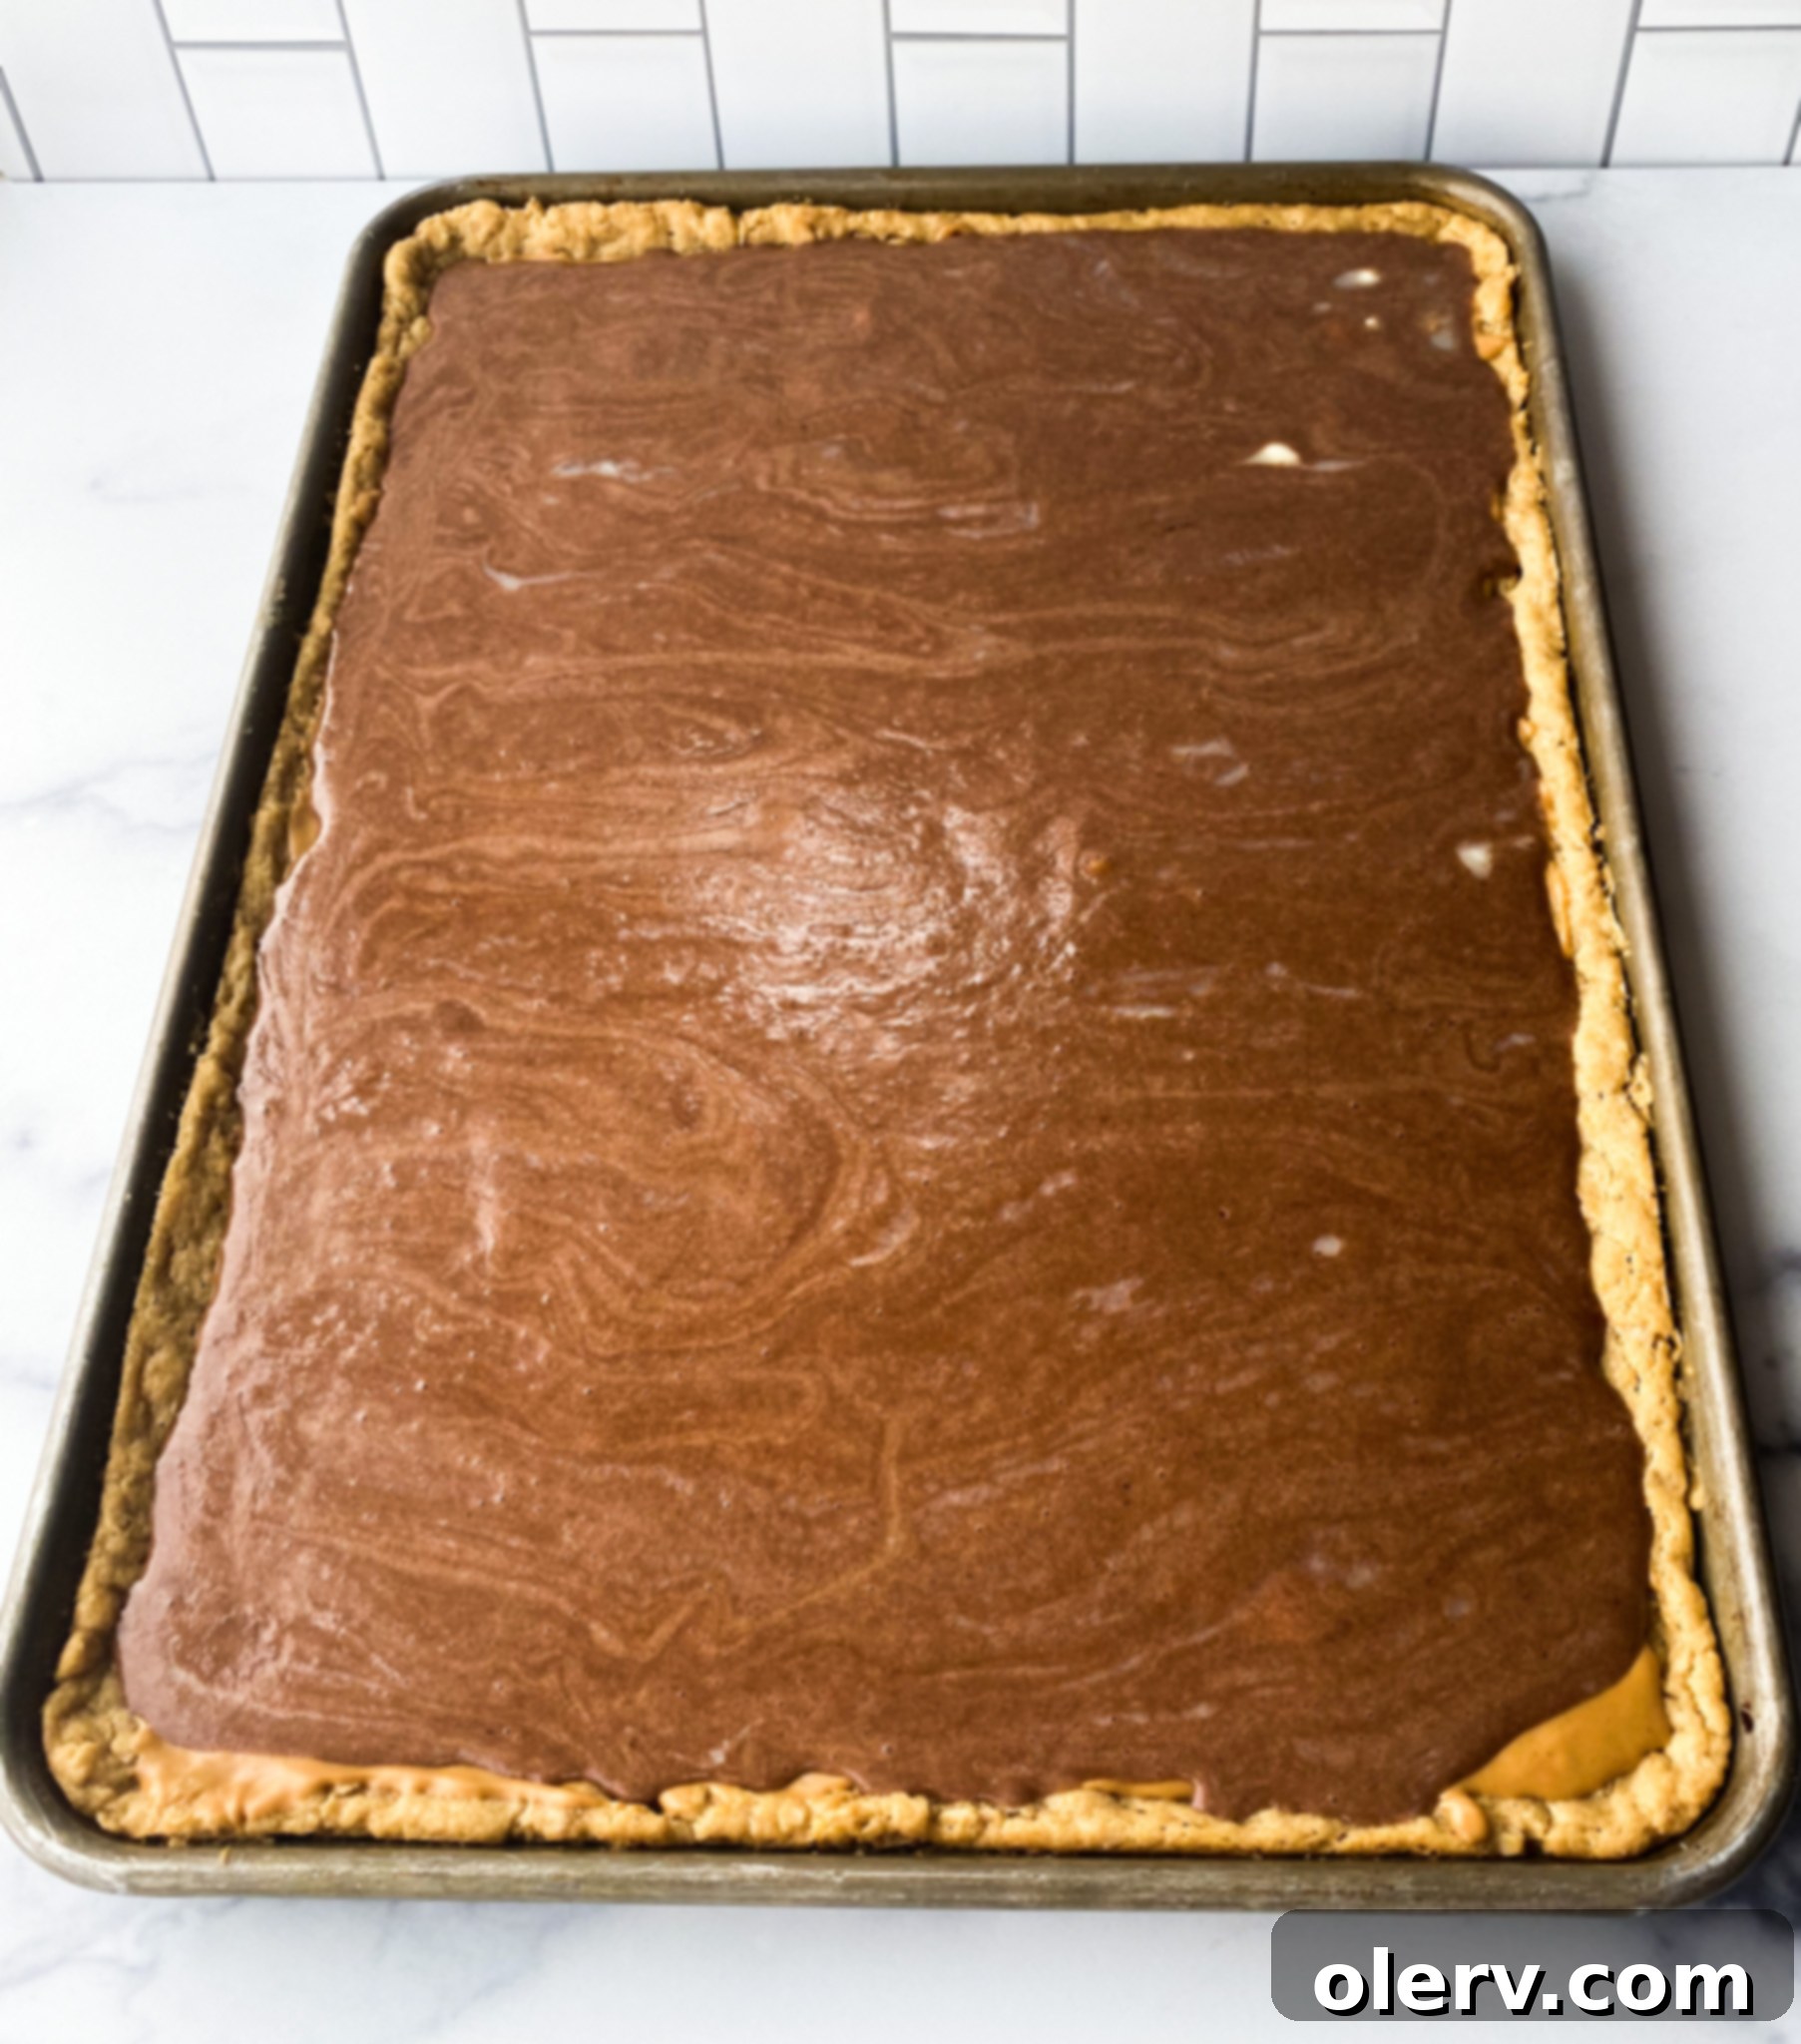
- Immediately after taking the crust out of the oven, while it is still hot, evenly spread the 1 1/2 cups of melted creamy peanut butter over the top of the warm crust. The heat will help it spread smoothly and meld with the crust.
- Allow the crust and peanut butter layer to cool completely to room temperature before adding the chocolate frosting. This is crucial to prevent the frosting from melting.
Chocolate Frosting
- In a stand mixer or with a hand mixer, beat together the 3 cups powdered sugar, 1/4 cup cocoa powder, 1/2 cup melted butter, 1/4 cup milk, 1 teaspoon salt, and 1 teaspoon vanilla extract.
- Beat on high speed for several minutes until the frosting is light, creamy, and smooth. If it’s too thick, add a tiny bit more milk (1/2 teaspoon at a time) until it reaches the desired consistency.
- Once the peanut butter bars are completely cooled, spread the chocolate frosting evenly over the top. For best results, chill the frosted bars in the refrigerator for at least 30 minutes to allow the frosting to set before cutting and serving. Enjoy!
