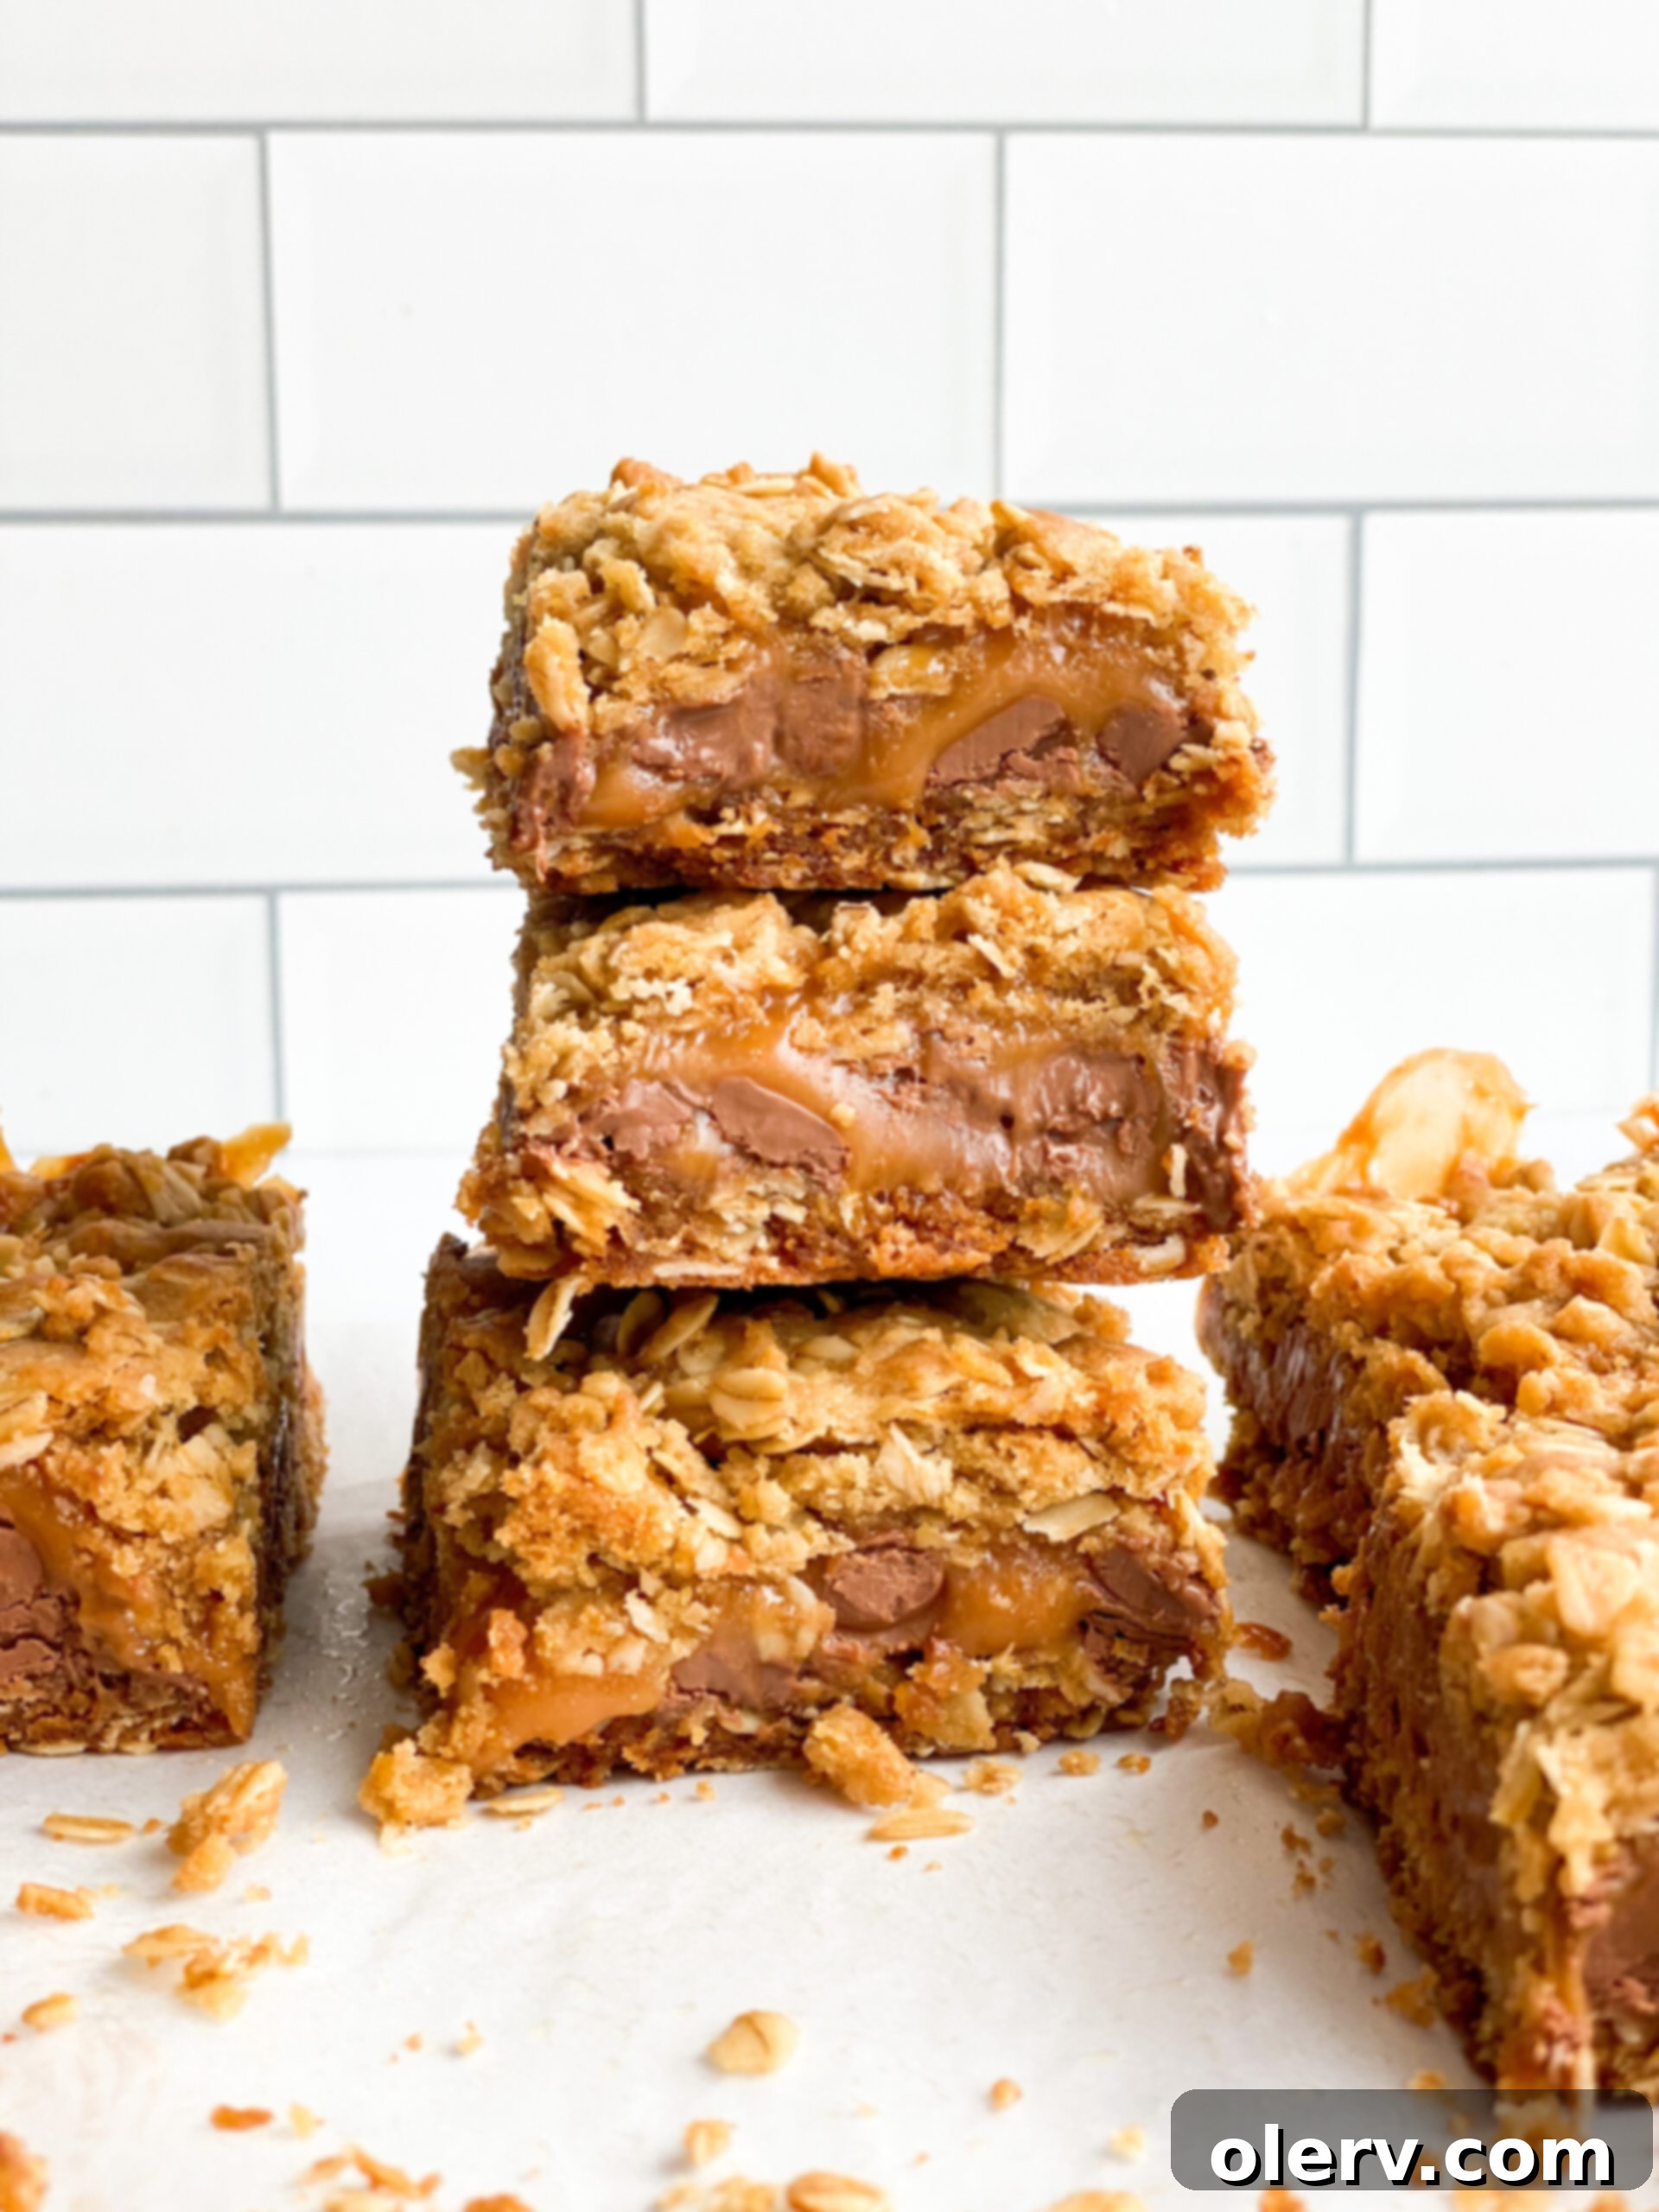
The Ultimate Carmelitas Recipe: Chewy Caramel, Rich Chocolate & Golden Oat Perfection
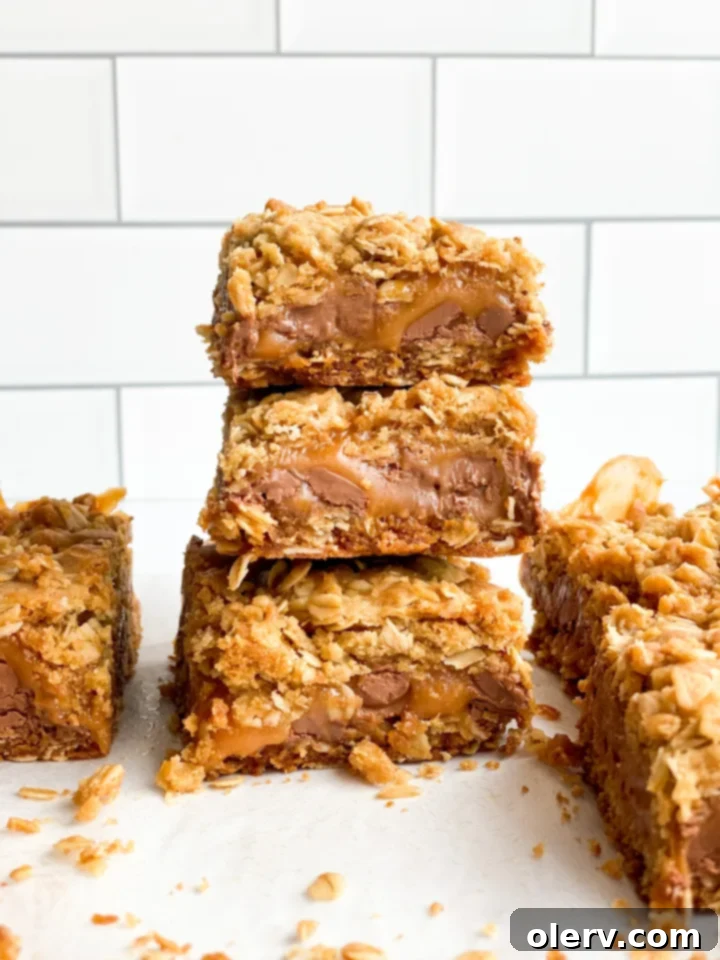
Get ready to discover one of the most delightful and undeniably irresistible bar recipes you’ll ever bake: Carmelitas! These heavenly squares are an absolute favorite, marrying the rich, chewy indulgence of caramel with decadent chocolate, all nestled between a buttery, crumbly oat crust. They are surprisingly simple to prepare, making them a perfect treat for both seasoned bakers and beginners alike. Each bite offers a symphony of textures and flavors – a crisp bottom, a gooey caramel center, melted chocolate chips, and a delightful oat crumble topping. Whether served warm with a scoop of creamy vanilla ice cream or enjoyed chilled as a standalone sweet bar, Carmelitas are a guaranteed crowd-pleaser. Let’s dive into making this truly exceptional dessert!
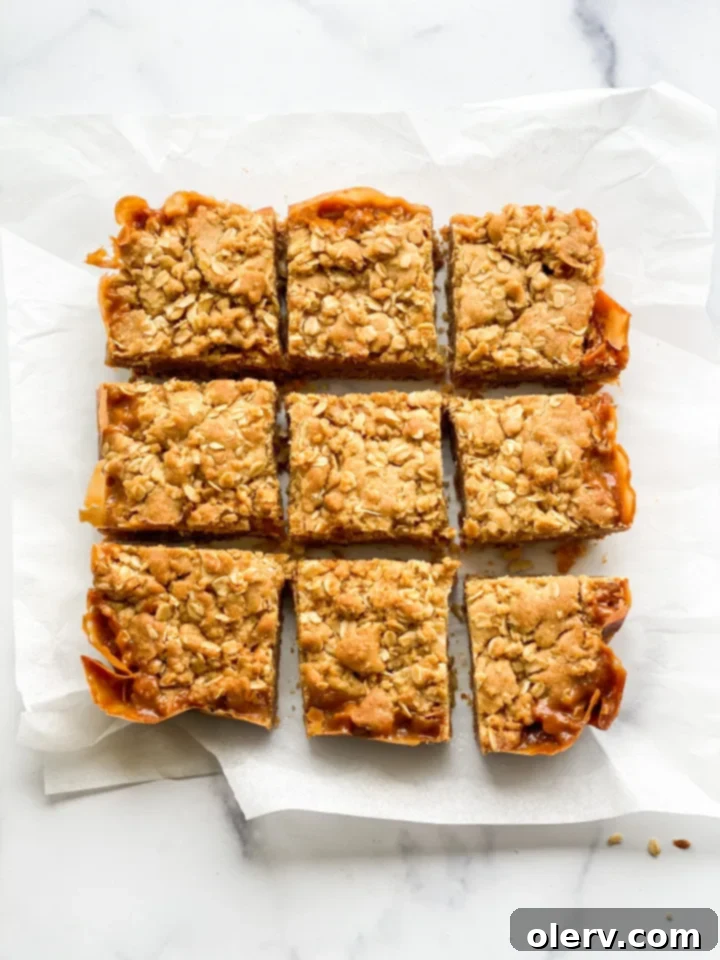
Unveiling the Magic of Carmelitas: A Beloved Dessert Bar
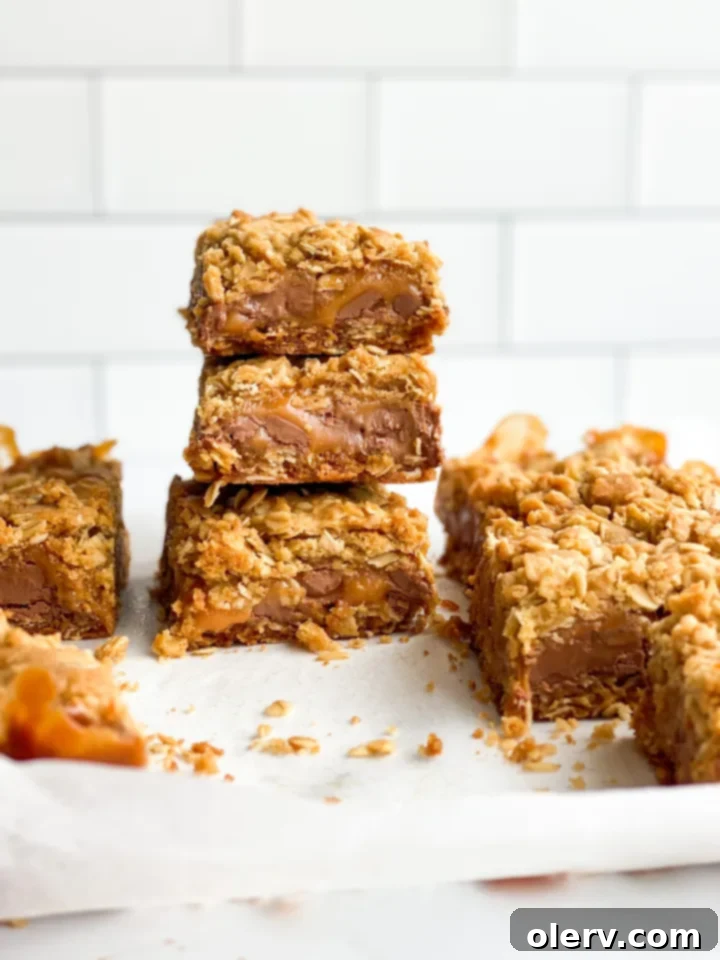
Carmelitas are more than just a dessert; they are an experience. This incredible recipe creates layers of pure bliss. You start with a wonderfully rich and crunchy oat crust that forms the foundation. On top of that, a thick, gooey layer of luscious caramel melts into a pool of golden sweetness, perfectly complemented by a generous layer of semi-sweet chocolate chips. Finally, another sprinkle of that buttery oat mixture creates a delightful crumble top, adding extra texture and flavor. The combination is simply divine, promising an unforgettable bite every single time.
If you’re a fan of the classic pairing of chocolate and caramel, these homemade carmelita bars are about to become your new obsession. The contrasting textures of the crispy oat crust and crumble with the soft, chewy caramel and melty chocolate are what make this dessert truly special. It’s a fantastic recipe to bookmark for holidays, potlucks, or just a cozy night in. Give this recipe a try, and prepare to fall in love with these easy, decadent caramel chocolate oat bars!
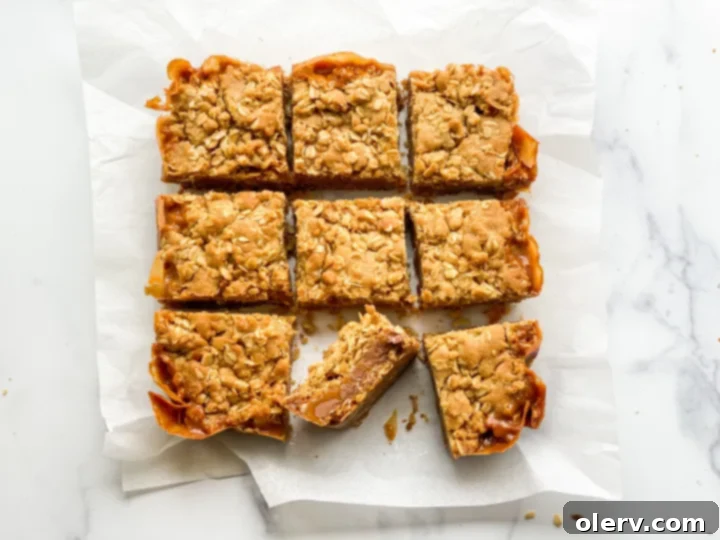
Essential Ingredients for Perfect Carmelitas
Creating these delicious caramel and chocolate oat bars requires a few simple, high-quality ingredients. Each component plays a crucial role in achieving that perfect texture and flavor balance that makes Carmelitas so famous. Here’s a breakdown of what you’ll need to gather before you start baking:
- Salted butter, melted: Butter forms the rich, foundational flavor of our oat crust and crumble. Using salted butter enhances the overall taste, providing a subtle counterpoint to the sweetness of the caramel and chocolate. Make sure it’s melted for easy incorporation into the dough.
- Brown sugar, packed: Packed brown sugar adds a deep, molasses-rich sweetness and essential moisture to the oat mixture, contributing to its chewy texture and golden-brown color when baked.
- Vanilla extract: A staple in most dessert recipes, vanilla extract rounds out the flavors, adding warmth and depth to the oat crust.
- Old fashioned oats: These are key to the signature chewy and slightly crunchy texture of Carmelitas. Unlike quick oats, old-fashioned oats hold their shape better during baking, providing a satisfying bite.
- All-purpose flour: The structural backbone of our crust and crumble, all-purpose flour binds the ingredients together, ensuring a cohesive and sturdy base for the rich fillings.
- Baking soda: A small amount of baking soda helps the oat crust to rise slightly and become tender, contributing to a lighter, less dense texture.
- Salt: Just a pinch of salt balances the sweetness of the other ingredients, enhancing all the flavors in the bar. Even with salted butter, a little extra salt helps to bring out the best in the caramel and chocolate.
- Peters caramel, melted: This is the star of the show! Peter’s caramel is highly recommended for its superior flavor and texture that sets beautifully. It creates that wonderfully chewy, gooey caramel layer that makes Carmelitas so irresistible. We’ll discuss alternatives below if you can’t find this specific brand.
- Chocolate chips: Use your favorite chocolate chips! Semi-sweet is classic, offering a lovely contrast to the sweet caramel, but milk chocolate or dark chocolate chips also work wonderfully depending on your preference.
Can I Use Premade Caramel Sauce for Carmelitas?
This is a common question, and unfortunately, the answer is generally no for most liquid caramel sauces. While delicious on ice cream, typical jarred caramel sauces are formulated to be quite thin and will not set properly in the Carmelitas. If you use a thin caramel sauce, it will likely soak into the oat crust, resulting in a soggy, less defined layer, and won’t give you that signature chewy texture we’re aiming for.
For authentic, irresistible Carmelitas, you need a thicker, more viscous caramel that will hold its shape and chewiness after baking. My absolute favorite for this recipe is Peters caramel. It melts beautifully, has an incredible depth of flavor, and sets perfectly to create that luscious, chewy layer everyone loves. You can often find it at specialty baking stores or online.
However, if Peters caramel isn’t readily available, don’t despair! You can absolutely use individually wrapped caramel squares (like Kraft caramels) as an excellent alternative. Simply unwrap about 11 ounces of these caramels and place them in a microwave-safe bowl. To achieve the right pouring consistency without making it too thin, add approximately 1/3 cup of heavy cream to the caramels before melting. Microwave in short bursts (30-60 seconds) stirring well after each, until smooth and pourable. The heavy cream helps create a rich, flowing caramel that will still set up nicely when cooled, giving you that perfect gooey center.
Remember, the goal is a caramel layer that’s thick enough to create a distinct, chewy texture within the bar, not one that fully absorbs into the oat crust. Choosing the right caramel is crucial for the success of your Carmelitas!
Scaling Up: Can This Carmelita Recipe Be Doubled?
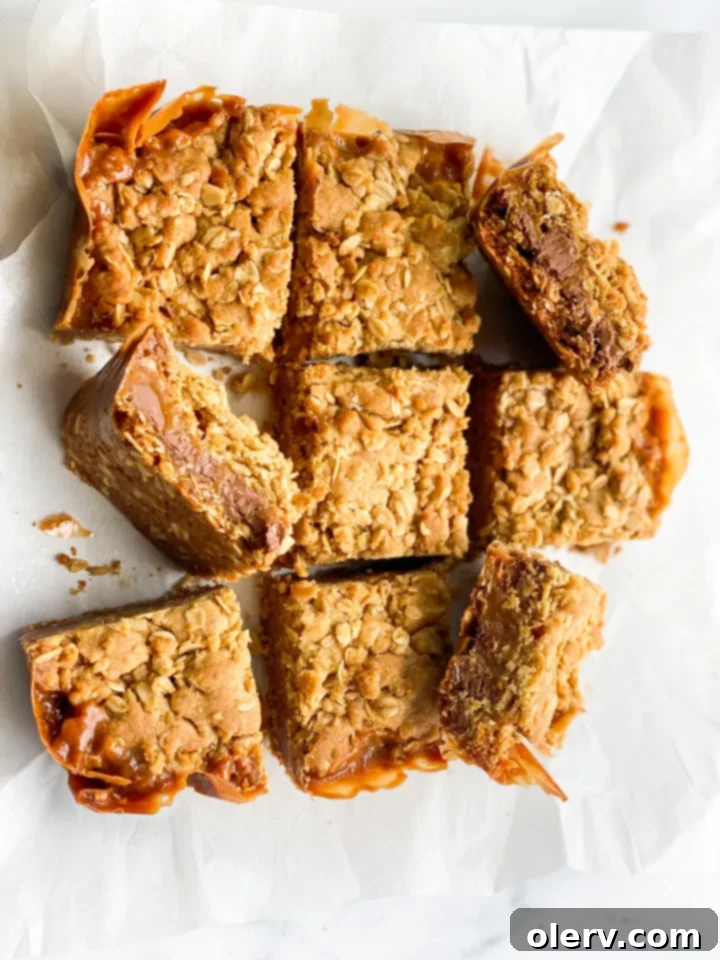
Absolutely! This Carmelita recipe is perfectly adaptable for larger gatherings or when you simply want more of these amazing bars on hand. I frequently double this recipe, especially for parties or holiday events, because they disappear so quickly! Doubling the recipe allows you to bake it in a standard 9×13 inch baking pan, yielding approximately 18-24 bars depending on how you slice them. This is a significant increase from the 8 bars you get from an 8×8 inch pan, making it ideal for sharing or ensuring you have plenty for leftovers (if they last that long!).
When doubling, remember to double all ingredients precisely. The baking time will also need a slight adjustment. While the initial crust bake and final bake times will increase, it won’t necessarily be double. Typically, you might need an additional 5-10 minutes of bake time for the final stage in a 9×13 inch pan to ensure the top crumble is beautifully golden brown and the caramel is bubbling. Always keep an eye on your oven, as baking times can vary. A good indicator is a lightly browned top and a slightly firm, but still gooey, center when gently pressed.
Using a larger pan also means you might want to ensure your parchment paper extends slightly over the edges to create “handles.” This makes lifting the cooled bars out of the pan much easier for slicing, preventing any sticking, especially with the rich caramel layer. Doubling the recipe is a fantastic way to spread the joy of these incredible chocolate caramel oat bars!
Tips for Perfect Carmelitas Every Time
To ensure your Carmelitas turn out perfectly delicious and Instagram-worthy, keep these helpful tips in mind:
- Parchment Paper is Your Best Friend: Seriously, do not skip lining your baking pan with parchment paper. Caramel is notoriously sticky, and parchment paper will make lifting the cooled bars out of the pan and slicing them an absolute breeze. Leave a slight overhang on the sides to use as “handles.”
- Don’t Overbake the Crust: The first bake for the oat crust is just to set it. You want it lightly golden, not deeply browned, as it will bake again with the fillings.
- Melt Caramel Carefully: When melting the caramel, whether it’s Peter’s or caramel squares with cream, do it slowly. Overheating caramel can make it seize or become too hard. Use short bursts in the microwave, stirring frequently, or melt gently over low heat on the stovetop.
- Cool Completely for Clean Slices: This is perhaps the most important tip! As tempting as it is to dig in immediately, Carmelitas need to cool completely – ideally for several hours or even overnight – before slicing. This allows the caramel and chocolate to set properly, ensuring clean, defined bars. If you cut them warm, the caramel will ooze, and the layers will blend messily.
- Serving Temperature: While best when cooled and set for slicing, Carmelitas are absolutely divine when gently warmed before serving. A quick zap in the microwave for 10-15 seconds will soften the caramel and chocolate, making them extra gooey. Serve warm with a scoop of vanilla bean ice cream for an ultimate indulgence, or chilled for a firmer, chewier treat.
Storage and Make-Ahead Instructions
Carmelitas are excellent for making ahead, and they store wonderfully, allowing you to enjoy them for days.
- Storage at Room Temperature: Once completely cooled and sliced, store Carmelitas in an airtight container at room temperature for up to 3-4 days. Layer them between pieces of parchment paper to prevent sticking.
- Refrigeration: For a longer shelf life or if your kitchen is particularly warm, you can store Carmelitas in an airtight container in the refrigerator for up to a week. The caramel will firm up considerably when chilled, resulting in a chewier bar. You can let them come to room temperature or gently warm them before serving if you prefer a softer texture.
- Freezing: Carmelitas freeze beautifully! After cooling and slicing, arrange the bars in a single layer on a baking sheet and freeze until firm (about 1-2 hours). Once firm, transfer them to an airtight freezer-safe container or a heavy-duty freezer bag, layering with parchment paper. They can be frozen for up to 2-3 months. Thaw at room temperature for a few hours or in the refrigerator overnight before serving.
If you give these recipes a try, let me know! Leave a comment, rate it, or snap a photo and tag it with @TheAlexDaynes on Instagram! I love to see what you’ve been cooking. It always makes my day!
LIKE THIS RECIPE AND WANT TO SAVE IT FOR LATER? PIN IT TO PINTEREST HERE!
The Best Carmelitas
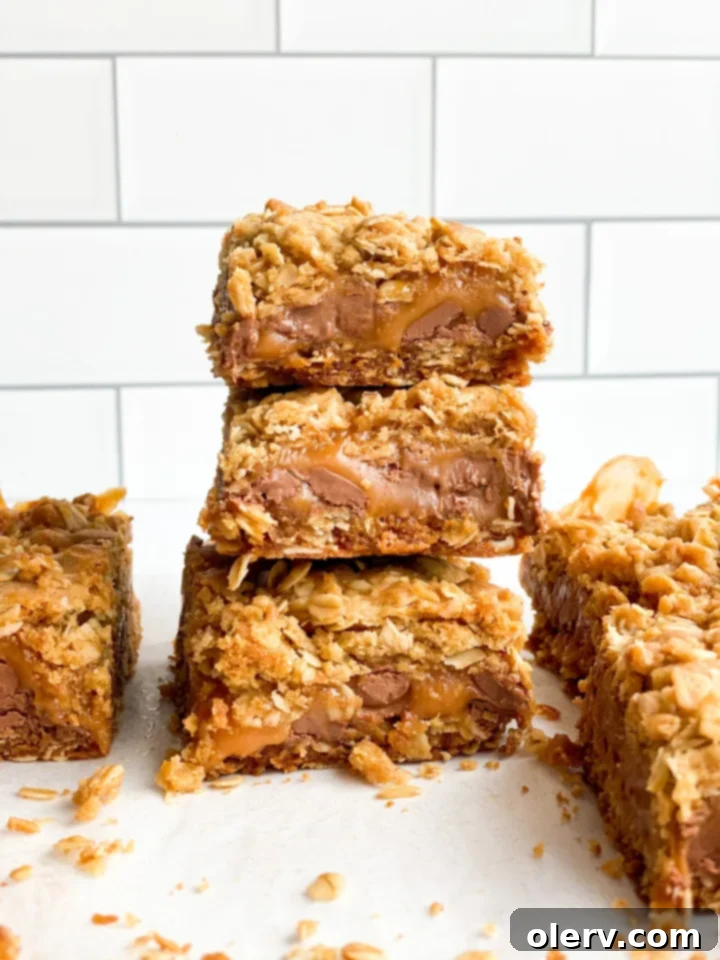
These irresistible Carmelitas combine a buttery oat crust, a thick layer of gooey caramel, rich melted chocolate chips, and a delightful oat crumble topping. Easy to make and impossible to resist, they’re the ultimate dessert bar for any occasion.
10 minutes
25 minutes
35 minutes
Ingredients
- 3/4 cup salted butter, melted
- 2/3 cup brown sugar, packed
- 1 tablespoon vanilla extract
- 1 1/4 cups old fashioned oats
- 1 1/4 cups all purpose flour
- 1 teaspoon baking soda
- 1/2 teaspoon salt
- 11 oz Peters caramel, melted (or 11 oz caramel squares + 1/3 cup heavy cream)
- 1 cup chocolate chips (semi-sweet or milk chocolate)
Instructions
- Preheat Oven & Prepare Pan: Preheat your oven to 350 degrees Fahrenheit (175°C). Line an 8×8-inch baking pan with parchment paper, allowing some overhang on two sides for easy removal later. This will prevent the sticky caramel from adhering to the pan.
- Mix the Oat Crust: In a large microwave-safe bowl, melt the butter. Once melted, stir in the brown sugar and vanilla extract until smooth. Add the all-purpose flour, old-fashioned oats, baking soda, and salt. Mix thoroughly with a spoon or your hands until a cohesive, crumbly dough forms.
- Bake the Base Layer: Press about half of the prepared oat mixture firmly and evenly into the bottom of your parchment-lined baking pan. Bake this crust in the preheated oven for 10 minutes, just until it’s lightly golden around the edges.
- Prepare the Caramel: While the crust is baking, melt your caramel. If using Peters caramel, follow the package instructions to melt it until smooth. If using individual caramel squares, combine them with 1/3 cup of heavy cream in a microwave-safe bowl and heat in short bursts (30-60 seconds), stirring until completely smooth and pourable.
- Layer Chocolate & Caramel: Once the crust is done baking (after 10 minutes), carefully remove the hot pan from the oven. Evenly sprinkle all of the chocolate chips over the warm crust. Then, pour the melted caramel over the chocolate chips, gently spreading it to form an even layer. Be careful as the pan will be very hot.
- Add Crumble Topping & Final Bake: Crumble the remaining half of the oat mixture evenly over the caramel layer. Gently tap it down lightly with your hand, being mindful that the pan is still hot. Place the baking pan back into the oven and bake for another 15 minutes, or until the top crumble is lightly golden brown and the caramel is visibly bubbly around the edges.
- Cool Completely & Slice: Remove the pan from the oven and transfer it to a wire rack to cool completely. This is a critical step for clean, well-set bars; allow them to cool for at least 2-3 hours, or ideally overnight, before slicing. Once fully cooled, lift the entire block out of the pan using the parchment paper handles and slice into desired bar sizes. Serve at room temperature or warm them slightly for an extra gooey experience, perhaps with a side of vanilla ice cream.
