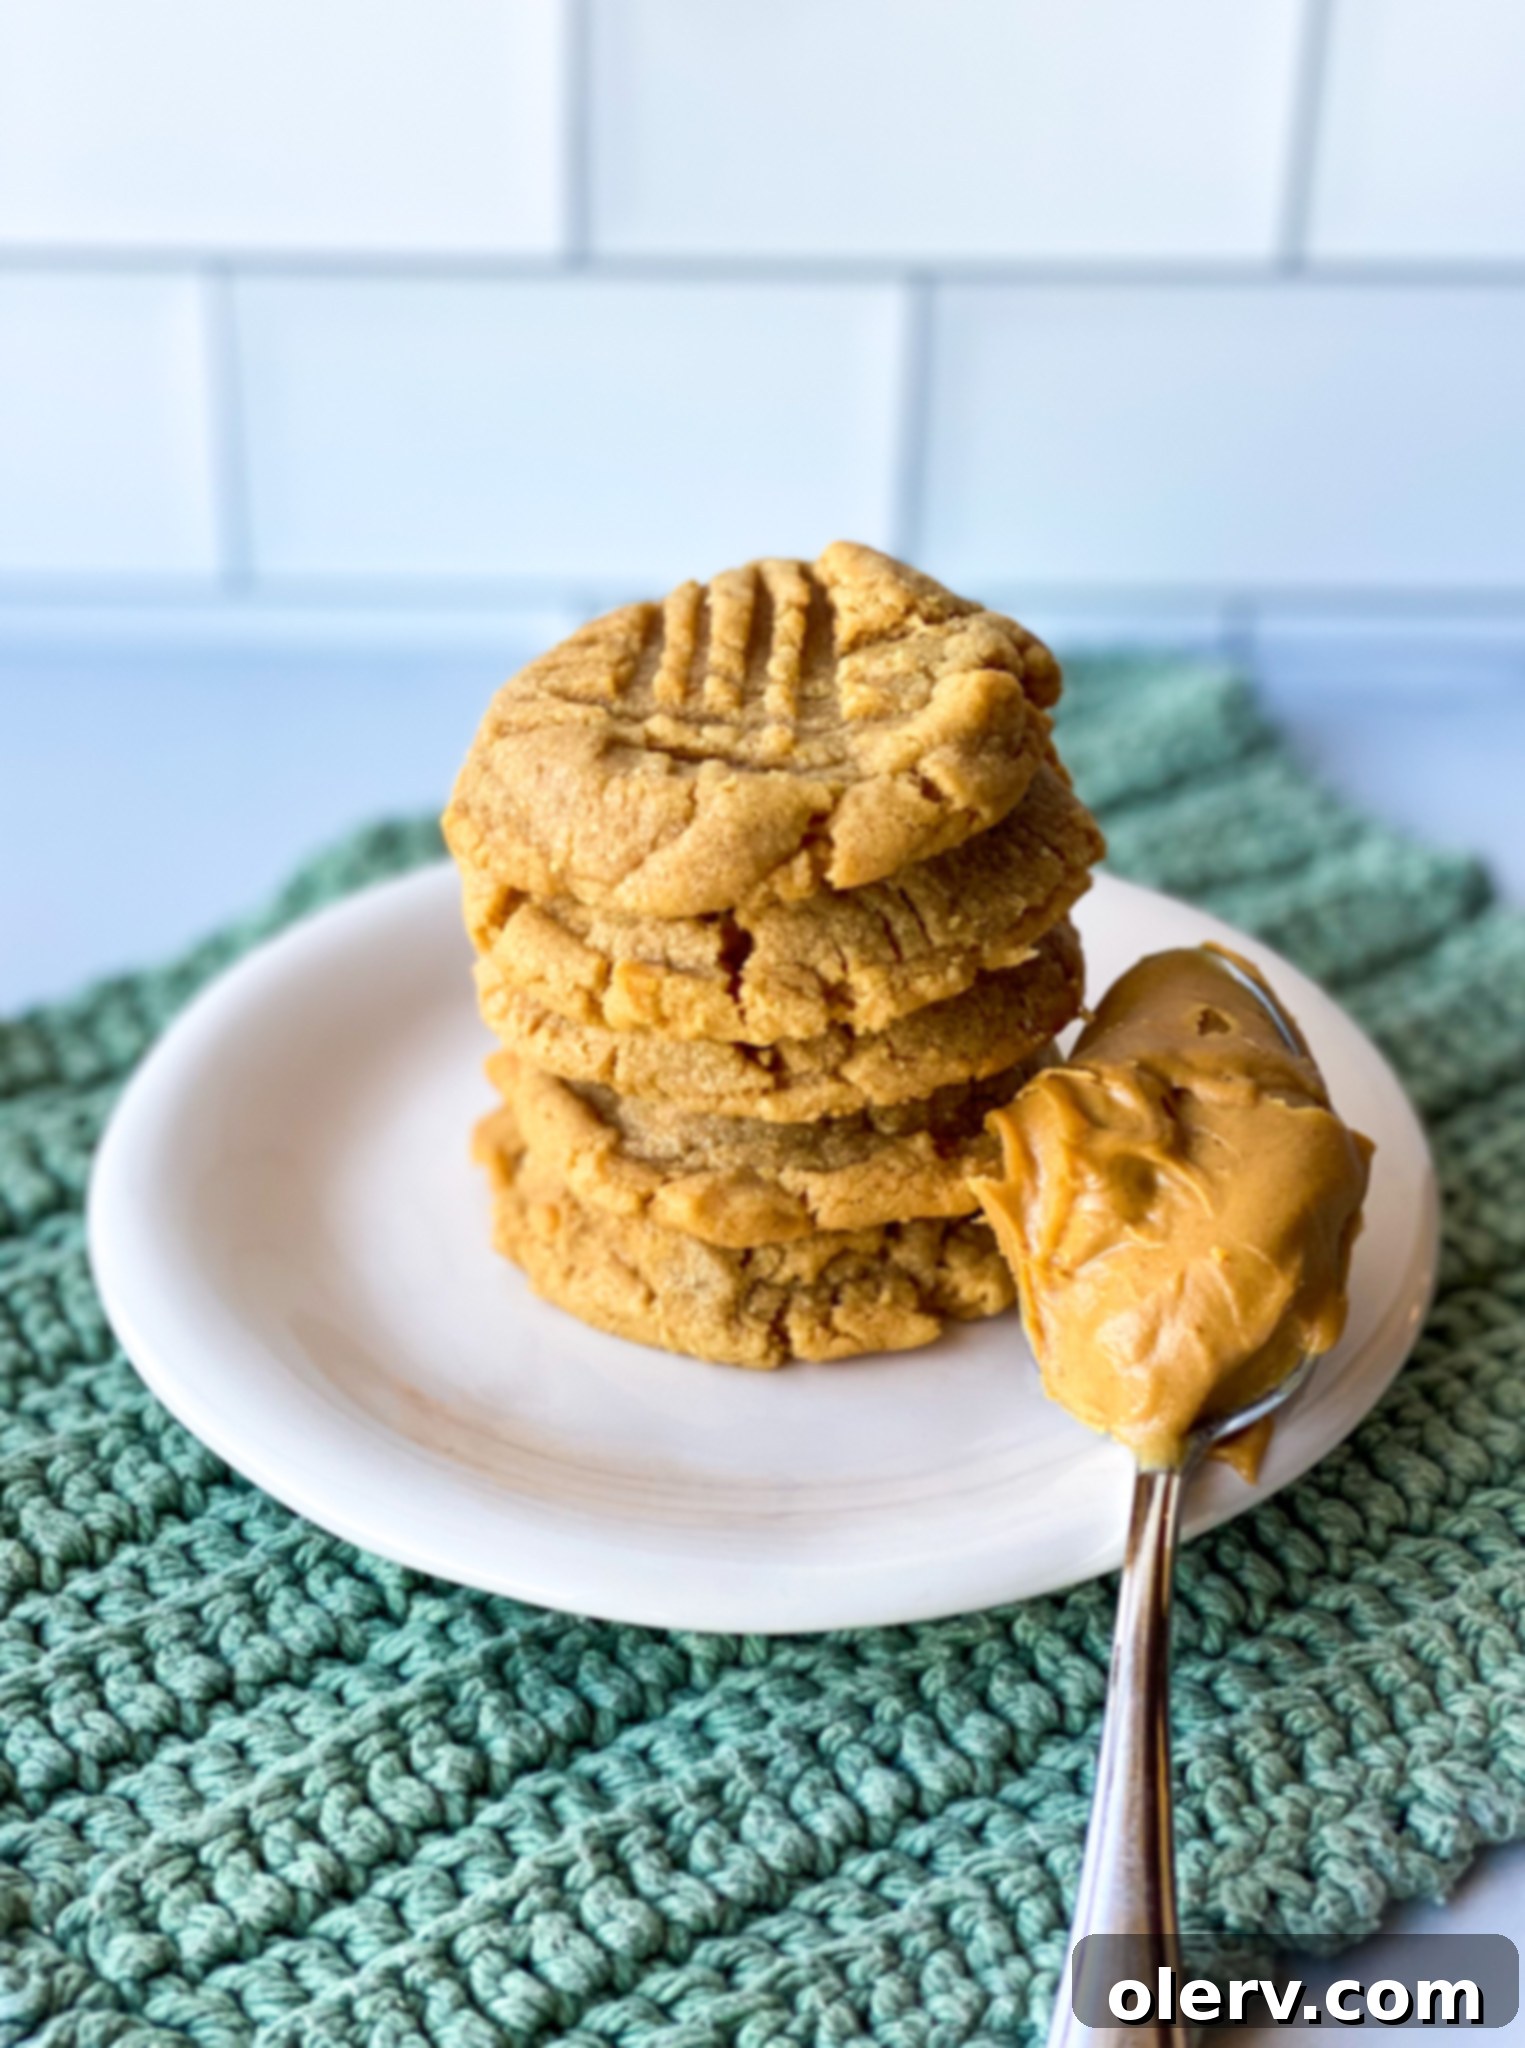
Effortless 3-Ingredient Peanut Butter Cookies: Your Easiest Recipe Ever!
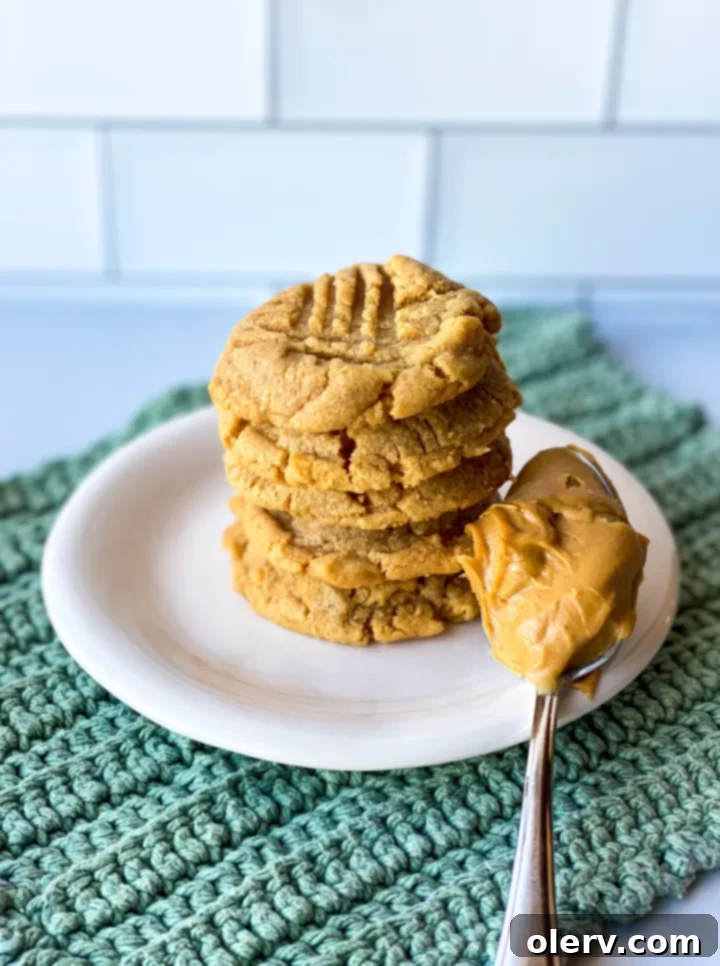
Yes, you read that absolutely right! Imagine sinking your teeth into warm, soft, and utterly delicious peanut butter cookies that require just three simple ingredients. It sounds almost too good to be true, but this recipe is a game-changer. You’ll be genuinely amazed at how effortlessly these peanut butter delights come together and how incredibly rich and satisfying they taste.
Forget complicated baking projects; all you need for these mouth-watering treats are creamy or crunchy peanut butter, granulated white sugar, and a single egg. These humble ingredients combine to create cookies that are perfectly soft, delightfully chewy, and practically melt in your mouth with every bite. Whether you’re a seasoned baker or a complete novice, these 3-ingredient peanut butter cookies are guaranteed to become a new favorite in your recipe collection. Let’s make them together!
Why These Peanut Butter Cookies Are an Absolute Must-Try
Peanut butter holds a special place in my heart when it comes to baking. Its rich, nutty flavor is incredibly versatile, and it adds a wonderful depth to any dessert. But beyond just taste, peanut butter also contributes significantly to the texture of baked goods, making them moist and tender. These simple peanut butter cookies are no exception, showcasing the ingredient’s magic beautifully.
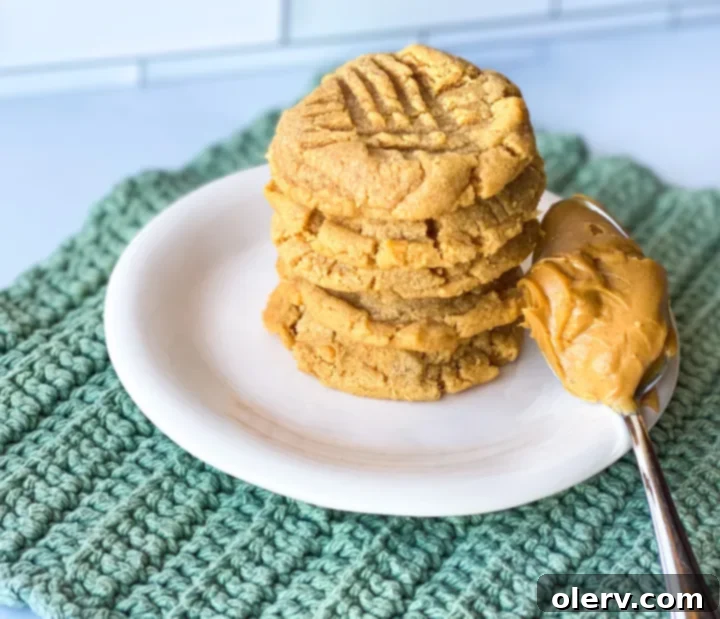
When baked, these cookies develop a remarkably soft and chewy interior that truly lives up to the “melt-in-your-mouth” description. They’re far from dry or crumbly, instead offering a delightful tenderness that makes them an instant hit. They are a genuine treat, perfect for satisfying a sweet tooth, a quick snack, or serving to guests who will surely ask for the recipe!
The beauty of this recipe lies in its unparalleled simplicity. Seriously, it could not be easier! With only three ingredients and a single mixing bowl, you can whip up a batch (or two!) in mere minutes. There’s minimal fuss, minimal cleanup, and maximum flavor. This makes them ideal for busy weeknights, impromptu gatherings, or when you just need a delicious pick-me-up without a long list of ingredients or complex steps.
I cannot stress this enough: I highly recommend doubling this recipe! These cookies disappear fast, and you’ll undoubtedly wish you had more once you taste them. Trust me on this one; you’ll thank yourself later for making an extra batch!
The Three Simple Ingredients You’ll Need
The beauty of this cookie recipe lies in its minimal and common ingredients. You likely already have these staples in your pantry, making spontaneous cookie baking a reality!
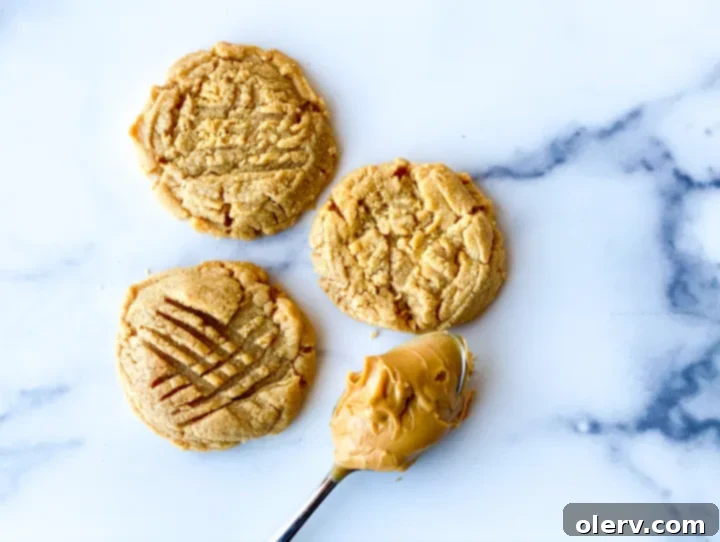
- Creamy or Crunchy Peanut Butter: The star of the show! Both creamy and crunchy varieties work wonderfully, so choose based on your preference. Creamy peanut butter will give you a smoother cookie, while crunchy will add delightful textural bits. For best results, use a standard processed peanut butter (like Jif or Skippy) rather than natural peanut butter that separates, as the oil content in natural versions can alter the cookie’s texture significantly. The emulsifiers in processed peanut butter are key to the cookie’s structure here.
- Large Egg: The essential binder that holds everything together and provides structure to your cookies. It helps create that perfect chewy texture and ensures the cookies don’t crumble.
- Granulated White Sugar: This provides the necessary sweetness and also contributes to the cookie’s tender texture and golden-brown edges. You could experiment with brown sugar for a chewier, more molasses-like flavor, but granulated sugar is classic for this simple recipe.
These three ingredients are truly kitchen workhorses that I always keep stocked. Because of their availability, I can literally whip up a batch of these fantastic cookies any day, often in about 20 minutes from start to finish. The longest part of the process is often just waiting for the oven to preheat, which leads us to an excellent alternative for even faster baking!
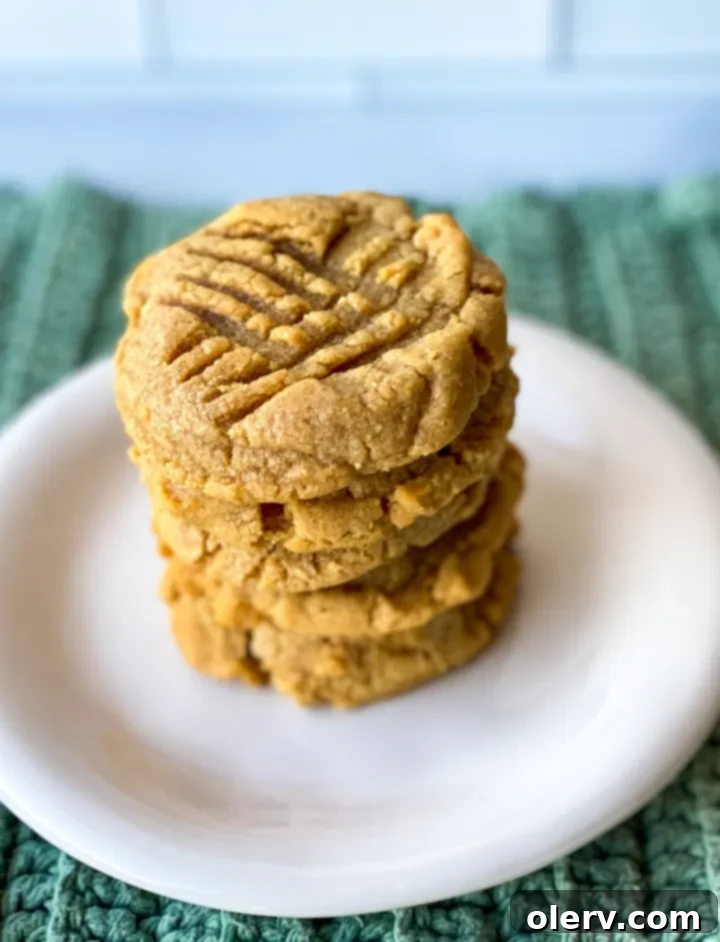
Air Fryer Peanut Butter Cookies: The Ultimate Speed Hack
For those times when you can’t wait for your oven to preheat, or perhaps you’re simply trying to avoid heating up your entire kitchen, your air fryer comes to the rescue! These 3-ingredient peanut butter cookies are perfectly suited for air frying, delivering delicious results in even less time.
Using an air fryer is incredibly straightforward:
- Simply preheat your air fryer to 360°F (approximately 180°C). This ensures even cooking and helps the cookies brown beautifully.
- Prepare your cookie dough balls as described in the main recipe, making sure to press them with a fork to create the classic crisscross pattern.
- Place about 4 of the cookie dough balls into your air fryer basket, ensuring they are on a piece of parchment paper. This prevents sticking and makes cleanup a breeze. Don’t overcrowd the basket; air circulation is key for even cooking.
- Bake for 8 minutes. Depending on your air fryer model, you might need to adjust this by a minute or two. Keep an eye on them during the last few minutes.
- Once baked, carefully remove them and let them cool for a few minutes before transferring to a wire rack to cool completely.
That’s it – done! Incredibly easy, super quick, and just as delicious. This method is perfect for making a small batch on demand, ensuring you always have fresh, warm cookies whenever the craving strikes.
We absolutely adore these 3-Ingredient Peanut Butter Cookies, whether baked in the oven or air fryer. Their simplicity combined with their delightful taste makes them an undeniable winner in any kitchen.
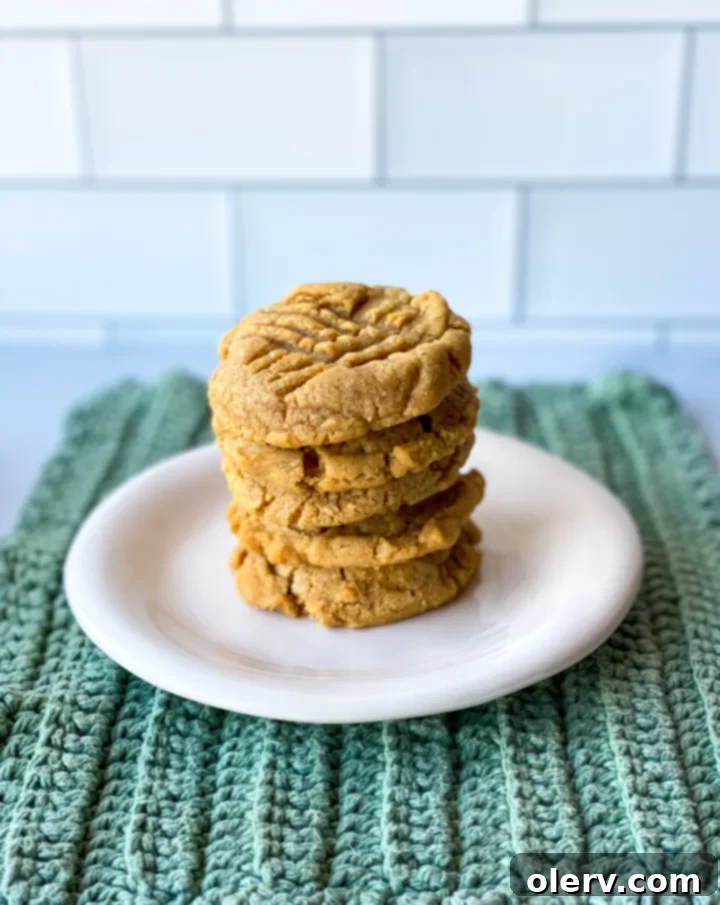
Tips for Perfecting Your 3-Ingredient Peanut Butter Cookies
While this recipe is incredibly simple, a few tips can help ensure your cookies turn out absolutely perfect every time:
- Don’t Overmix: Once the dough comes together, stop mixing. Overmixing can develop the gluten in the small amount of flour-like proteins in the peanut butter, potentially leading to tougher cookies. You want them soft and tender!
- Consistent Cookie Size: Use a cookie scoop or a tablespoon to ensure all your cookie balls are roughly the same size. This guarantees even baking, so all your cookies are done at the same time without some being over-baked and others under-baked.
- The Fork Marks are Key: Don’t skip pressing the crisscross pattern with a fork! This isn’t just for classic aesthetics; it also helps flatten the cookies slightly, ensuring they bake evenly and have that perfect chewiness. Without flattening, they might remain too thick in the center.
- Cooling is Crucial: Allow the cookies to cool on the baking sheet for a few minutes before transferring them to a wire rack. They are very soft when they first come out of the oven and can break easily. Cooling them on the sheet helps them set up and develop a crisp bottom.
- Storage: Store cooled cookies in an airtight container at room temperature for up to 3-5 days. They remain wonderfully soft and delicious!
- Double the Recipe: As mentioned, these cookies are incredibly popular. Doubling the recipe is easy and highly recommended to ensure you have enough to share (or keep all to yourself!).
- Experiment with Add-ins: While they’re perfect as is, feel free to add chocolate chips, a sprinkle of sea salt before baking, or chopped nuts for extra flavor and texture if you’re feeling adventurous (though they won’t be strictly “3 ingredient” anymore!).
Frequently Asked Questions About These Easy Cookies
- Can I use natural peanut butter? It’s generally recommended to use conventional, processed peanut butter (like Jif, Skippy, Peter Pan) for this recipe. Natural peanut butter (the kind that separates) has a different oil content and consistency, which can lead to drier, more crumbly cookies that don’t hold their shape as well. If you only have natural, ensure it’s very well stirred, but be aware the texture might differ.
- Can I use brown sugar instead of granulated? Yes, you can! Brown sugar will give your cookies a slightly chewier texture and a deeper, more molasses-like flavor. The cooking time might vary slightly, so keep an eye on them.
- How long do these cookies last? When stored in an airtight container at room temperature, these cookies will stay fresh and delicious for 3-5 days.
- Can I freeze the cookie dough? Absolutely! Roll the dough into balls, flatten them with the fork, and then freeze them on a baking sheet until solid. Once solid, transfer them to a freezer-safe bag. You can bake them from frozen (add a minute or two to the baking time) whenever a craving strikes!
- Why do my cookies crumble? This is often due to using natural peanut butter, overbaking, or not letting them cool sufficiently on the baking sheet before moving. Ensure you’re using the right type of peanut butter and bake just until the edges are set.
If you give this incredibly easy and delicious recipe a try, I would absolutely love to hear about it! Please feel free to leave a comment below, rate the recipe, or even snap a photo of your creations and tag it with @TheAlexDaynes on Instagram! Your feedback and photos truly make my day and inspire me to keep sharing more delightful recipes.
Love this recipe and want to save it for later? Pin it to Pinterest here!
3-Ingredient Peanut Butter Cookies Recipe
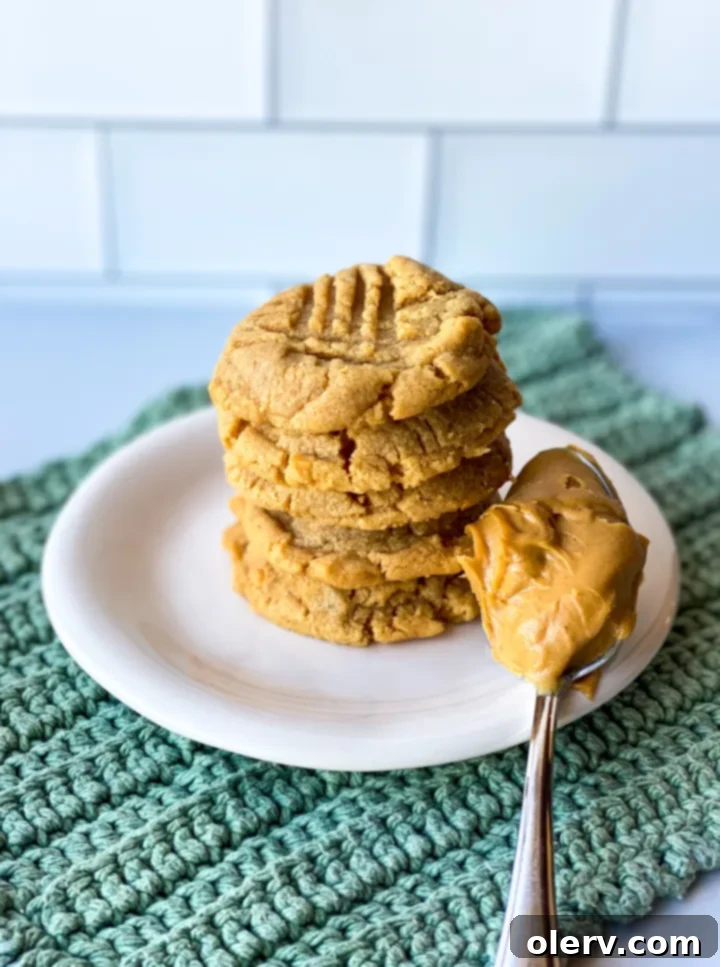
The absolute best and easiest 3-ingredient peanut butter cookies recipe you’ll ever find! These cookies are wonderfully chewy, perfectly sweet, and incredibly satisfying, truly melting in your mouth.
5 minutes
10 minutes
15 minutes
Ingredients
- 1 cup peanut butter, creamy or chunky (standard processed peanut butter recommended for best texture)
- 1 cup granulated sugar
- 1 large egg
Instructions
- Preheat your oven to 350°F (175°C). Line a baking sheet with parchment paper for easy removal and cleanup.
- In a medium mixing bowl, combine the peanut butter, granulated sugar, and the large egg. Mix thoroughly with a spatula or wooden spoon until a cohesive dough forms. Ensure all ingredients are well incorporated, but avoid overmixing.
- Roll the dough into approximately 1-tablespoon sized balls. Place them on your prepared cookie sheet, spacing them about 2 inches apart.
- Using the tines of a fork, gently press down on each cookie dough ball in a cross pattern (one press in one direction, then rotate 90 degrees and press again). This classic peanut butter cookie design helps to flatten them slightly for even baking.
- Bake for 8 minutes. The cookies will look soft when they come out, but they will set as they cool. Avoid overbaking to maintain their soft and chewy texture.
- Allow the cookies to cool on the baking sheet for at least 5-10 minutes before carefully transferring them to a wire rack to cool completely. This crucial step prevents them from breaking apart as they are very delicate when warm. Once fully cooled, store them in an airtight container.
Notes
Doubling this recipe is incredibly easy and works perfectly every time! In fact, I strongly encourage doubling it to ensure you have plenty of these delicious cookies to enjoy or share. They disappear quickly!
You can use either creamy or crunchy peanut butter based on your preference. For the smoothest cookies, opt for creamy. I personally used creamy peanut butter for the cookies pictured here.
Allowing the cookies to cool on the cookie sheet for a few minutes before transferring helps them firm up and creates a delightfully crisp bottom, complementing their soft interior.
For a touch of extra flavor, consider sprinkling a tiny bit of flaky sea salt on top of the cookies before baking. It really enhances the peanut butter taste!
Nutrition Information:
Yield:
12
Serving Size:
1
Amount Per Serving:
Calories: 197Total Fat: 11gSaturated Fat: 2gTrans Fat: 0gUnsaturated Fat: 7gCholesterol: 16mgSodium: 108mgCarbohydrates: 22gFiber: 1gSugar: 18gProtein: 5g
