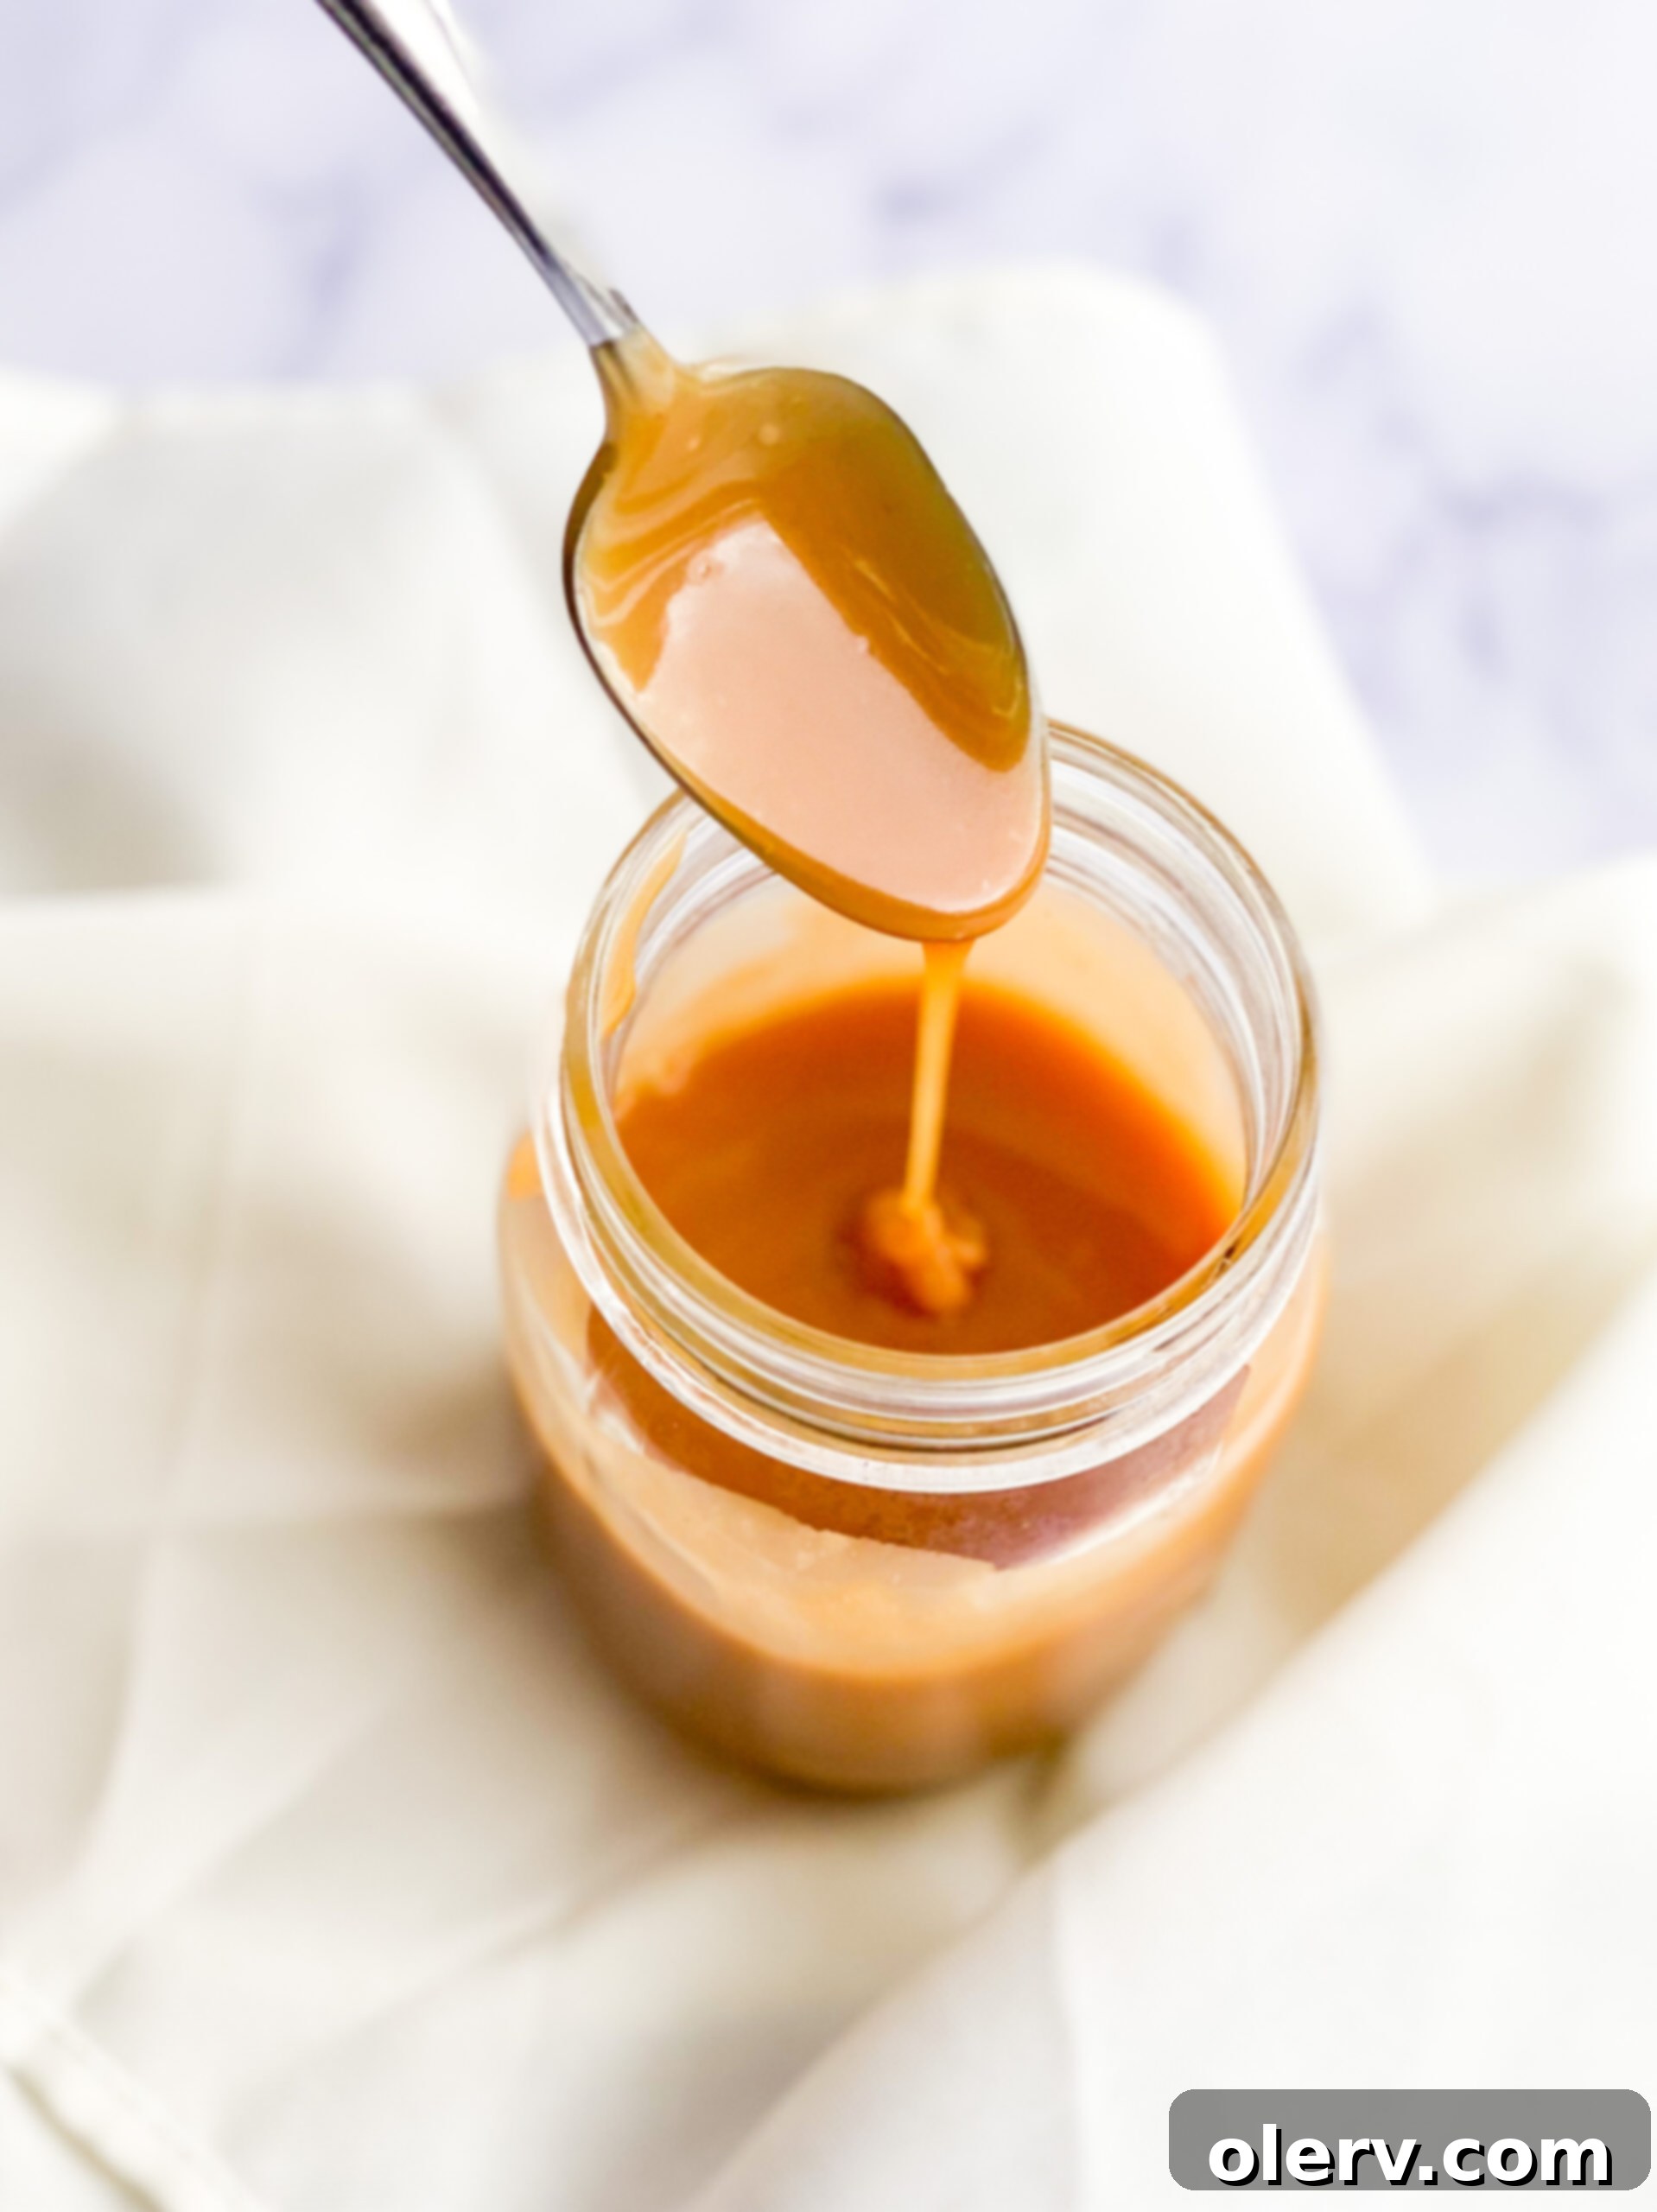
The Ultimate Guide to Making Easy Homemade Salted Caramel Sauce: Rich, Creamy & Perfect Every Time!
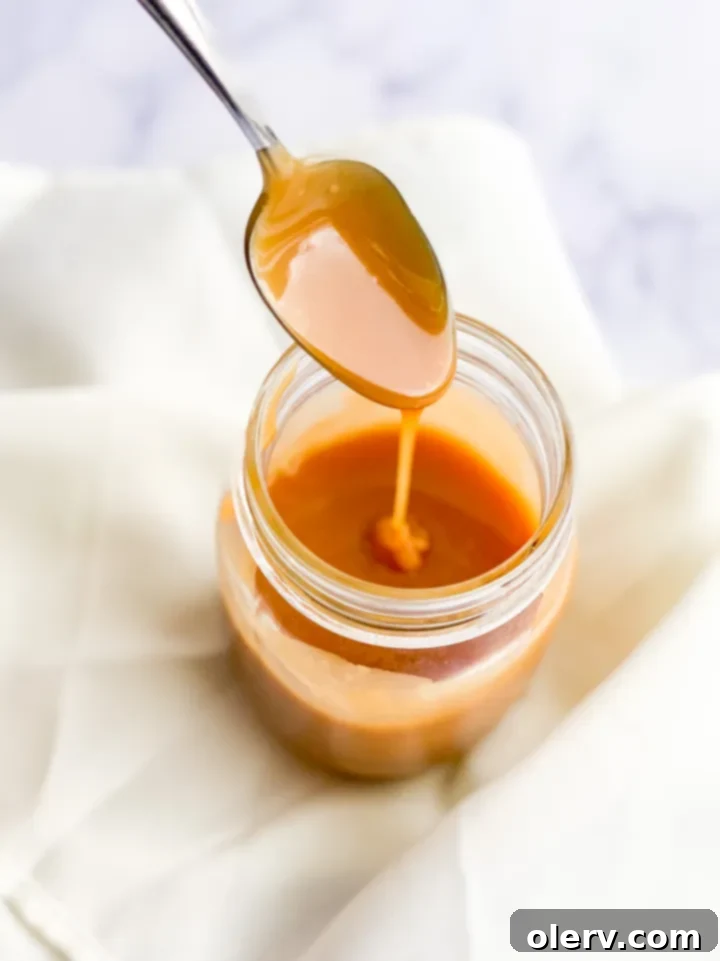
Are you ready to elevate your dessert game with a truly show-stopping ingredient? Look no further than this incredibly delicious, easy homemade salted caramel sauce! Forget the bland, store-bought versions; this recipe delivers a rich, buttery, and perfectly balanced caramel that will transform any sweet treat. Best of all, it requires just 4 simple ingredients and a mere 10 minutes of your time in the kitchen.
Imagine a silky, golden drizzle flowing over a scoop of vanilla ice cream, enhancing a slice of apple pie, or making your brownies irresistibly gooey. This homemade caramel sauce isn’t just quick and simple to whip up; it’s a gourmet experience that tastes miles better than anything from a jar. Once you try making it from scratch, you’ll wonder why you ever did it any other way. Let’s dive in and create some caramel magic together!
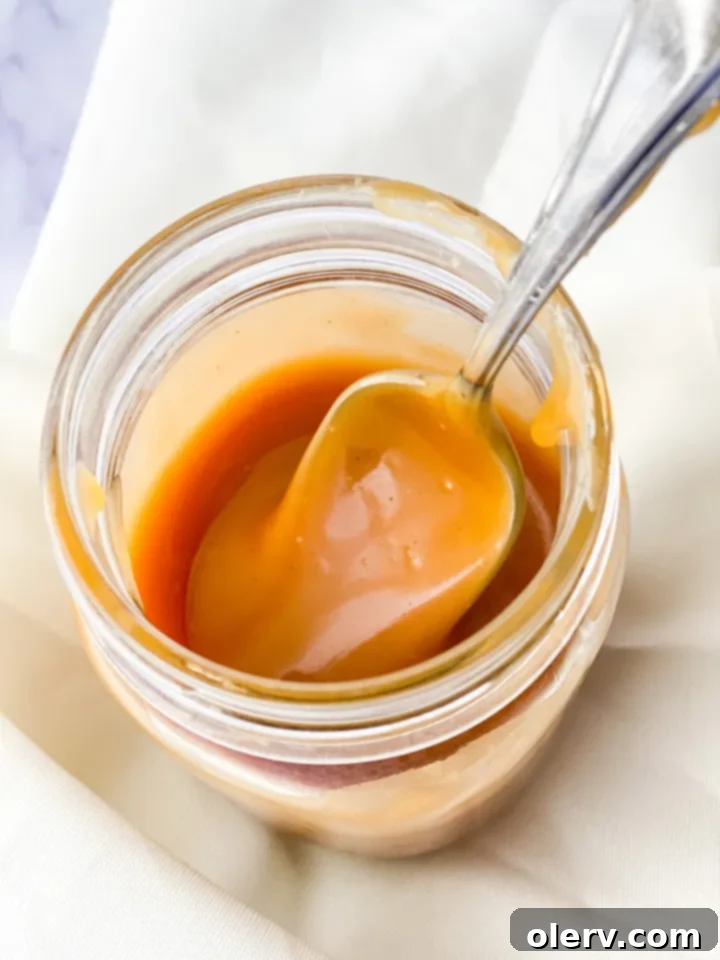
Why Homemade Caramel Sauce is Always Best
It’s a universal truth that creations made from scratch often taste superior, and caramel sauce is certainly no exception. There’s an undeniable depth of flavor and a luscious texture in homemade caramel that mass-produced versions simply cannot replicate. This particular easy homemade salted caramel sauce boasts a perfect balance of rich butteriness, creamy smoothness, and a delightful touch of salt that cuts through the sweetness, making every bite a true indulgence.
The beauty of this recipe lies not only in its exquisite taste but also in its incredible simplicity. You’ll be amazed that such a decadent treat can be prepared in about 10 minutes. The effort-to-reward ratio is off the charts, making it an ideal choice for last-minute dessert enhancements or for impressing guests with minimal stress. Trust me, investing a few minutes to create your own luscious caramel sauce from scratch is incredibly rewarding. Let me guide you through the process, step by step!
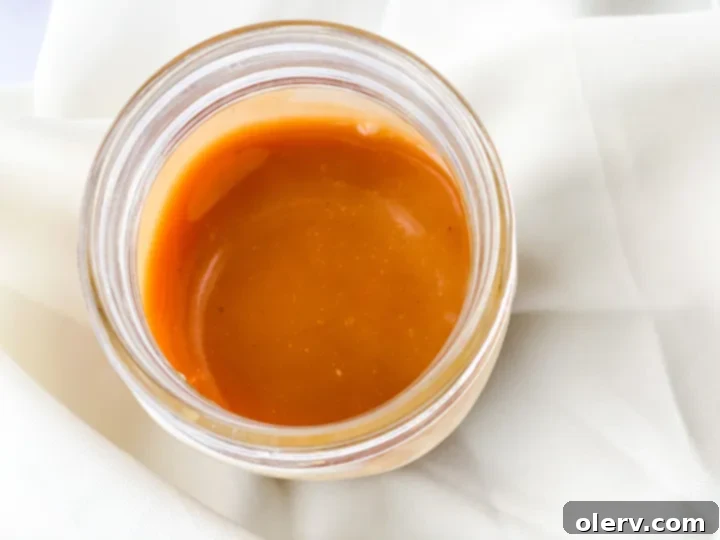
Essential Ingredients for Your Homemade Caramel Sauce
One of the most appealing aspects of this amazing caramel sauce recipe is its minimal ingredient list. You only need four common items to create this luscious, buttery treat right in your own kitchen. Gathering these high-quality ingredients is the first step to achieving that perfect caramel consistency and flavor.
- Granulated Sugar: This is the foundation of our caramel, providing the essential sweetness and structure. It melts down to form the golden base of the sauce.
- Salted Butter: For this recipe, I highly recommend using 6 tablespoons of good quality salted butter, cut into pieces and brought to room temperature. The salt in the butter contributes to the complex flavor profile of a true salted caramel, offering a delicious counterpoint to the sugar’s sweetness. Using room temperature butter helps it incorporate smoothly into the hot sugar, preventing seizing and ensuring a uniform texture.
- Heavy Cream: A crucial ingredient for achieving that rich, creamy texture we all love. You’ll need 1/2 cup of heavy cream. Heavy cream, with its high fat content, adds luxurious body and smoothness to the caramel, preventing it from becoming too hard or brittle.
- Salt: While we use salted butter, an additional 1 teaspoon of salt (preferably fine-grained) is essential for truly enhancing the “salted” aspect of our salted caramel sauce. This extra salt elevates the flavor, balances the intense sweetness, and creates that signature sweet-and-savory profile.
If you prefer to make a classic, unsalted caramel sauce, you can simply omit the additional teaspoon of salt. However, I still suggest using salted butter even in that case, as the subtle saltiness it provides greatly enhances the overall flavor without making it overtly “salted caramel.” The natural salt in the butter just brings out the best in the caramel’s sweetness.
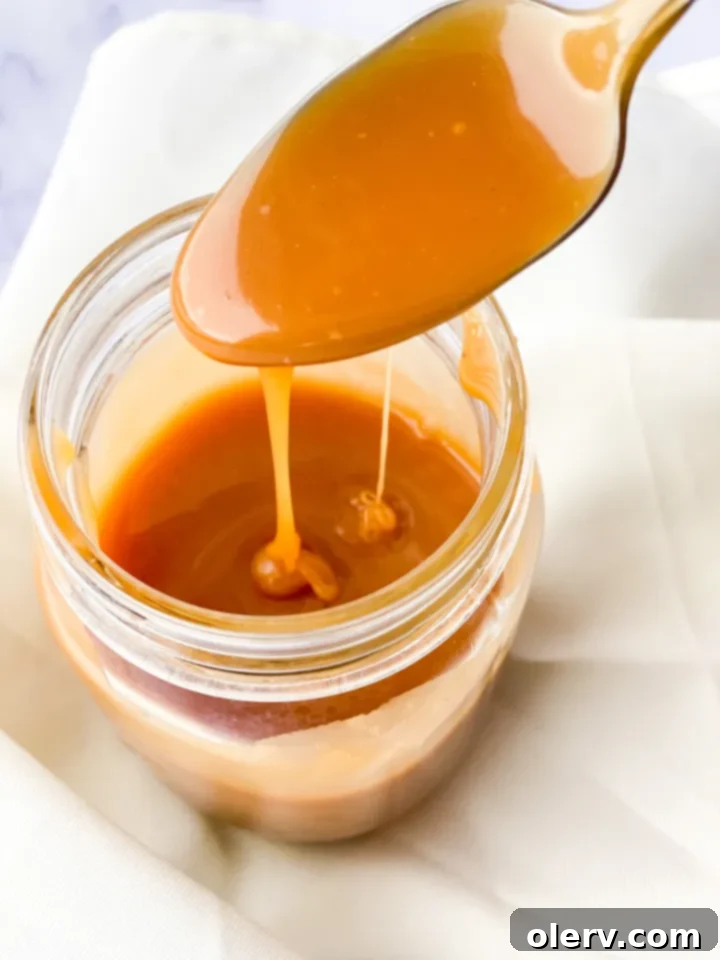
Choosing the Right Salt for Your Salted Caramel Sauce
When it comes to making the perfect salted caramel, the type of salt you use can make a subtle difference, though it’s less critical than you might think for the initial mixing. For this particular easy recipe, standard table salt works absolutely wonderfully! The salt’s primary role here is to add flavor and to balance the sweetness of the caramel. Since we add it to hot caramel, it dissolves completely, distributing its flavor evenly throughout the sauce.
However, if you happen to have flaky sea salt on hand and prefer to use it, by all means, go for it! Just be aware that its larger crystals will melt down just like table salt in the hot mixture. Many chefs and home bakers prefer to reserve flaky sea salt as a “finishing salt” – a sprinkle over the top of a dish just before serving to add a delightful crunch and a burst of flavor. For instance, a final pinch of flaky sea salt on top of your caramel-drizzled ice cream would be exquisite, providing both texture and intense saltiness.
So, don’t feel any pressure to rush out and buy a special type of sea salt solely for this recipe. Use what you have in your pantry for the cooking process, and save those fancy finishing salts for that final, visually appealing, and texturally interesting garnish.
How to Make the Best Homemade Salted Caramel Sauce: Step-by-Step
Creating this rich and creamy salted caramel sauce is a straightforward process, but it does require attention and quick action at certain stages. Follow these detailed steps to ensure a perfect batch every time:
- Melt the Sugar: Begin by placing the granulated sugar in a medium, heavy-bottomed saucepan. This type of pan distributes heat more evenly and helps prevent burning. Heat the sugar over medium heat, stirring constantly with a rubber spatula or wooden spoon. At first, the sugar will clump together, forming hard lumps. Don’t worry, this is completely normal! Continue stirring, and these clumps will eventually melt down into a smooth, thick, amber-colored liquid. This process can take a few minutes. It’s crucial to keep stirring to ensure even melting and prevent scorching. Watch the color carefully; you want a beautiful amber hue, like a copper penny, not dark brown, which indicates burning. Burnt sugar will result in bitter caramel.
- Add the Butter: Once your sugar has fully melted and reached that gorgeous amber color, immediately add the room-temperature salted butter (cut into pieces) to the pan. This step requires extreme caution, as the hot caramel will bubble rapidly and vigorously when the colder butter is introduced. Stand back a bit and add the butter quickly. The caramel might seize up or become very stiff, but don’t fret; this is part of the process.
- Whisk Until Smooth: Immediately after adding the butter, begin whisking it into the hot caramel. Continue whisking constantly for about 2 minutes, until the butter is completely melted and fully incorporated into the sugar, creating a smooth and glossy mixture. The mixture should appear uniform and free of any butter streaks.
- Slowly Drizzle in Heavy Cream: Now comes another crucial step: very slowly drizzle in the 1/2 cup of heavy cream while continuously stirring with your whisk. Since the heavy cream is much colder than the caramel, the mixture will bubble up rapidly and intensely once again. Keep whisking to integrate the cream. The caramel might look a bit separated or lumpy initially, but keep whisking gently. Allow the mixture to boil for 1 minute while continuing to stir. This boiling helps to thoroughly emulsify the cream and butter into the sugar, resulting in a stable, smooth caramel sauce.
- Remove from Heat and Salt: After the minute of boiling, remove the saucepan from the heat. Stir in the 1 teaspoon of salt until it is completely dissolved and evenly distributed. Give it a good whisk to ensure the saltiness is consistent throughout.
- Cool and Thicken: Allow your freshly made salted caramel to cool down before using it. As it cools, the caramel will naturally thicken to a luxurious, pourable consistency. You can pour it into a clean, heat-proof jar or container for storage.
And there you have it! A perfect batch of homemade salted caramel sauce, ready to elevate all your favorite desserts.
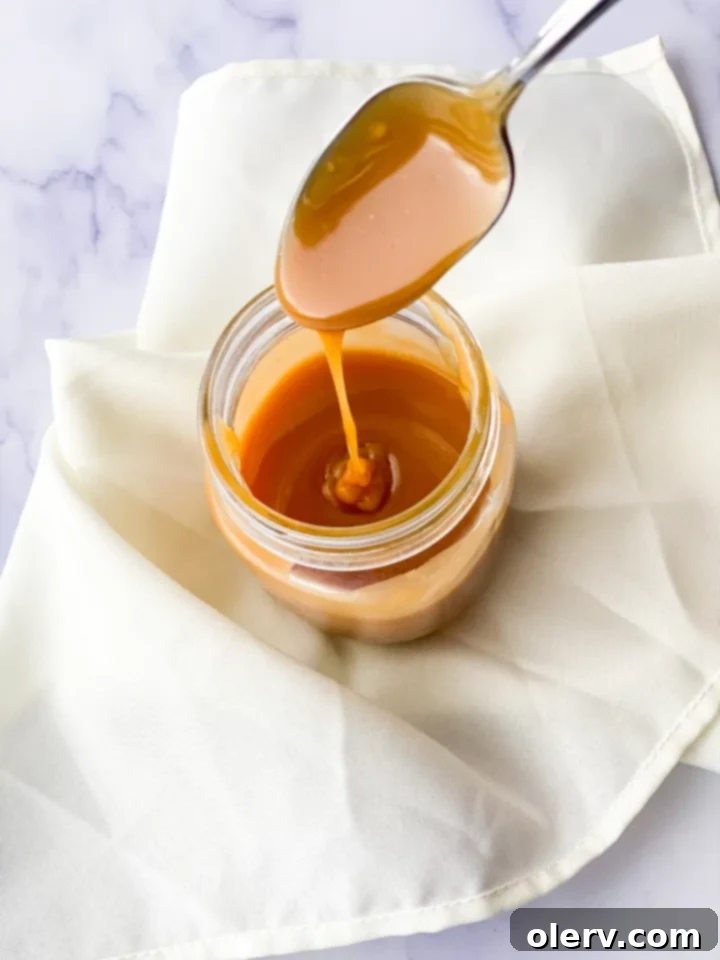
Perfect Pairings: How to Serve Your Homemade Salted Caramel Sauce
The versatility of this easy homemade salted caramel sauce is truly incredible. Once you’ve mastered this recipe, you’ll find countless ways to incorporate its rich, sweet-and-salty goodness into your favorite desserts and drinks. Here are some popular ideas to get you started:
- Ice Cream Topping: The absolute classic! Drizzle generously over vanilla, chocolate, or even coffee ice cream for an instant upgrade.
- Cake & Pie Enhancement: Transform a simple bundt cake, cheesecake, or a slice of apple or pumpkin pie with a decadent caramel topping. It adds moisture, flavor, and a beautiful sheen.
- Brownies & Cookies: Swirl it into brownie batter before baking, or drizzle over warm brownies and cookies for an extra layer of indulgence.
- Coffee & Hot Drinks: Stir a spoonful into your morning coffee, latte, or hot chocolate for a gourmet cafe experience at home. Top with whipped cream and an extra drizzle for a truly decadent treat.
- Fruit Dipper: Serve with sliced apples, pears, or bananas for a delightful snack or light dessert.
- Pretzel & Snack Dip: The sweet and salty combination works wonders when dipping crunchy pretzels or even shortbread cookies.
- Milkshakes & Smoothies: Blend into milkshakes for a caramel twist, or use it to line the glass before pouring for an appealing presentation.
- Pancakes & Waffles: Elevate your breakfast or brunch by using it as a syrup for pancakes, waffles, or French toast.
No matter how you choose to enjoy it, this homemade salted caramel sauce is guaranteed to be a hit. Don’t be afraid to get creative and experiment with your own favorite pairings!
Storage and Reheating Tips for Homemade Caramel Sauce
One of the great things about this easy homemade salted caramel sauce is that it keeps well, allowing you to enjoy its deliciousness for an extended period. Proper storage is key to maintaining its quality and consistency.
- Storage: Once the caramel has cooled completely, transfer it to an airtight container or jar. Store it in the refrigerator for up to 1 month. The cold temperature will cause the caramel to solidify and become quite firm. This is completely normal!
- Reheating: To return your caramel to a pourable consistency, you’ll need to gently reheat it.
- Microwave: For small quantities, microwave in 15-20 second intervals, stirring well after each interval, until it’s smooth and warm. Be careful not to overheat, as it can burn quickly.
- Stovetop: For larger quantities or if you prefer stovetop reheating, place the desired amount of solidified caramel in a small saucepan over low heat. Stir constantly until it melts and reaches your desired consistency. Add a tiny splash of heavy cream or milk if it seems too thick.
Always stir thoroughly after reheating to ensure a uniform texture and temperature. Your homemade salted caramel sauce will be just as luscious and delicious as the day you made it!
Troubleshooting Common Caramel Issues (and How to Fix Them!)
Making caramel can feel a little intimidating the first few times, but many common issues are easy to troubleshoot. Here are some tips to help you achieve perfect results:
- Why did my caramel crystallize? This happens when sugar crystals remain on the sides of the pan and fall back into the melting sugar, causing the entire batch to seize.
- Prevention: Avoid stirring the sugar too much once it starts to melt. If you see crystals forming on the sides of the pan, use a wet pastry brush to gently wash them down into the melting sugar. Ensure your saucepan is perfectly clean before you start.
- Fix: Unfortunately, once caramel has crystallized, it’s very difficult to salvage. It’s often best to start over.
- Why is my caramel too thin/thick? The consistency of your caramel is primarily determined by how long you cook it and the temperature it reaches.
- Too Thin: If your caramel is too runny after cooling, it means it wasn’t cooked quite long enough to reduce and thicken sufficiently. You can gently reheat it on the stove over low heat and simmer it for a few more minutes, stirring frequently, until it thickens. Be careful not to burn it.
- Too Thick: If it’s too thick (or even hard) once cooled, it was cooked for too long or at too high a temperature. You can usually fix this by reheating it gently on the stove or in the microwave and whisking in a tablespoon or two of warm heavy cream or milk until it reaches your desired consistency.
- My caramel is bitter! This is a sign that the sugar was cooked too long and burned. The darker the sugar gets, the more bitter the caramel becomes. There’s no fixing burnt sugar, so you’ll need to discard it and start fresh. Pay close attention to the color – aim for a rich amber, not dark brown.
- What if I don’t have salted butter? No problem! You can use unsalted butter, but you’ll want to increase the total amount of salt in the recipe. For 6 tablespoons of unsalted butter, add an extra 1/4 to 1/2 teaspoon of salt to the total (so, about 1.25 to 1.5 teaspoons total salt at the end). Taste and adjust to your preference.
- Can I use half-and-half or milk instead of heavy cream? While you technically *can*, it’s not recommended for the best results. Heavy cream’s high fat content is crucial for the rich, creamy texture and stability of the caramel. Using lower-fat dairy will result in a thinner, less luxurious sauce and it might be more prone to separating.
- Safety First: Remember that working with molten sugar is dangerous. It gets extremely hot and can cause severe burns. Always use a long-handled spoon or whisk, stand back from the pan when adding ingredients, and never touch the hot caramel directly. If you get hot sugar on your skin, immediately run it under cold water.
With these tips, you’ll be a caramel-making pro in no time!
If you give this amazing homemade salted caramel sauce recipe a try, I’d love to hear from you! Please leave a comment below, rate it, or snap a photo and tag it with @TheAlexDaynes on Instagram! Your feedback and creations always brighten my day and inspire me to share more delicious recipes.
Like this recipe and want to save it for later? Pin it to Pinterest here!
Salted Caramel Sauce
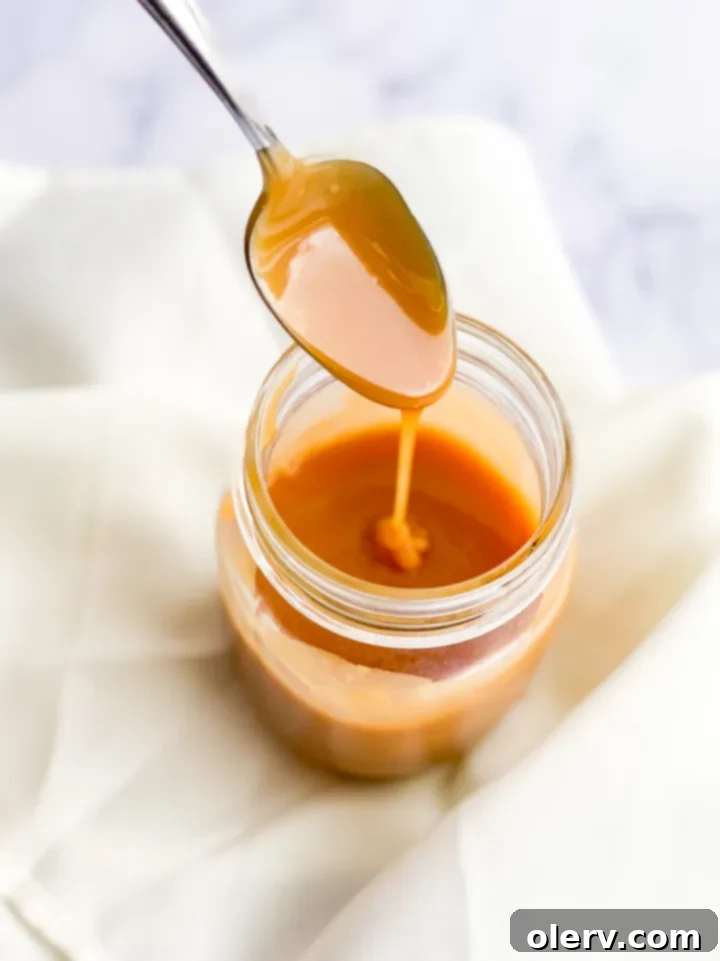
The most delicious, easy homemade salted caramel sauce! This rich, creamy caramel is perfect for topping ice cream, cake, brownies, cookies, pie, and so much more. Made with just 4 simple ingredients!
5 minutes
10 minutes
15 minutes
Ingredients
- 1 cup granulated sugar
- 6 Tablespoons salted butter, room temperature, cut up into 6 pieces
- 1/2 cup heavy cream
- 1 teaspoon salt
Instructions
- Heat granulated sugar in a medium, heavy-bottomed saucepan over medium heat, stirring constantly with a rubber spatula or spoon. The sugar will first form clumps and then gradually melt into a thick, golden amber-colored liquid. Keep stirring to ensure even melting and prevent burning. Be extremely careful not to let it get too dark, which would make it bitter.
- Once the sugar is completely melted and beautifully amber, immediately add the room-temperature salted butter (cut into pieces). Be very cautious in this step as the caramel will bubble rapidly and intensely when the butter is added. Stand back to avoid splashes.
- Whisk the butter into the caramel mixture continuously until it is completely melted and thoroughly combined. This should take approximately 2 minutes, resulting in a smooth and uniform consistency.
- Very slowly drizzle in the 1/2 cup of heavy cream while continuously stirring with your whisk. The mixture will bubble vigorously again as the colder cream hits the hot caramel. Keep stirring for about 1 minute, allowing the mixture to boil gently to ensure everything is well emulsified.
- Remove the saucepan from the heat and stir in the 1 teaspoon of salt until it is completely dissolved. Allow the caramel to cool down completely before using it. As it cools, the caramel will thicken to a perfect, pourable consistency.
- Cover the cooled caramel tightly and store it in the refrigerator for up to 1 month. The caramel will solidify when chilled. To use, simply reheat in the microwave in short bursts, stirring, or gently on the stove over low heat until it reaches your desired consistency.
Notes
Table salt works great for this recipe as it dissolves perfectly into the hot caramel. However, if you prefer, you can also use fine sea salt. For a final flourish, consider sprinkling a pinch of flaky sea salt over your dessert after drizzling with caramel!
